
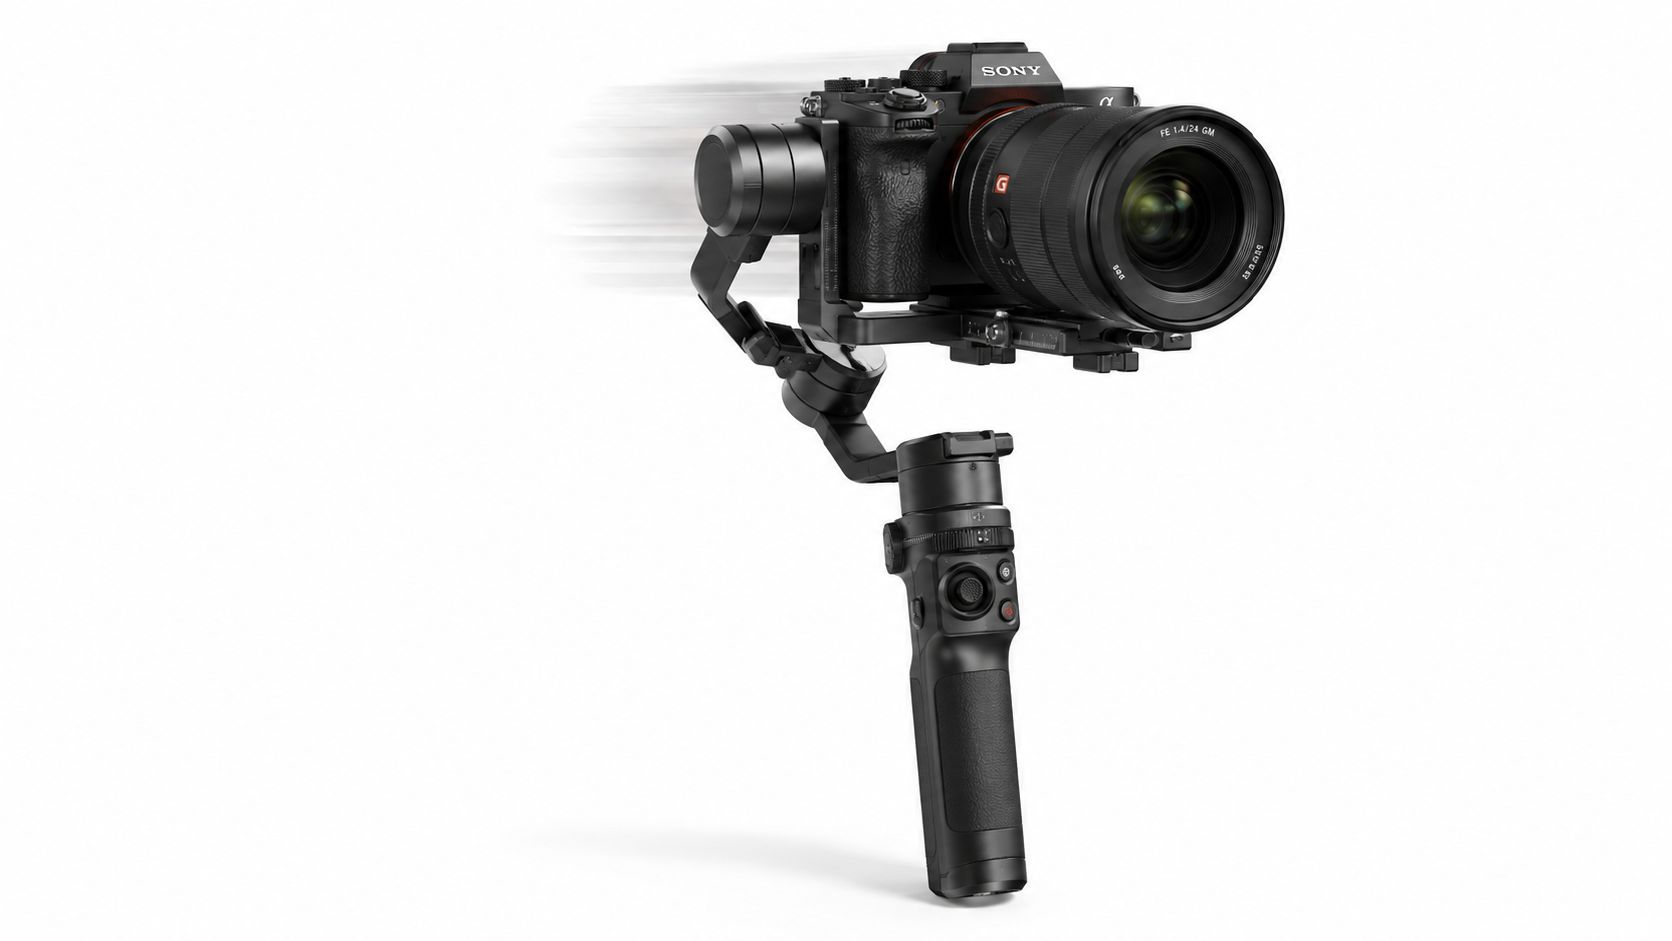
You're on a finished interior assignment, waiting for a contractor to clear the frame while the daylight slides across a façade outside. The composition is right, the surfaces are carefully lit, and there's almost no room for a soft frame or a leaning vertical. In that situation, camera stabilization isn't a cinematic accessory. It's part of the process used to protect sharp detail, accurate geometry, and deliberate composition.
Stabilization also has limits. A tripod can preserve a precise viewpoint, optical or sensor-shift correction can save a handheld detail frame, and a gimbal can make a controlled moving shot possible. None of them can freeze a moving subject, repair poor technique, or guarantee clean geometry in a scene with strong parallax. The useful question is not which system is “best,” but which form of correction matches the assignment.
Why Camera Movement Matters on Assignment
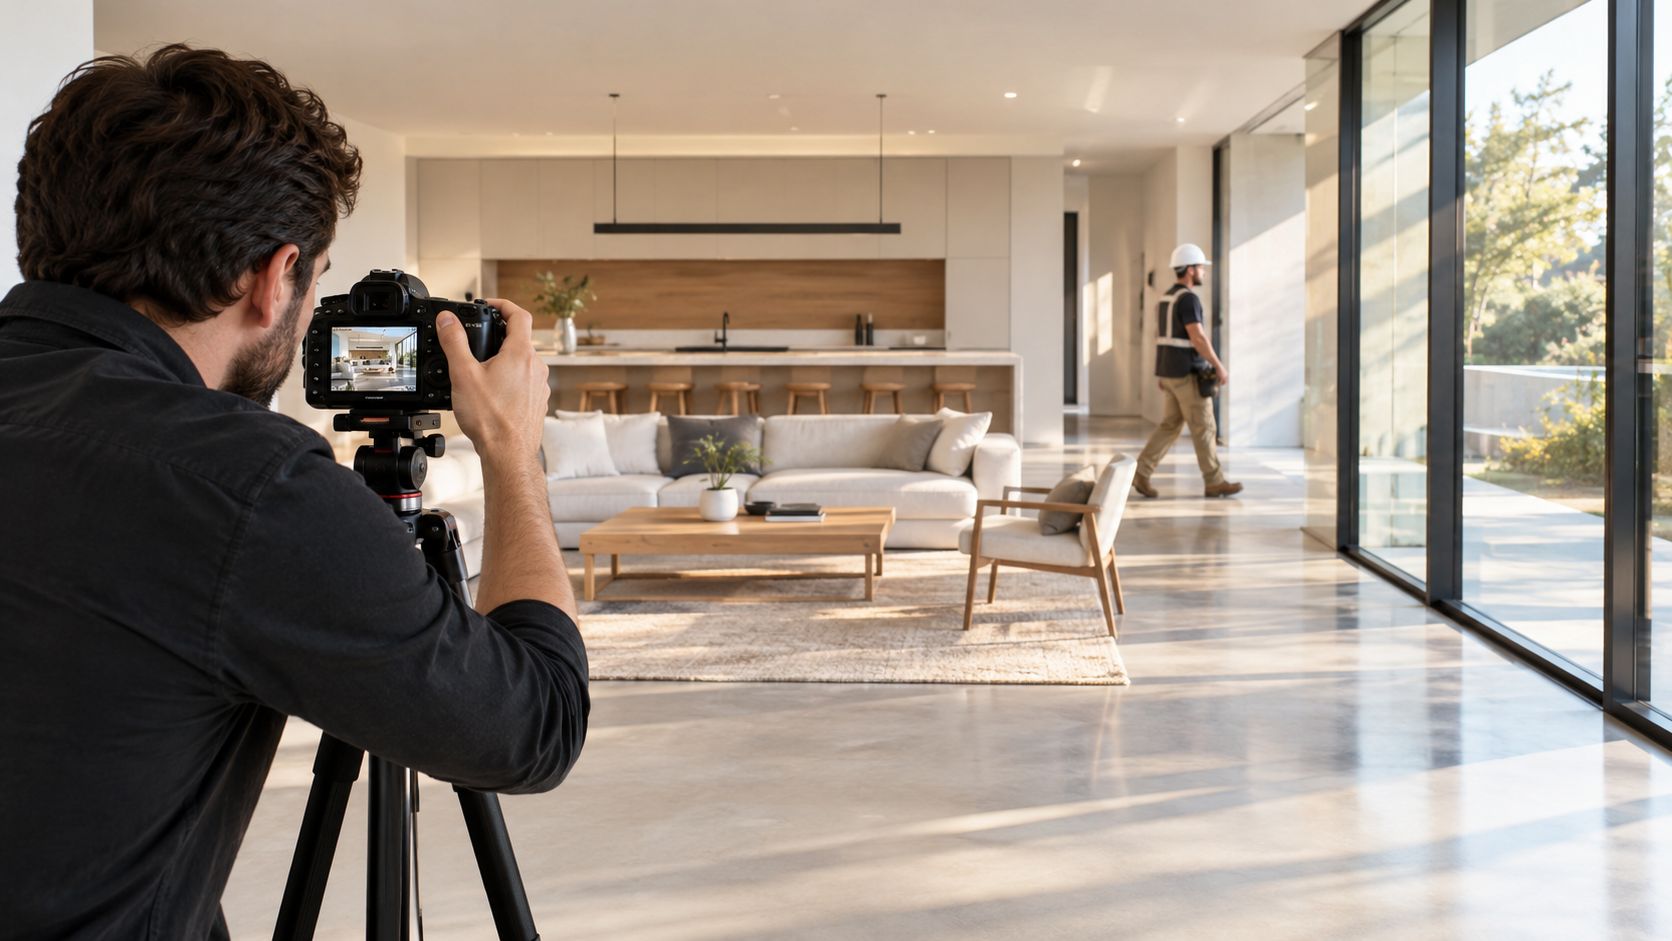
A live architectural shoot rarely stays still. Someone is carrying materials through a newly completed room, a lift is crossing the edge of an exterior frame, or changing daylight is moving across a wall faster than expected. You may have only a short window before the scene changes, so a camera that drifts during exposure can cost the frame even when the composition looked correct on the rear screen.
The problem isn't limited to visible blur. Small movement can soften joinery, reduce the authority of a clean edge, and make a room feel less stable than it is. In architectural imagery, a slight change in viewpoint can also alter the relationship between parallel lines, furniture, openings, and foreground surfaces. The photograph may remain technically usable, yet fail to communicate the precision of the space.
Stabilization protects more than sharpness
A tripod gives you a repeatable camera position. That matters when you're blending exposures, refining a composition after the room clears, or matching a view for detail and wide frames. A stabilized lens or sensor can help when the camera must stay mobile, but it doesn't provide the same compositional discipline as a locked support.
I treat stabilization as a creative decision made before pressing the shutter. A stable camera lets you decide whether a vertical should remain perfectly controlled, whether a reflection belongs in the frame, and whether a moving person is part of the story or an obstruction. For commercial work, that control often matters more than the convenience of shooting quickly.
Practical rule: Use stabilization to preserve the decision you made in the viewfinder, not to excuse a decision you haven't made.
That principle applies across architectural, interiors, property, and corporate assignments. A useful architectural photography and video workflow starts with viewpoint, light, and subject timing. Camera stabilization supports those choices, but it doesn't replace them.
How Stabilization Systems Detect and Counter Motion
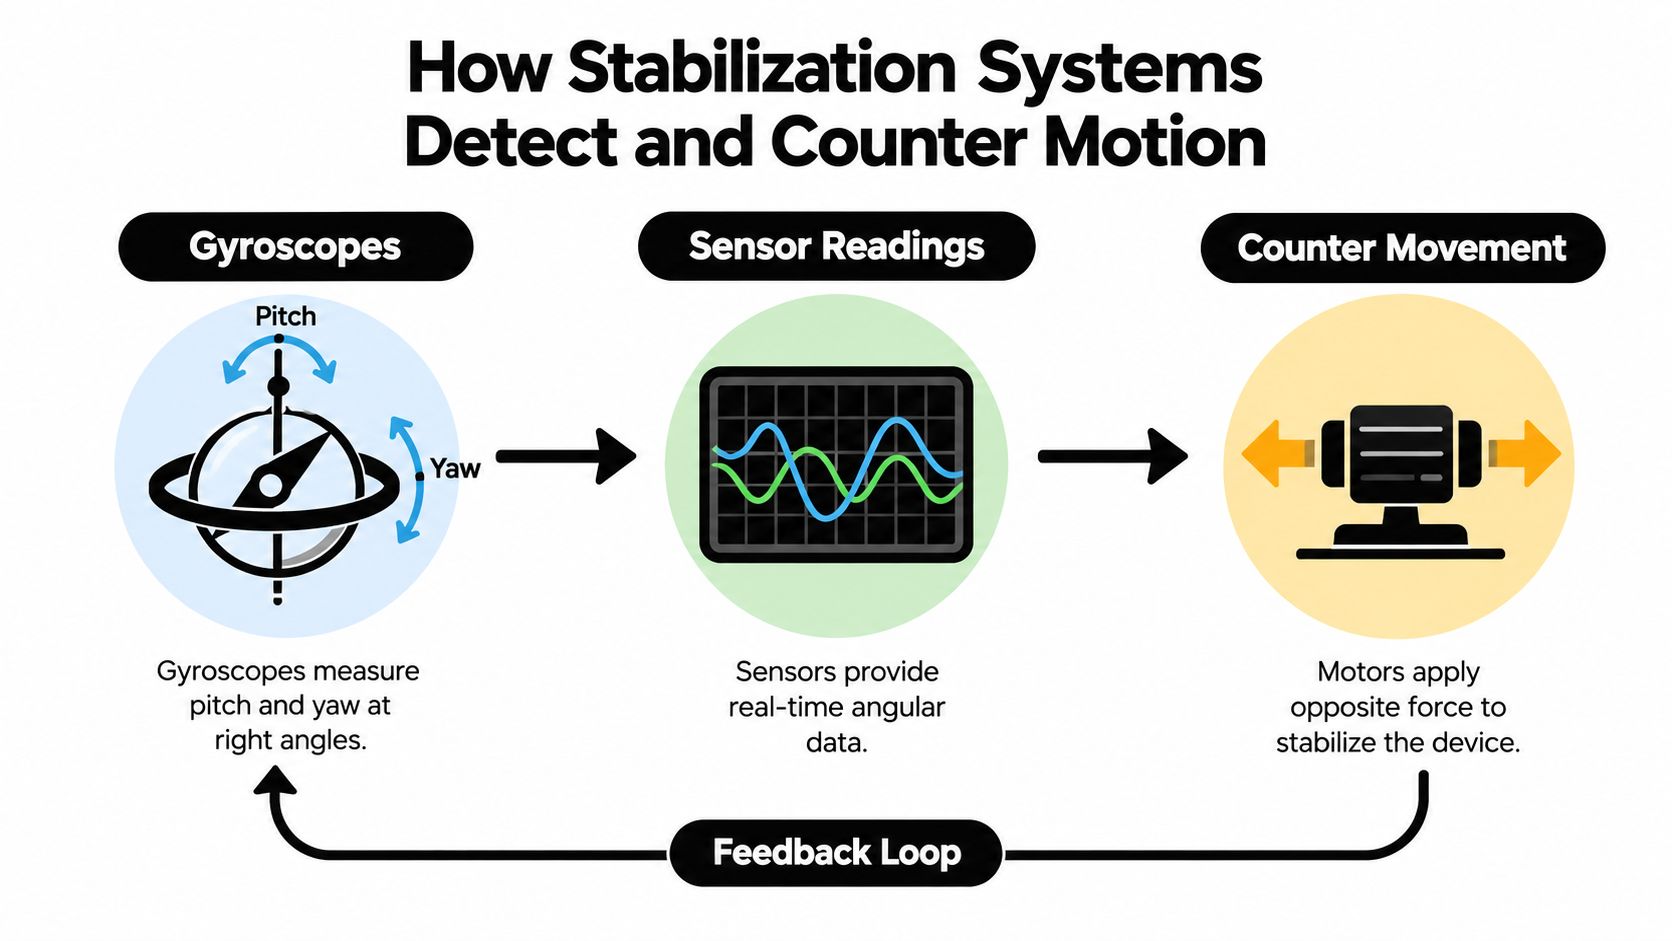
Every stabilization system follows the same broad logic. It detects unwanted movement, separates that movement from the motion you intend, and applies an opposing correction. Think of a weighted platform that tries to remain level while the hand beneath it moves. The platform doesn't eliminate the hand's motion. It counters it quickly enough to keep the load steady.
The detection stage
In a conventional camera stabilization design, two gyroscopes detect pitch and yaw while positioned at right angles to each other. Pitch is the forward and backward rotation you make when tilting the camera, while yaw is the side-to-side rotation created when the camera turns left or right. The gyroscopes measure angular velocity, giving the system a rapid signal about how the camera is moving.
That signal becomes useful only after the camera interprets it. The system integrates the readings into an estimate of orientation, filters out movement that appears intentional, and calculates how much correction is required. The goal isn't to hold every camera motion rigidly. A deliberate pan should remain a pan, while a small hand tremor should disappear.
The correction stage
Lens-based optical stabilization shifts an optical element laterally to redirect the image before it reaches the sensor. Sensor-shift stabilization moves the sensor instead, using the same basic principle from inside the camera body. In both cases, the system needs a fast feedback loop between the gyroscopes, the control electronics, and the motors that apply the correction. A useful technical explanation of this mechanical loop is provided in the Stanford lecture on image stabilization.
Digital stabilization works later in the chain. It uses motion information, often from a gyroscope, and transforms each video frame with a homography or related image-plane adjustment. The software shifts or warps the frame to create a smoother sequence, usually sacrificing some edge area to preserve a stable central image.
The distinction matters on assignment. Physical correction can help during exposure, while digital correction acts on recorded frames. Neither method knows whether a sudden movement came from a passing subject, a foreground obstruction, or the operator's hand unless the system has enough context to interpret it.
A practical visual explanation can also help when training assistants or evaluating rental equipment:
The most reliable systems behave like disciplined assistants. They react quickly, leave intentional movement alone, and avoid making the correction visible in the final image.
Comparing Mechanical, Optical, Digital, and Sensor Stabilization
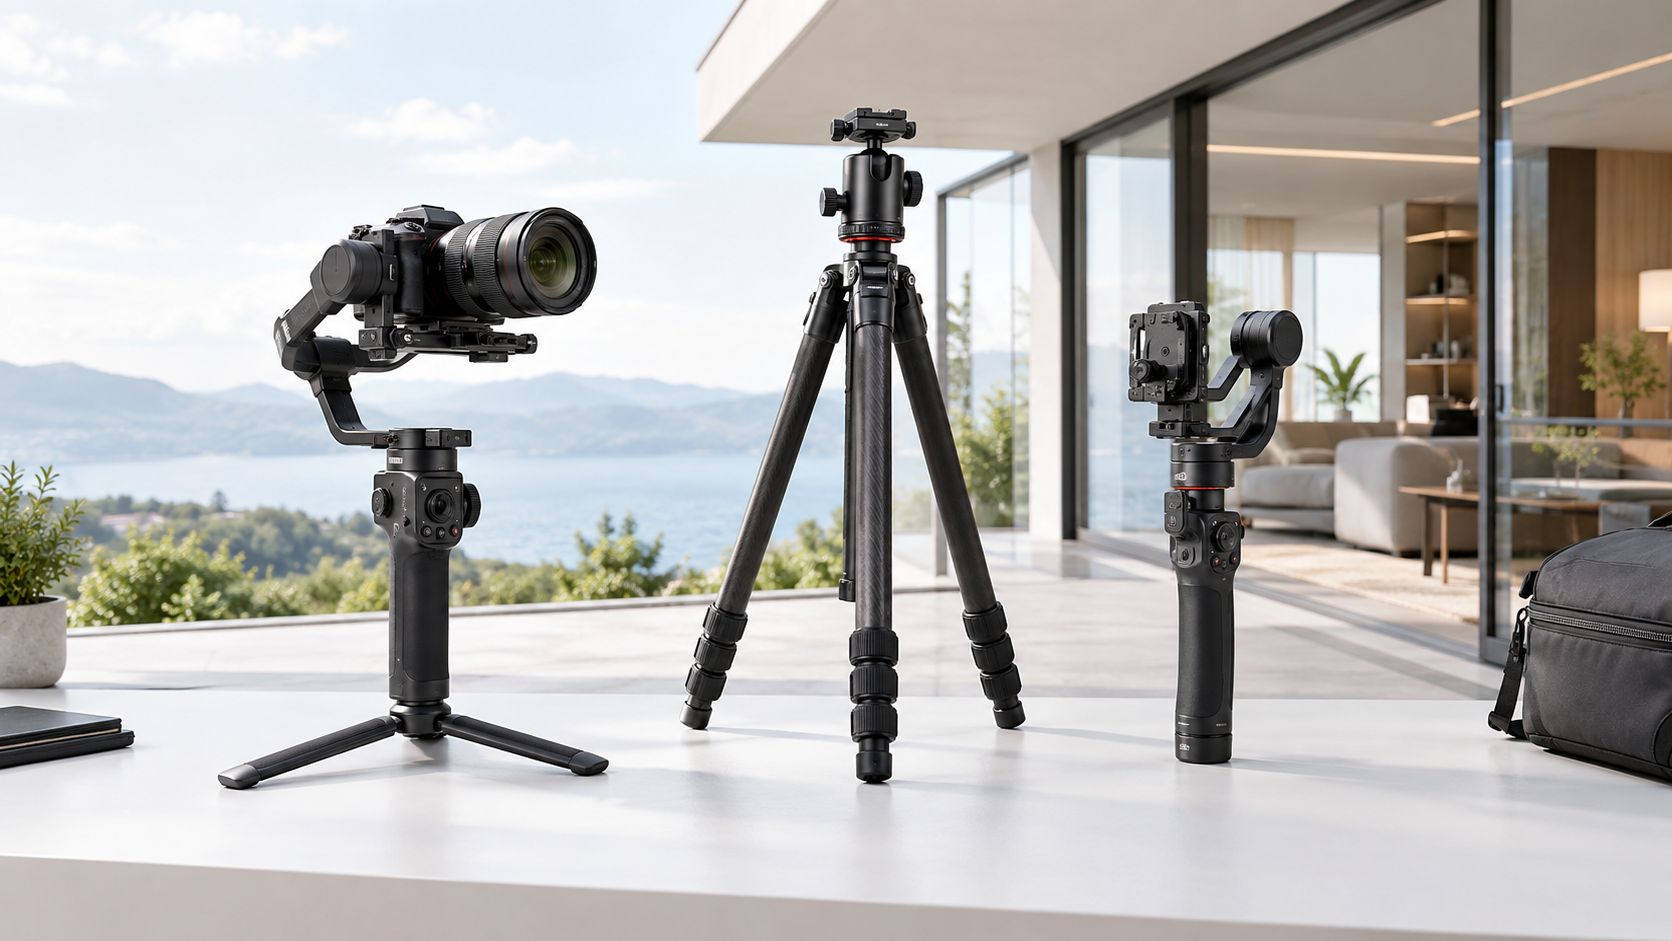
The right system depends on whether the camera is locked, moving, handheld, or recording video for later correction. A gimbal can control the camera's orientation through physical motors. Optical stabilization corrects movement inside the lens. Sensor-shift correction moves the recording surface. Digital stabilization changes the recorded frames, which can be effective but may crop or distort the image.
Mechanical support and gimbals
A tripod remains the strongest choice for precise still imagery. It gives you a stable viewpoint, supports exposure blending, and makes small composition changes deliberate rather than accidental. A gimbal is better suited to controlled movement, walkthroughs, reveals, and short corporate sequences where the camera must travel without the abrupt changes created by handheld operation.
The trade-off is setup. A gimbal needs balancing, calibration, and a movement path that gives its motors room to work. It can also encourage unnecessary motion. A moving camera isn't automatically more professional than a locked one.
Optical and sensor-shift correction
Optical image stabilization works especially well for handheld detail work, longer lenses, and situations where a tripod would slow the assignment. Its behavior depends on the lens and focal length, and it may not correct every axis equally. Sensor-shift systems offer body-level flexibility across compatible lenses, but their performance still depends on the camera's sensing, the lens data available to the body, and the movement in the scene.
Neither approach stops a person from moving during the exposure. They address camera shake, not subject motion.
Digital correction
Digital stabilization is convenient for video captured without a physical support. It can smooth minor shake and simplify a fast workflow, but it needs image area to reposition frames. Stronger movement can produce visible warping, edge changes, or a less natural perspective, especially when architectural lines dominate the shot.
Independent testing is best read with care. Benchmark research on stabilization distinguishes controlled lab measurements from practical handheld results. CIPA-style claims are expressed in stops of blur reduction, while field performance changes with focal length, grip, and subject movement. A comparison cited roughly 5.5 to 8.0 stops for modern hybrid IBIS and OIS systems under controlled conditions, but practical gains were materially lower, so those figures should be treated as a ceiling rather than a promise.
| Method | Best For | Main Limitation | Typical Workflow Impact |
|---|---|---|---|
| Tripod and mechanical support | Precise stills, blended exposures, controlled viewpoints | Slower repositioning and limited mobility | Improves repeatability and composition |
| Gimbal or steady mount | Moving video, reveals, walkthroughs | Balancing, calibration, and motor management | Adds setup time but supports smooth camera travel |
| Optical stabilization | Handheld details and longer-lens work | Depends on lens behavior and focal length | Keeps the camera mobile without relying on post |
| Sensor-shift stabilization | Handheld stills across compatible lenses | Doesn't freeze subject movement | Extends flexibility when a tripod isn't practical |
| Digital stabilization | Minor video shake and fast capture | Cropping, warping, and geometry risk | Reduces editing effort but requires careful review |
Choosing Stabilization for Architecture and Commercial Shoots
Start with the assignment, not the equipment case. A sweeping exterior usually benefits from a locked viewpoint and careful timing. A refined interior may need a tripod for clean verticals and exposure control, while a short moving sequence through the same space may justify a gimbal. A handheld product detail or corporate environmental portrait can often use optical or sensor-shift correction when the camera must stay responsive.
Match support to the scene
For a façade, I'd first ask whether the frame depends on exact geometry. If it does, a tripod gives the composition a stable reference while light changes. For a tight interior, the same support helps preserve a carefully chosen relationship between walls, openings, and furnishings. A gimbal becomes valuable when movement itself communicates circulation, scale, or the connection between spaces.
Fast product reveals create a different problem. The camera may need to move around an object while maintaining a consistent horizon, and a gimbal can provide that physical control. For team portraits, stabilization matters less than timing, direction, and focus, although a stabilized lens can still make handheld repositioning more forgiving.
Use shutter speed as a safety boundary
The reciprocal rule offers a starting point for handheld sharpness. Use a shutter speed at least equal to the inverse of the effective focal length, so a 125 mm lens suggests roughly 1/125 second or faster to reduce blur from camera shake, as outlined in this reference on image stabilization and the reciprocal rule. Stabilization can let you work below that starting point, but it doesn't remove the need to test the result at the actual focal length and distance.
Light also changes the decision. In a dim interior, a stabilized camera may preserve a static architectural frame at a slower shutter speed, while a moving person still requires a faster exposure. If the image needs both a sharp room and a sharp person, add light, change the timing, or create a controlled composite rather than expecting stabilization to solve both problems.
Aerial context can influence the same planning conversation. For site documentation, drone photography for site surveying introduces different movement, vibration, and viewpoint concerns from ground-based work. The principle remains consistent: define the visual purpose first, then choose the support that preserves it.
When Stabilization Can Introduce Artifacts or Distortion
Stabilization can make a frame look worse when the scene gives the system conflicting information. A slow pan across a room with strong foreground parallax may cause digital correction to bend or stretch architectural lines. A passing object close to the camera can also confuse the motion estimate, especially when the background remains comparatively static.
Rolling shutter adds another complication. Different parts of a sensor may be read at different moments, so a quick rotation can deform verticals before software begins correcting the footage. Technical research on digital stabilization addresses rolling-shutter artifacts, low-illumination scenes, and large foreground motion, which is why stabilization should be judged against the scene rather than treated as a universal improvement. The technical research on electronic image stabilization is useful background for understanding those limits.
Low light reveals weak correction
In low light, the camera may already be working with slower shutter speeds, less visible detail, and noisier motion signals. A digital system can struggle to identify reliable features, while physical stabilization may preserve camera position without solving subject movement or focus instability. The resulting frame can be technically stabilized yet still lack the crisp edge detail required for an architectural deliverable.
High-resolution capture makes small inconsistencies easier to see. As sensor resolution and readout behavior change, traditional electronic correction can expose micro-movement artifacts instead of hiding them. High-resolution footage is particularly sensitive to small warps, shifting edges, and unnatural texture changes.
Watch the edges and the lines
Review critical footage at full size on location. Look at door frames, mullions, countertops, signage, and other straight references. During a tilt or pan, watch for geometry that bends, pauses, or snaps back. Those signs indicate that the stabilizer is interpreting intentional movement as unwanted shake, or that the scene contains more parallax than the correction can manage.
For stills, compare frames at the detail level rather than trusting the camera's stabilized preview. If the assignment demands faithful lines and exact surfaces, a short pause on a tripod often produces a more dependable result than aggressive correction applied later.
The Shift Toward AI Tracking and Smarter Gimbals
Stabilization hardware is moving beyond simple shake reduction. Recent market coverage describes a shift toward AI-assisted subject tracking, motion prediction, and lighter payload-focused designs, with 2026 gimbals emphasizing those capabilities, as reported in camera stabilizer market coverage. That direction gives creators more assistance, but it also creates a new choice between automatic behavior and deliberate control.
AI tracking can be valuable when the subject moves unpredictably. A presenter walking through a workplace, a person demonstrating a product, or a creator working alone may benefit from a system that keeps the subject within a usable frame. It can reduce the need for a second operator and make a moving shot easier to repeat.
Automation needs a clear job
Architectural work often has a different priority. The building, not the person, is the subject. An automated system may follow a person into the wrong part of the frame, re-center when the composition should remain weighted to one side, or introduce movement that weakens a carefully measured relationship between lines and negative space.
For corporate work, tracking can help with informal interviews and active demonstrations, but editorial-grade portraits usually benefit from fixed framing and intentional direction. The operator should decide whether the subject moves through the composition, not allow the gimbal to keep correcting toward the middle.
A compact device such as a 360 rotation selfie stick for content creators can be useful for solo presenters or mobile content where automated framing is the point. That doesn't make it the right tool for every commercial scene. Evaluate whether tracking protects the intended composition, reduces operator workload, or merely adds another moving decision.
Composition test: Disable tracking for a take and repeat it with tracking enabled. Keep the mode that produces the more intentional frame, not the one with the more impressive feature list.
Practical Gear, Rental, Maintenance, and Settings Guidance
Choose support by payload, movement, and the cost of failure. A tripod should lock firmly and allow precise adjustments. A gimbal should balance the complete camera, lens, and accessory combination, not just the camera body. For critical interior stills, this guide to tripods for architectural photography is a useful reference point when evaluating stability and positioning.
Before renting, test the actual camera and lens combination. Check balance, motor response, cable clearance, battery condition, plate compatibility, and whether the support can hold the required orientation without drifting. Record a short pan, tilt, and static take, then inspect straight lines and fine textures at full size.
Use this assignment checklist:
- Balance first: Set the camera on the support before powering motors or enabling active correction.
- Set a sensible shutter: Start with the reciprocal rule for handheld work, then adjust for subject movement and available light.
- Review critical frames: Inspect edges, verticals, reflections, and fine surface detail on location.
- Disable conflicting modes: Turn off electronic correction when cropping or warping threatens exact geometry.
- Maintain the system: Keep mounting plates, contact points, moving joints, and lens interfaces clean and secure.
- Pack a fallback: Carry a reliable tripod or simple mechanical support when a gimbal or electronic mode could fail.
Stabilization works best when it's tested before the deadline, not discovered during delivery review. A few deliberate checks on site can prevent a technically smooth sequence from becoming a visually distorted one.
Jimmy Clemmons Photographer brings precise composition, controlled lighting, and practical on-set direction to architectural, commercial, and corporate imagery. If your next assignment needs stable, faithful visuals that respect both the space and the schedule, visit Jimmy Clemmons Photographer to discuss the project.