
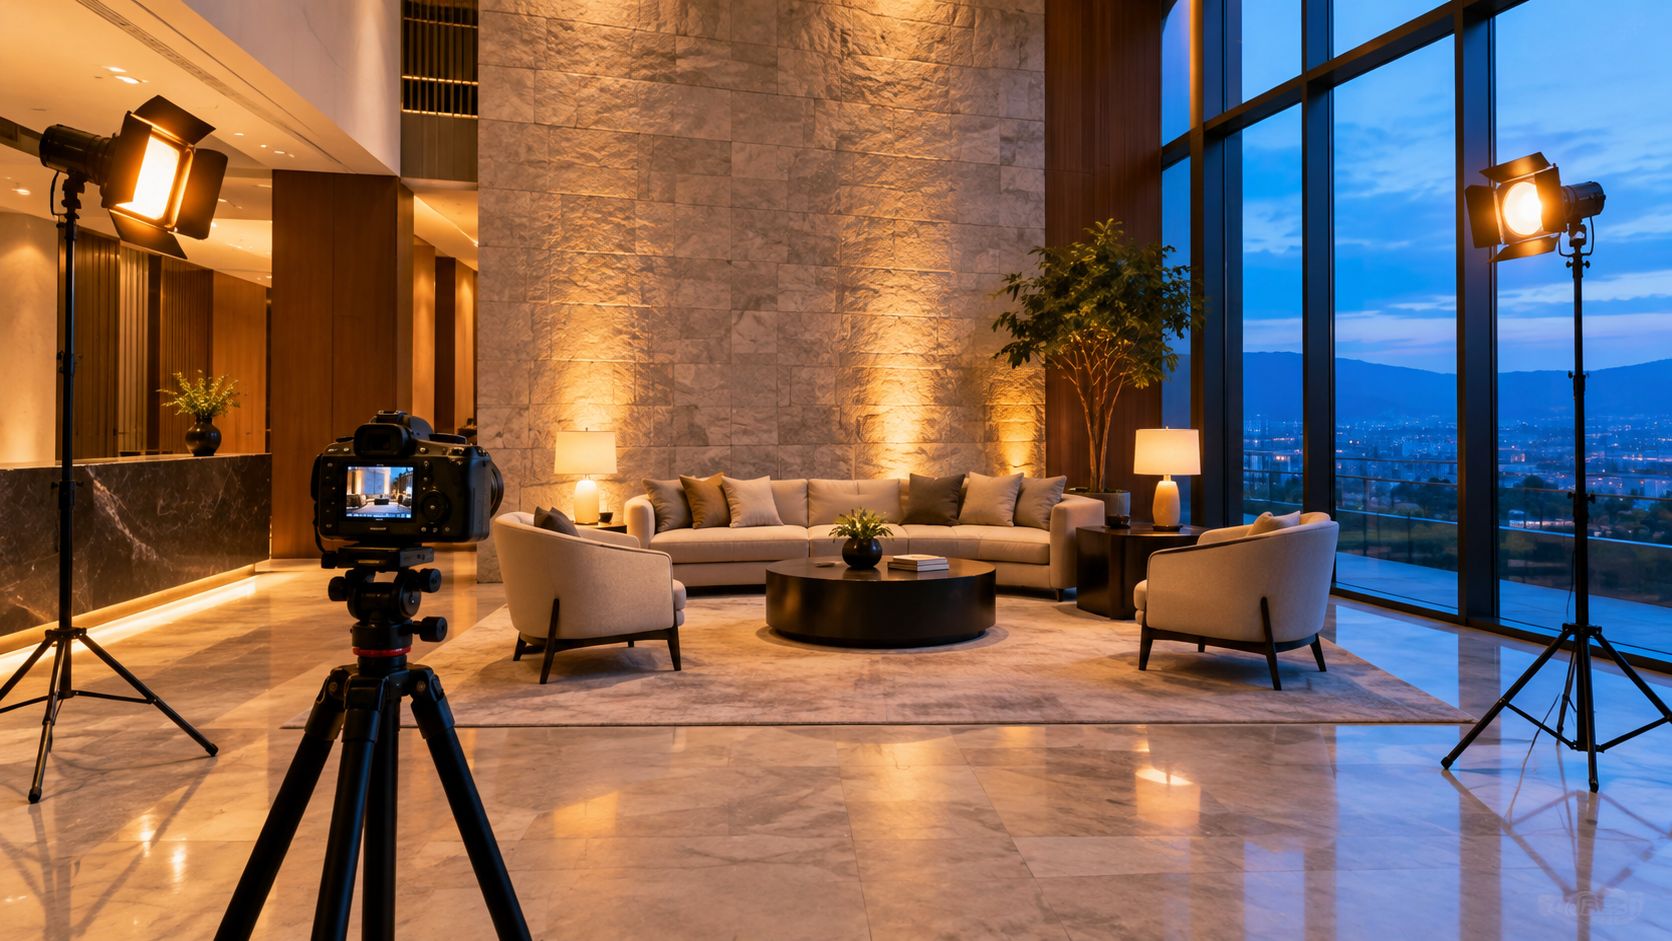
The interior is almost ready for its evening shoot. Daylight is thinning at the windows, practical lamps are already warm, and the client wants the photographs to feel like the room does when people are using it. A continuously burning source lets you see the shadow on the wall and the reflection in the glass before you take the frame, so you can adjust the light while the scene is still in front of you.
That visibility makes hot light photography a useful choice for built spaces, but it comes with trade-offs in heat, color, and power. The right decision isn't about nostalgia or wattage alone. It's about whether tungsten's predictable rendering and real-time control help the finishes, people, and mixed light in this particular room.
Why Hot Light Photography Still Shapes Rooms
A lobby at dusk may combine cool window light, warm table lamps, and a bright reception desk. A continuously lit source lets the photographer judge how added illumination affects stone, painted walls, and glass while composing. The shadow and reflection are visible before the exposure, so adjustments can happen in response to the actual room.
Hot-light photography uses continuous sources, commonly tungsten or metal-halide fixtures, rather than a brief flash. The defining feature is the working method: light stays on as the scene is composed. That makes its direction and spill easy to assess, but the choice also affects finish accuracy, the balance with daylight and practical lamps, and comfort in an occupied space.
A studio tradition built around visible light
Tungsten fixtures have a long studio history. Broad lights, Fresnel units, and ellipsoidal fixtures gave photographers distinct ways to control direction and shadow. Their continuous output suited architectural, still-life, and posed editorial work, where the photographer could judge the lighting on the subject and refine it before taking the frame. The history of hot lights and studio practice traces that tradition and its continuing influence on continuous-light photography.
Tungsten's warm color also shaped film practice. Tungsten-balanced film was designed to render scenes under these sources without the pronounced warm cast that daylight-balanced film would produce. In a finished room, that distinction matters: a warm lamp, neutral stone, and painted surface can shift differently under a mixed-light setup. Check the actual finishes and existing sources together, rather than treating tungsten as a neutral fill.
The practical question is whether the source improves the room's light relationships. Continuous illumination makes shadow placement and reflections easy to inspect, while tungsten can complicate color matching, add heat, and increase electrical demand. In a space where people need to work comfortably or surfaces must retain precise color, another source may be the better choice.
Choosing Fixtures and Managing Heat Safely
A hot light stays on while you compose, meter, and photograph. That gives you a live view of its effect, but the same operating principle puts heat into the room for the entire setup. Before plugging in, account for the electrical load, the space around the fixture, the materials nearby, and how long the lamp will run.
Plan for output, not just the fixture label
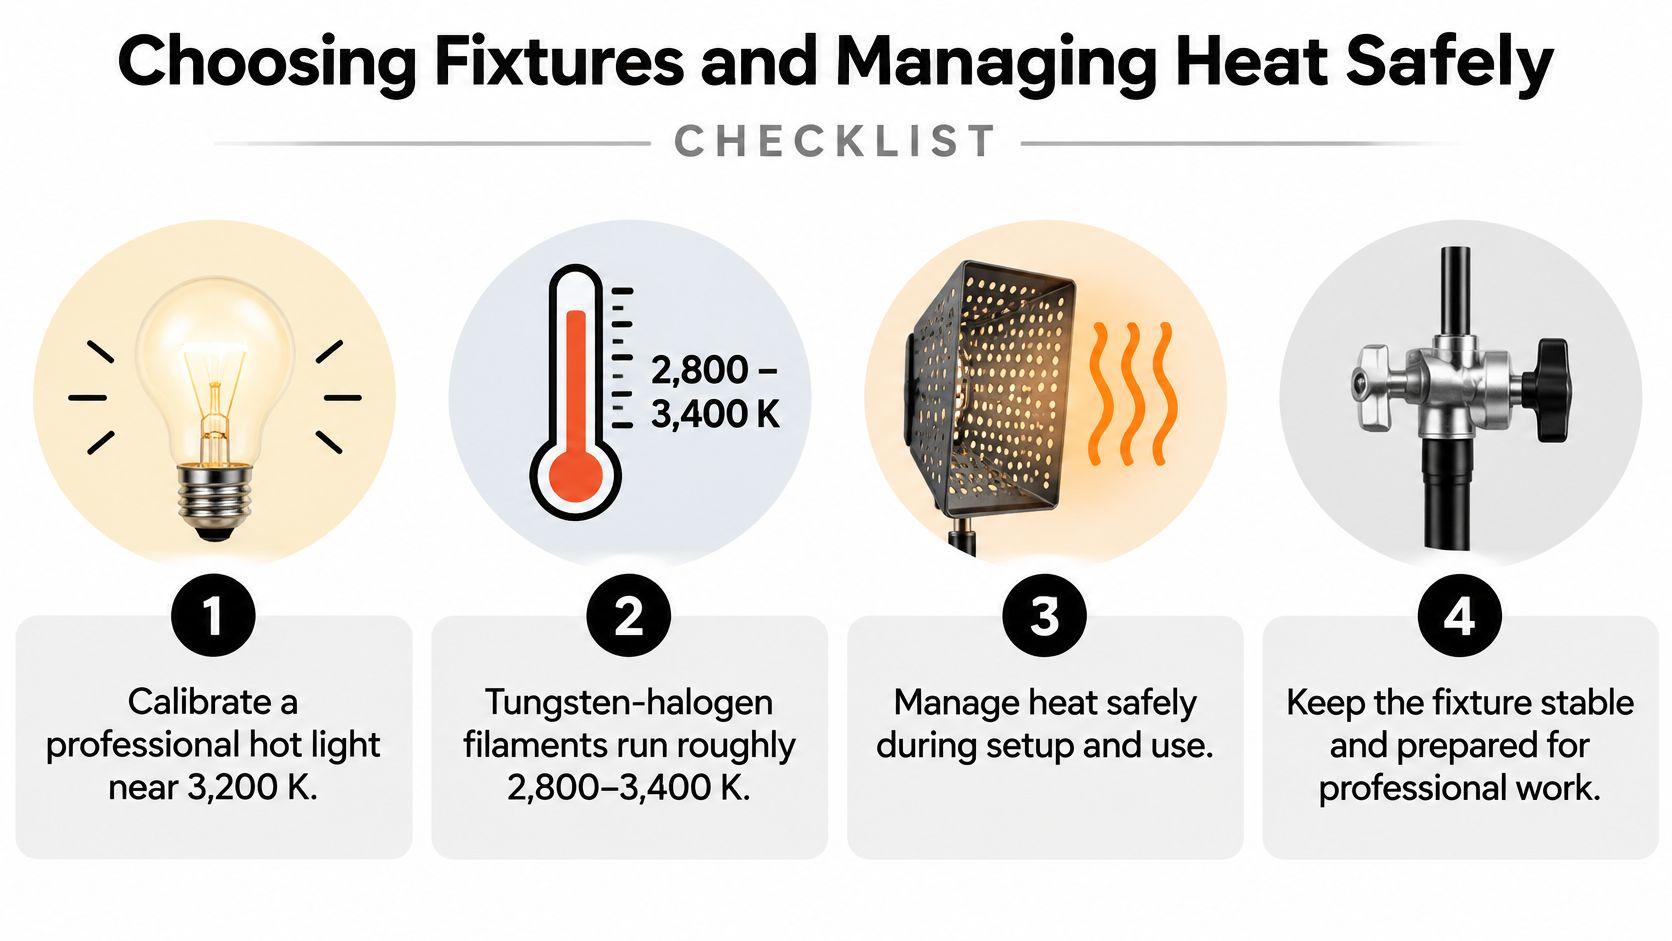
Tungsten-halogen filaments operate roughly between 2,800 and 3,400 K, while professional fixtures are commonly calibrated near 3,200 K. The efficiency trade-off is substantial: only about 5–10% of electrical input becomes visible light. A 1,000-watt fixture therefore produces approximately 50–100 watts of visible light, while roughly 900–950 watts becomes heat and nonvisible radiation. A technical overview of hot-light characteristics explains why continuous illumination combines precise control with a significant thermal load.
A measured 3,200 K tungsten-halogen source peaks near 900 nanometers, in the near-infrared range. The room can warm considerably even when the image doesn't look especially bright. That matters when you're planning circuits, placing stands, and deciding whether people or heat-sensitive props can remain nearby.
Keep heat away from people and finishes
Start by checking the fixture, stand, clamp, cable, and any modifiers before the lamp is switched on. Keep the head clear of fabric, wood, painted surfaces, and archival objects. Diffusion, soft boxes, and other materials must not touch the fixture, and they need enough distance to avoid scorching or overheating.
Ordinary tungsten sources have relatively low ultraviolet output, averaging about 70 microwatts per lumen, while heat and drying are the primary conservation concerns. Tungsten-halogen lamps can emit roughly 100–150 microwatts per lumen, so lamp type and exposure duration both matter. Guidance on ultraviolet and heat from lighting supports the practical precautions: keep the source farther from sensitive objects, limit operating time, and monitor the room temperature.
On-set rule: If a person or prop is getting uncomfortably warm, move the fixture or turn it off while you reset. Don't treat discomfort as the cost of a usable frame.
For equipment planning, compare fixture options and supporting hardware through ATEK Distribution lighting products and accessories. The key is to arrive with a stable setup and a heat plan, not to assume a powerful lamp can run close to every surface.
Building Exterior and Interior Lighting Setups
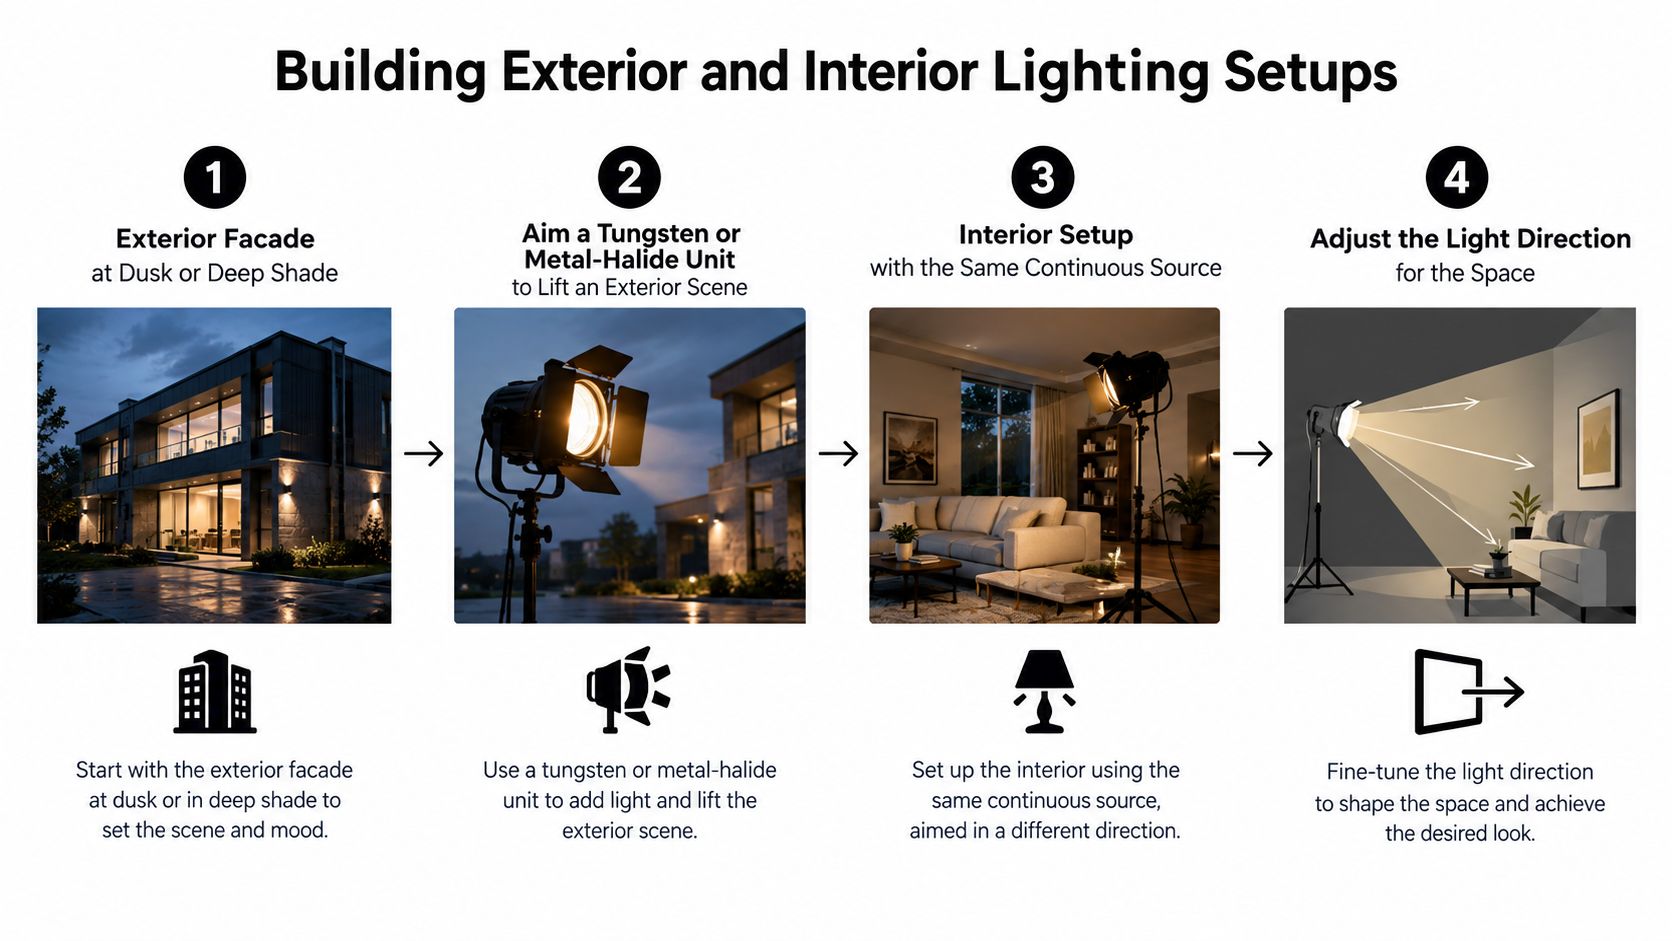
A continuous source can lift a facade at dusk without trying to overpower the sky. On a shaded entry, aim the beam at the canopy or a sample of the exterior material, then watch how the highlight moves across stone, metal, or signage. Because the light stays on, you can see when it starts spilling onto neighboring surfaces or creating an unwanted reflection in glass.
Keep the fixture out of reflective sightlines. If a window or glazed door shows the lamp, shift the angle or move the fixture until the reflection leaves the composition. The goal isn't to make the exterior look uniformly bright. It's to give an important architectural feature enough definition while preserving the ambient character of the scene.
Let the room guide the light
Indoors, start with a key that models a wall or furniture group. Add a lower fill only when the far side falls too dark to read, and leave practical lamps in the frame if they help the room feel occupied. Watch the shadow edge, ceiling spill, and scrim effect while the light is on. A flash may hide those changes until a test exposure; continuous light makes them visible as you adjust.
The comfort cost is real. Continuous fixtures can add thousands of watts of thermal energy to a set, causing people to perspire and delicate props to suffer if lamps run too long. A practical introduction to studio lighting notes the heat burden of continuous fixtures and the need to keep modifiers from overheating.
Consider two hypothetical walkthroughs. In a lobby, raise the key enough to model the reception wall, then angle it across the desk rather than straight into a reflective front. Keep practical lamps on, and turn off a competing ceiling fixture if it creates an uneven bright patch. In a residential living room, use a lower angle to shape the seating group, preserve a readable wall behind it, and switch off a practical that throws a distracting shadow across the sofa.
For another example of how a continuous source can be aimed and controlled around reflective surfaces, see Photo Speak's studio car photography guide. The subject differs, but the same habit applies: watch the surface as you move the light, rather than relying on fixture position alone. This overview of artificial lighting in photography offers additional context on shaping a scene with controlled sources.
Locking Exposure and White Balance on Set
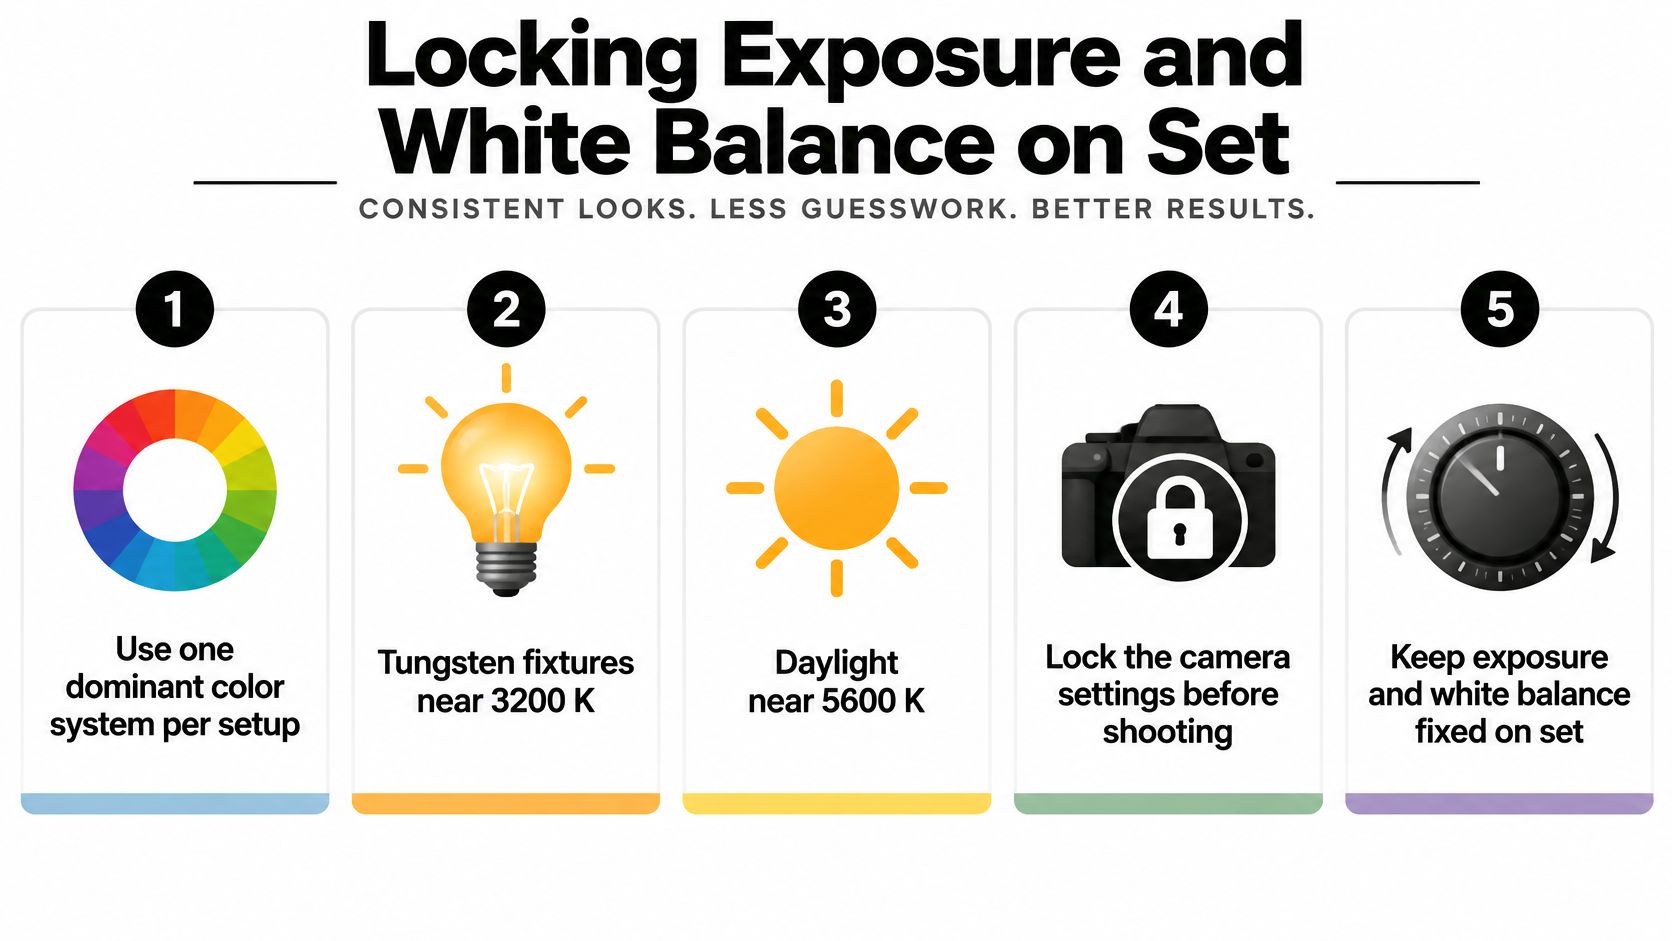
A consistent frame sequence begins with one dominant color system. Traditional tungsten fixtures sit near 3,200 K, while daylight is approximately 5,600 K. Set the camera's Kelvin white balance to match the look you intend, then lock it for the setup instead of letting automatic white balance reinterpret each frame. A guide to color temperature and light explains why the mismatch appears as a color cast.
Under tungsten light, a daylight-oriented white-balance setting produces a yellow-orange image. Under daylight, a tungsten balance tends toward blue. Values below approximately 3,500 K are generally in the tungsten range, so the camera setting should reflect which source is meant to lead.
Repeat the same reference sequence
Use a predictable order so that later views share a dependable raw baseline:
- Meter the key. Establish exposure before adjusting color.
- Set the intended Kelvin baseline. Choose tungsten or daylight for the look you want.
- Photograph a gray card or calibration target. Place it under the actual key-light arrangement.
- Lock white balance. Keep the setting fixed for the sequence.
- Shoot a test frame. Include a neutral wall and a saturated surface, such as painted millwork or colored fabric.
When windows are in the composition, choose one of three approaches. Add CTB to tungsten sources to move them toward daylight; add CTO to daylight sources to move them toward tungsten; or leave the window deliberately cool against a warm interior. The choice is about how the two sources relate in the finished picture, not a setting the camera should decide automatically.
Automatic white balance between frames can shift the appearance of paint, stone, fabric, skin, and brand colors. Tungsten also emphasizes reds, oranges, and yellows, so inspect warm finishes and skin in the test frame before making the hero exposures. If the result is too warm, adjust the fixture, gel choice, or light intensity rather than allowing the camera to compensate unpredictably.
Shaping Spill and Blending Window Light
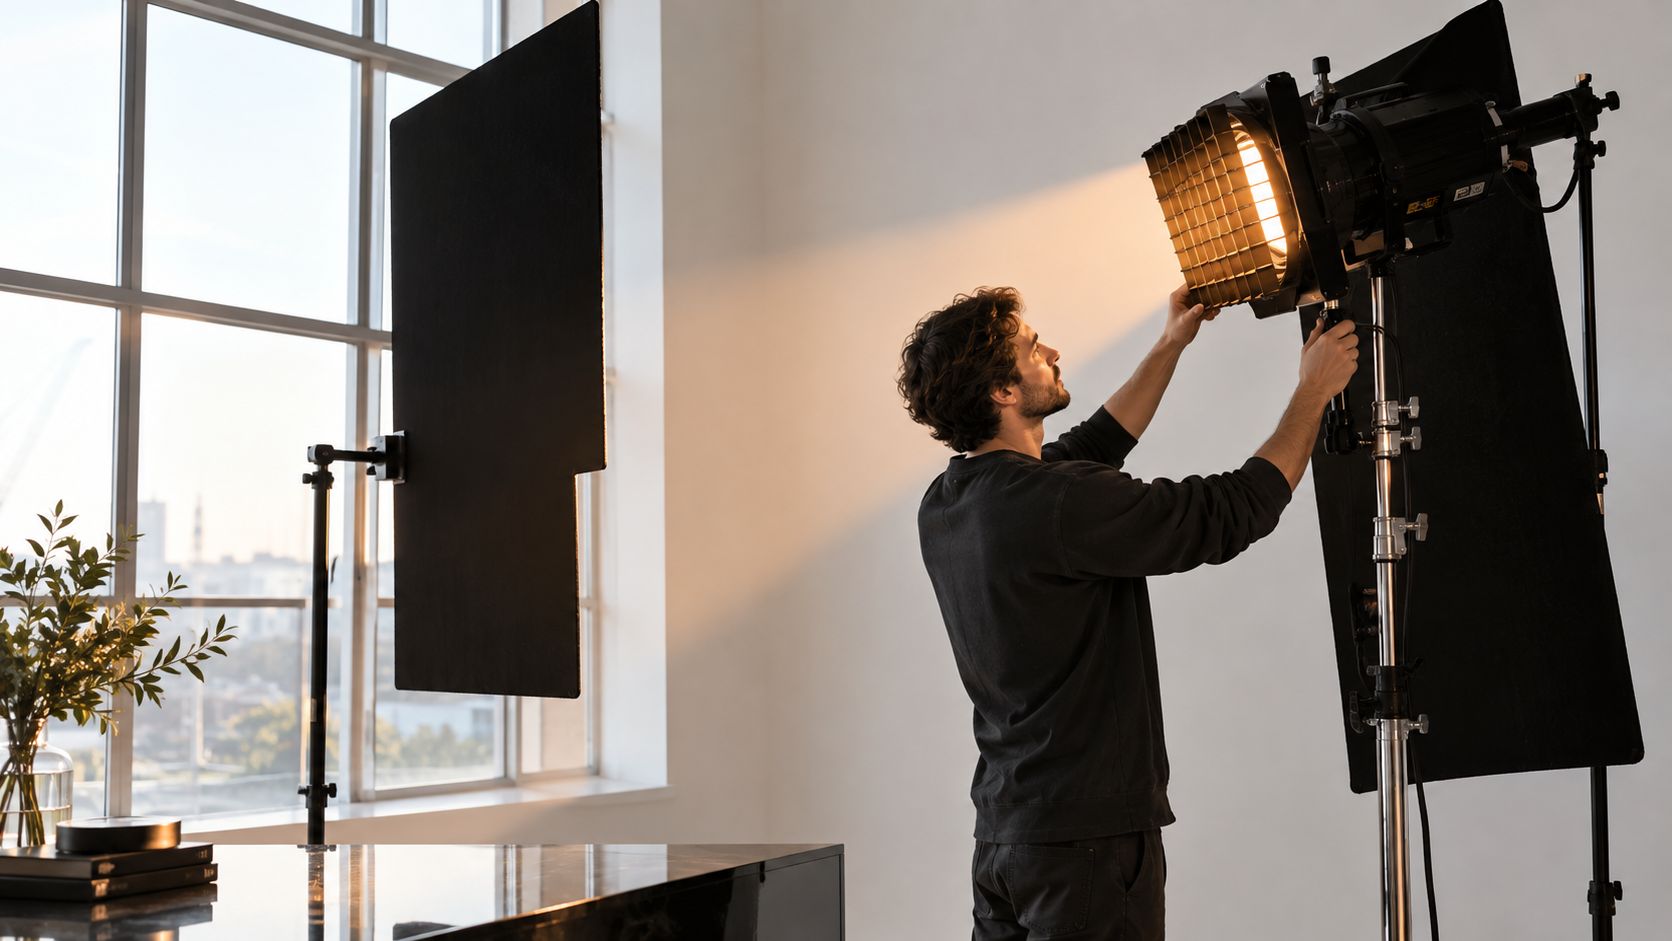
Once the color approach is set, control where the light falls. A flag can keep a tungsten beam off a glossy ceiling or glass elevation. A grid can narrow a Fresnel or open-face head so a column reads clearly without flooding the next bay. Diffusion softens the source, but it still needs to sit far enough from the lamp to avoid scorching.
Give window light a clear role
Decide whether the window is the key or an accent. If daylight should carry the room, lower the artificial level until it supports the architecture instead of replacing the window's natural shape. If the hot light is the key, let the window sit cooler or reduce its visual dominance without flattening the room. The important test is whether the combined light still describes the space accurately.
A useful capture sequence gives the editor options without turning the set into a collection of unrelated looks. Make a wide frame that shows how light moves through the room, then a tighter frame that reveals a particular material. Capture a third version with the hot light lowered or flagged, so you can compare shadow depth later.
For portraits or team photographs in a branded interior, continuous light lets you direct expressions while seeing how the key falls on faces. Keep those takes efficient. People shouldn't have to stand under a hot fixture while the crew fine-tunes a beam or resets a frame. For more on using existing daylight as a photographic source, see this guide to window-light photography.
Practical check: Before the final frames, inspect the brightest glass, the ceiling near the key, and the shadow side of the main subject. If spill is visible there, flag or redirect it rather than trying to repair every consequence in editing.
When Hot Lights Beat Strobes and LEDs
Gear comparisons often collapse three different questions into one: color temperature, spectral power distribution, and power efficiency. Tungsten is predictable near 3,200 K and can match warm practical lamps or create controlled, warm interiors. Its continuous, blackbody-like output can be useful for evaluating how a finish responds under a stable spectrum, while premium LEDs may still show small spectral irregularities.
That doesn't make tungsten the right choice for every room. LED systems can use about 70% less electricity than equivalent tungsten setups, while producing less heat. Strobes make more sense when the subject moves, daylight is strong, or the circuit and room can't support a long tungsten burn. A comparison of hot lights and modern continuous lighting frames the decision around the qualities of the finished image and the conditions on location, not brightness alone.
| Criterion | Tungsten hot light | Strobe | LED continuous |
|---|---|---|---|
| Finish accuracy | Predictable warm rendering can suit practical lamps and warm materials; check saturated finishes and skin. | Color depends on the flash source and the surrounding light; evaluate a test frame. | Often practical for controlled color and tunable setups, though premium units can have small spectral irregularities. |
| Heat | High heat calls for distance, short operating periods, and care around sensitive finishes. | The brief flash avoids a long continuous burn. | Generally cooler-running than tungsten. |
| Power | Low visible-light efficiency creates a substantial electrical and thermal load. | Suited to exposures where a brief burst is more practical than a sustained lamp. | Can use about 70% less electricity than an equivalent tungsten setup. |
| Mixed-light correction | Useful for matching warm practicals; daylight still needs an intentional color decision. | Requires consideration of ambient light and flash color together. | Tunable options can help, but existing practicals and windows still need to be assessed. |
| Comfort | Continuous heat can make a small room uncomfortable. | No sustained hot beam on the subject. | Usually more comfortable in confined spaces than tungsten. |
| Retouching time | Consistent light can simplify matching frames, but mixed color and warmth still need review. | A test exposure reveals the result, and movement can be easier to manage. | Continuous preview helps with direction and spill; mixed-source correction may still be needed. |
The decision is whether tungsten's rendering remains visible after white balance and color management. If it gives wood, stone, textiles, or skin a quality that matters to the brief, and the room can tolerate the heat and load, it earns its place. If the difference disappears in the finished file, LED may be kinder to the building and crew. If a subject needs to move, a strobe may be the more useful tool.
For a deeper look at how photographers weigh the continuous preview against a brief flash, see this comparison of continuous light and strobes. On a commercial set, the best source is the one that solves the visual problem without creating a bigger problem for the space.
Finishing Frames and Planning the Next Shoot
Start post-production with the locked Kelvin setting and the gray-card frame. Correct the neutrals first, then review saturated materials and skin. Keep a consistent treatment across the lobby, corridor, and detail frames so they read as one building rather than separate lighting experiments.
If you deliberately left a window cool, preserve that contrast instead of neutralizing every cast. Check warm finishes for extra red and yellow, and avoid adding local warmth that contradicts the choice made on set. The goal isn't to remove every color difference. It's to make the intended relationships between window light, practical lamps, and the lit architecture consistent from frame to frame.
A concise handoff checklist
- Confirm the reference. Set white balance from the gray-card frame.
- Match neighboring views. Keep the same visual treatment across rooms and details.
- Review practicals and finishes. Check for blown lamp areas, unwanted color shifts, or signs that sensitive surfaces need attention.
- Prepare the client set. Export a cohesive group of images that reflects the agreed lighting approach.
Before the next assignment, walk the location with the lighting plan in mind. Check available circuits, the direction and strength of window light, reflective surfaces, and finishes that can't tolerate heat. That scout is where the right source, color approach, and time on set become a practical plan.
For an architectural or commercial assignment, Jimmy Clemmons Photographer offers location scouting, lighting design, on-set direction, and professional editing shaped around built environments and brand stories. If you need help deciding whether continuous light is right for your space, plan a scout and lighting approach with Jimmy Clemmons Photographer.