

The popular advice is simple: put a person beside a window, add a sheer curtain, and let natural light do the rest. That works for a quick portrait. It doesn't describe what happens in a boardroom with glass walls, polished tables, reflective floors, and a bright exterior competing with a dark interior. Window light photography in real spaces isn't a free softbox. It's a constrained, high-contrast lighting problem.
That problem has been present since photography's earliest practical experiments. Nicéphore Niépce's View from the Window at Le Gras, created in 1826 or 1827, was made from an upstairs window using a camera obscura, a light-sensitive pewter plate, and bitumen. The exposure took at least eight hours, with some historical accounts describing a range from eight hours to several days, as documented in this history of Niépce's first surviving photograph. Daylight through an opening wasn't merely an aesthetic preference. It was one of the original conditions that made a permanent photograph possible.
Today, cameras are faster, meters are smarter, and buildings are more complicated. The working photographer still has to decide what deserves detail, what can fall into shadow, and how to make a changing source behave consistently across a full assignment.
Why Window Light in Real Spaces Is Harder Than It Looks
A window can make a portrait feel calm and dimensional because the subject is usually isolated against a controlled background. Architecture removes that convenience. The window remains bright, but now it illuminates walls, floors, furniture, artwork, glass partitions, and reflective hardware, all of which return light in different directions.
The earliest photographic processes faced a related constraint. Long exposures and the need for strong illumination encouraged studios with large windows and skylights, especially during the daguerreotype and wet plate collodion eras. Historical coverage of early photographic lighting shows why window-adjacent setups became technically central long before artificial lighting became practical.
The three problems that appear on location
Deep window wells create flare. A recessed opening can send reflected light into the lens from outside the intended frame. The result isn't always obvious while composing. It may appear as lowered contrast, veiling flare, or pale highlights along a dark architectural edge.
Reflective surfaces refuse to behave predictably. A lacquered conference table can bounce the window into the lower frame. A glass partition can repeat a bright opening several times. Stone, satin paint, metal, and wood each produce a different combination of reflection and absorption, so moving the camera slightly can change the entire balance.
The window creates a local microclimate. In an HVAC-controlled room, the area beside exterior glazing may feel different from the center of the space. That matters when talent, fabric, blinds, or lightweight diffusion need to remain in position. A treatment that looks stable during setup can shift when air moves through the room.
Practical rule: Treat the window as a source with limits, not as an automatic solution. First decide which surfaces need to remain readable, then decide how much daylight the room can carry.
Portrait advice often encourages moving the subject closer to the glass and softening direct sun. That remains useful for faces, but it doesn't solve a commercial interior's main problem, which is the relationship between the brightest opening and the deepest part of the room. The useful question isn't “How do I make this soft?” It's “Where can I place the camera, subject, and control surfaces so the space still reads clearly?”
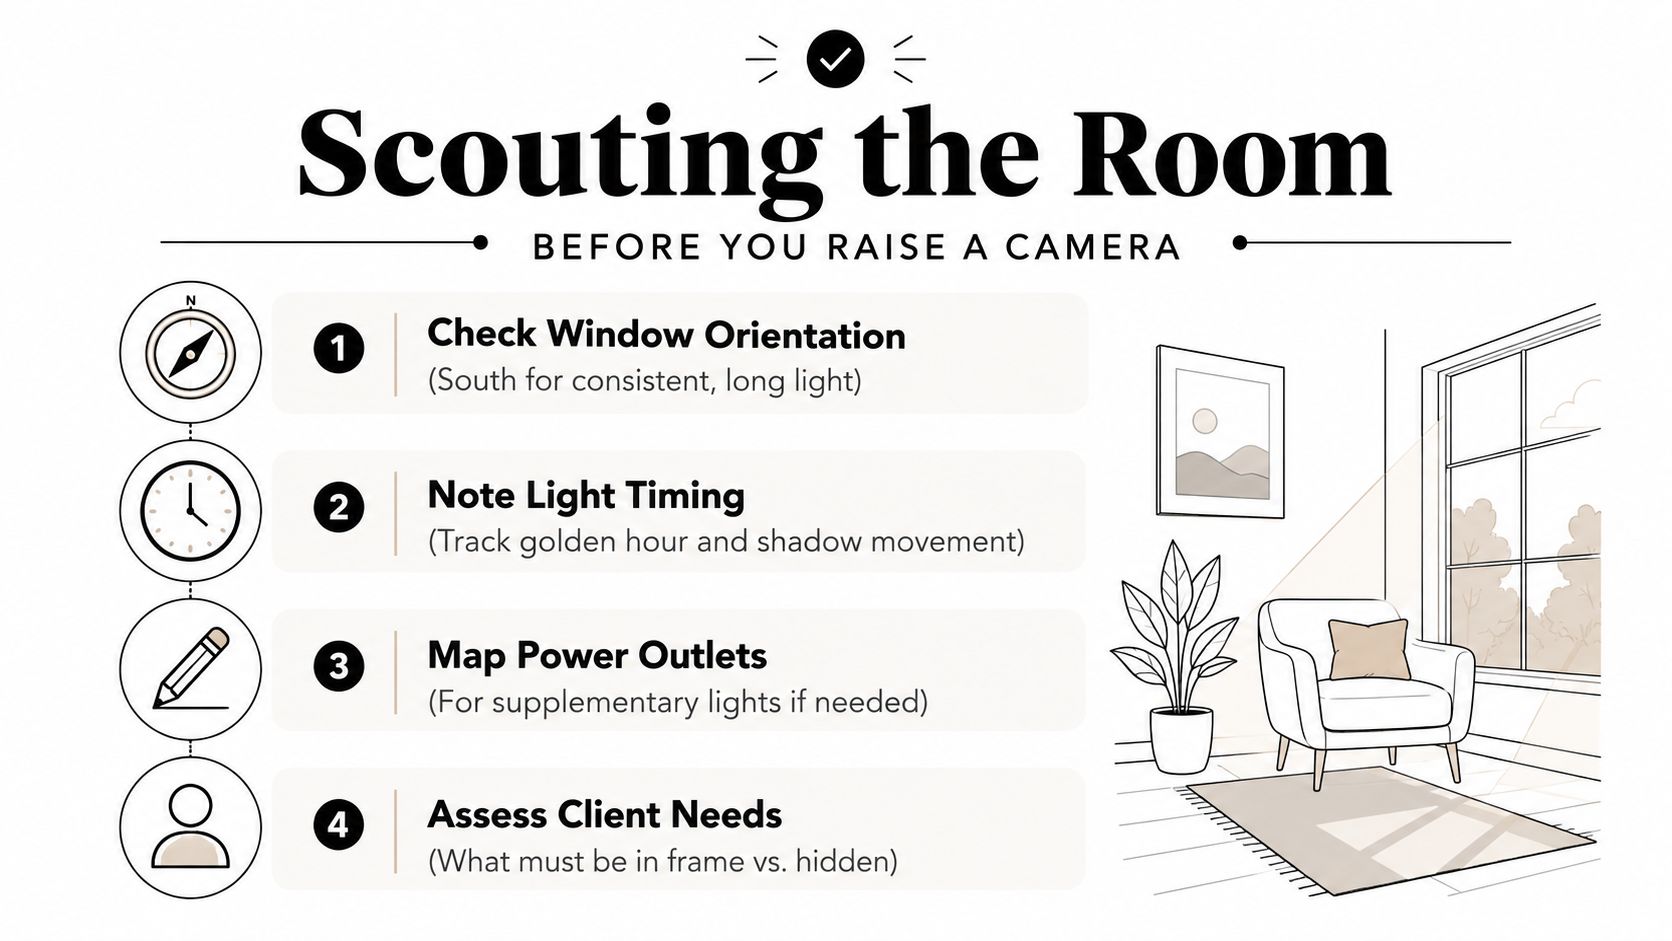
Scouting the Room Before You Raise a Camera
A short site survey can prevent an expensive lighting argument later. Consider a ground-floor law office with south-facing bay windows being photographed for a firm rebrand. The windows may produce attractive directional light, but the final result depends on the sun path, the glass, the room finishes, and what the client needs visible behind the attorneys.
Start outside the room. Confirm the window orientation, then use a sun calculator app to plot when direct light will enter the space and how its angle will move across the floor. South-facing glazing may offer a useful long path of light, but the exact look still changes with season, exterior obstructions, blinds, and cloud cover.
Overcast conditions generally create more consistent window light, while broken clouds can produce moving highlights and abrupt shifts. Existing natural-light guidance also points to softer behavior from certain north- or east-facing windows at appropriate times, but orientation alone doesn't guarantee a usable frame. This overview of natural light in photography is useful background, but a building survey remains more reliable than a rule about compass direction.
Read the room as a lighting surface
Walk the perimeter and observe how the room returns daylight. High-sheen paint can create broad hot areas. Glass partitions may mirror the windows into the composition. Wood flooring can bounce a warmer tone upward into faces, hands, and pale furniture.
For the law office, identify the brightest spill on the reception desk, the darkest corner behind the conference table, and the wall likely to serve as the hero background. Photographing a quick reference frame on a phone can help communicate these problems to the client representative before the camera and stands occupy the room.
Use this checklist during the survey:
- Measure the window-to-subject distance: Record where a person or key furniture piece can sit without blocking circulation.
- Note the floor-to-ceiling height: This determines whether a tall scrim, overhead flag, or bounce can fit safely.
- Mark the brightest spill: Look for the patch that reaches the floor, tabletop, or hero wall.
- Inspect room reflectance: Check paint sheen, glass, polished stone, metal, and wood.
- Identify removable treatments: Ask which blinds, curtains, privacy films, or desk screens can be moved.
- Confirm client priorities: Establish what must stay in frame and what can disappear into shadow.
Take an ambient reading before committing
Spend a 30-minute ambient reading with a handheld meter before locking the setup. That time lets you see whether the room changes as clouds pass, whether a reflected patch reaches the subject, and whether the client schedule places the strongest light on the wrong wall. The reading isn't busywork. It gives the crew a shared understanding of the room before anyone starts solving the wrong problem.
Metering and Exposure for Built Environments
Matrix metering is useful for speed, but it isn't a dependable decision-maker when a window occupies a meaningful part of the frame. A camera sees the bright opening, the dark furniture, and the midtone walls, then chooses an average that may satisfy none of them.
Begin with three deliberate readings. Take an incident reading in the brightest spill near the window, another in the deepest important shadow, and a third on the subject's face or hero architectural surface. Those readings tell you whether the room can be captured directly or whether you need to alter the geometry, add fill, reduce the source, or accept a deliberate loss of detail.
A repeatable exposure sequence
Set the aperture first when depth of field matters, particularly for portraits or a room-with-talent frame. A wide or near-wide aperture can control background separation and admit more ambient light, but architecture often needs enough depth to hold foreground furniture and distant lines together.
Lock the camera in manual mode once the composition works. On a tripod, adjust shutter speed to preserve the chosen aperture and ISO. If the scene remains too dark, the established workflow is to raise ISO, open the lens, and add a tripod when needed to preserve sharpness, as outlined in this window-light portrait exposure guide.
A spot reading aimed at the window will routinely underexpose the room. A reading aimed at the shadow corner may blow the exterior and nearby finishes. Metering isn't about finding one magical value. It's about deciding which brightness relationship serves the assignment.
| Contrast Ratio | Subject Reading | Typical Use | Control Method |
|---|---|---|---|
| 2 stops | Subject and room surfaces remain close in value | Clean architectural read | Tripod, controlled shutter speed, modest bounce |
| 3 stops | Subject retains shape with visible shadow modeling | Editorial portrait or room-with-talent frame | Side fill, negative fill, careful subject placement |
| Up to 5 stops | Bright edge light or silhouette becomes part of the design | Dramatic vignette, reflective detail, intentional backlight | Protect the key edge, let secondary areas fall away |
These ratios are working exposure targets, not promises from the room. A matte plaster wall may tolerate a stronger gap than a glossy tabletop because the surface doesn't send the same concentrated reflection into the lens.
Spot-metering the glass answers what the glass is doing. It doesn't answer whether the room tells the story.
Shaping Daylight With Diffusion, Flags, and Bounce
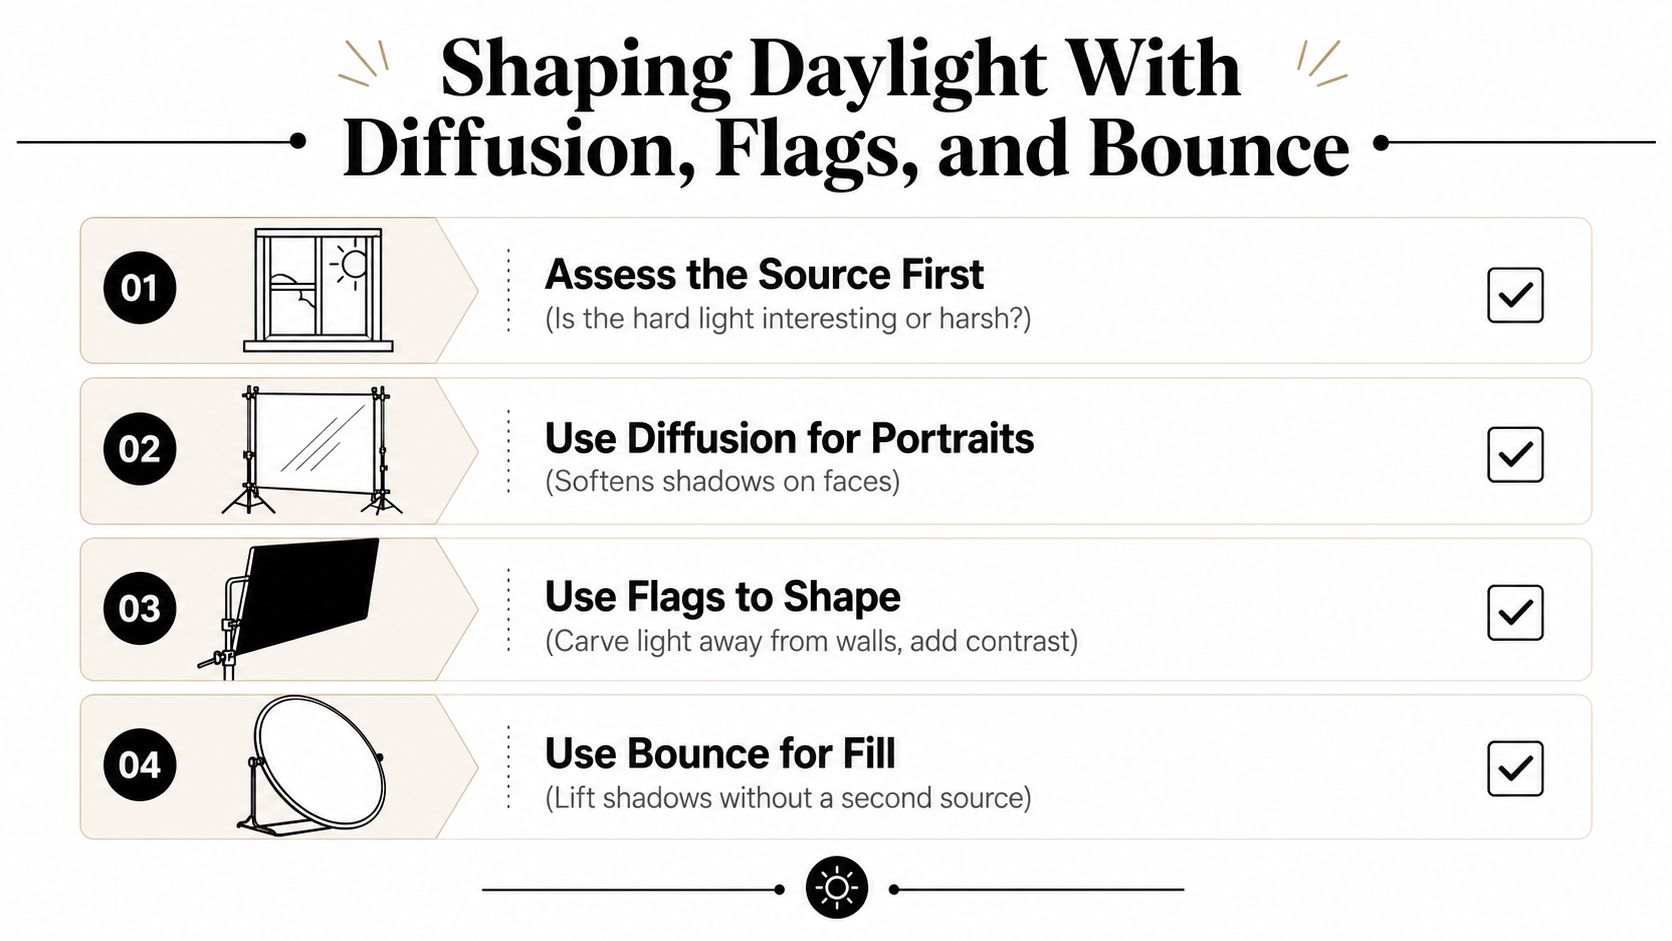
Every window is a hard source before you modify it. That doesn't mean you should soften it automatically. Direct light can reveal the texture of stone, produce a clean edge across a kitchen island, or separate a person from a darker interior. A 4x8 sheet of 1/4-stop silk or a collapsible scrim earns its place when the raw source creates distracting facial shadows, uneven wall tone, or unusable highlights across a client-facing surface.
A scrim is less helpful when the hard pattern is the architectural idea. Diffusing a window can erase the contrast that gives a stone wall its relief. It can also add setup time, stands, grip, and safety concerns around furniture and HVAC clearance without improving the frame.
Use control surfaces for specific problems
Negative fill is often the cleanest way to deepen a shadow side. A V-flat or black duvetyne placed opposite the window absorbs returning light from pale walls, keeping a subject or surface dimensional without forcing the entire room darker.
White bounce solves a different problem. A 4x6 white V-flat or muslin can lift a shadow wall or face while preserving the window's direction. The exact gain depends on distance and surface reflectance, so judge the bounce through the camera rather than assuming it will transform the room.
For tight boardrooms, choose gear that can stand without blocking walkways. A collapsible scrim offers portability, while a rigid V-flat gives more predictable control but needs more floor space. In a loft, larger frames can shape a broad source effectively, but they also catch air movement and need secure grip. Check sill depth, sprinkler clearance, door swings, and ventilation before placing anything.
- Diffusion: Use a scrim when facial or wall contrast is the problem, not because the light is direct.
- Flags: Use black cards or duvetyne to remove spill from walls, glass, and shadow backgrounds.
- Bounce: Use white fabric or a V-flat when the shadow side needs information without a second light source.
- Selective blackout: Cover only the portion of glass creating the problem. Don't darken the entire opening if the remaining daylight is doing useful work.
A common mistake is double-diffusing a skylight and then adding bounce until every surface becomes flat. Another is flagging the path of your own bounce, leaving the intended wall unchanged while the stand creates a new obstruction. Review the frame after each adjustment. This guide to lighting for interior photography is a useful reference for thinking about the room as a complete lighting composition rather than a single subject.
Choosing the Right Window-to-Subject Geometry
Geometry determines the picture before settings refine it. Three arrangements cover much of the work in editorial portraits and branded interiors: a controlled side angle, a broad wrapping source, and a hard backlight used deliberately for shape.
Three working arrangements
A 45-degree side angle places the subject near the window but turned away from a flat front-light position. It creates readable facial modeling and can work well for a leadership portrait against a quieter office background. Keep the subject close enough to use the window's apparent size, then watch the shadow side. If the room is dark, a white bounce can preserve expression. If the background is already bright, black negative fill may be the better choice.
A broad-source wrap works beside a wall of glass, especially when the subject or furniture can sit several feet inside the room rather than directly against the opening. The larger visible source wraps around faces and broad surfaces, but the arrangement can fail when the room contains glossy finishes that return the entire window as a reflection.
A hard backlight suits a kitchen vignette, conference table detail, or silhouette where edge separation matters more than even surface exposure. Place the subject between camera and glass, then protect the bright edge from clipping while allowing less important areas to darken. This geometry loses control quickly when bright pavement or water outside throws unexpected fill back into the room.
| Geometry | Best For | Contrast (stops) | Watch Out For |
|---|---|---|---|
| 45-degree side light | Hero portrait, seated talent, hands at work | About 2 to 3 | Shadow-side loss, background reflections |
| Broad-source wrap | Room-with-talent, pale interiors, hospitality scenes | About 2 | Flatness, glass and polished surfaces |
| Hard backlight | Kitchen details, silhouettes, edge-lit gestures | Up to 5 | Bright exterior clipping, reflected fill |
A south-facing portrait window can deliver a stronger, more directional pattern during part of the day. An east-facing dining room may shift from gentle morning light to a more ordinary ambient balance as the sun moves, while the wall and floor continue returning different color. The same distance from glass won't produce the same image in both rooms.
For a portrait assignment, use the controlled side angle described in this guide to lighting for portraits. For a room-with-talent frame, favor the geometry that keeps the subject connected to the architecture. For a hero kitchen, start with backlight only when the edge, reflection, or atmosphere is part of the brief.
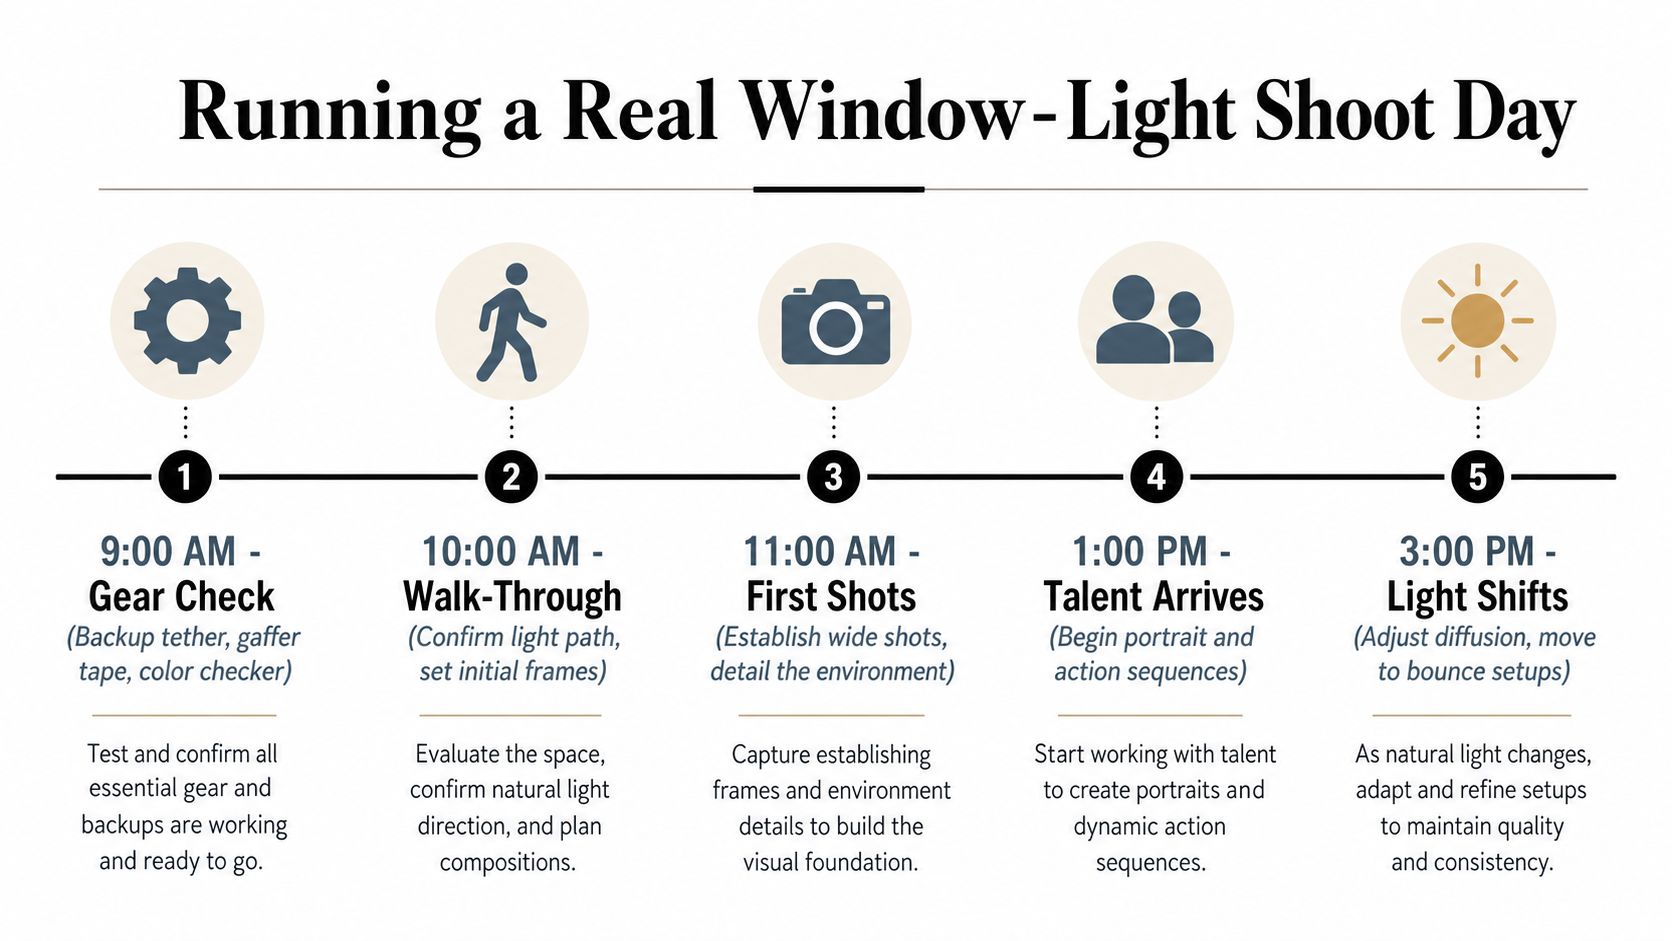
Running a Real Window-Light Shoot Day
A converted warehouse office rarely follows the floor plan. On arrival, the strongest angle may point across a desk rather than toward the feature wall, and a passing cloud can make the carefully chosen background suddenly work better than the scheduled hero view.
The pre-call check begins with a backup tether cable, gaffer tape, scrim frames, and a ColorChecker Passport. The crew also confirms the camera batteries, tripod plate, clamps, sandbags, and cleaning cloths. A missing cable costs more than a few minutes because it breaks review, naming, and client confidence at the same time.
Let the room set the shot list
The client representative walks the space with the photographer, confirming the window schedule and identifying blinds that can't be removed. Each room gets a quick meter sequence on arrival. Rather than following the floor plan in order, build the shot list around the strongest available angle, then group nearby frames to reduce repeated resets.
Tether into Capture One or Lightroom Classic and establish a naming convention before the first serious frame. A practical structure might identify the client, location, room, and sequence, but keep it consistent rather than clever. Use star ratings for selects and review the images on a calibrated monitor so the client can assess composition and expression without judging an unstable screen.
Working habit: Save the strongest angle first. If the cloud cover breaks later, you'll have a secure frame before the room changes.
When sunlight arrives late in the morning, don't treat it only as an interruption. Move talent into the patch if it creates the intended edge, add diffusion if faces become brittle, or switch to a darker vignette where the contrast helps. If the schedule slips, cut duplicate variations before cutting the essential wide, detail, and talent frames.
The final hand-off begins before leaving the building. Confirm the file backup, capture notes, color reference, client selects, unresolved retouching issues, and the next morning's call time. The team should know which frames are safe, which require a cloud or treatment, and which were intentionally exposed for mood rather than complete room detail.
The following video can provide a visual supplement to the working principles described above.
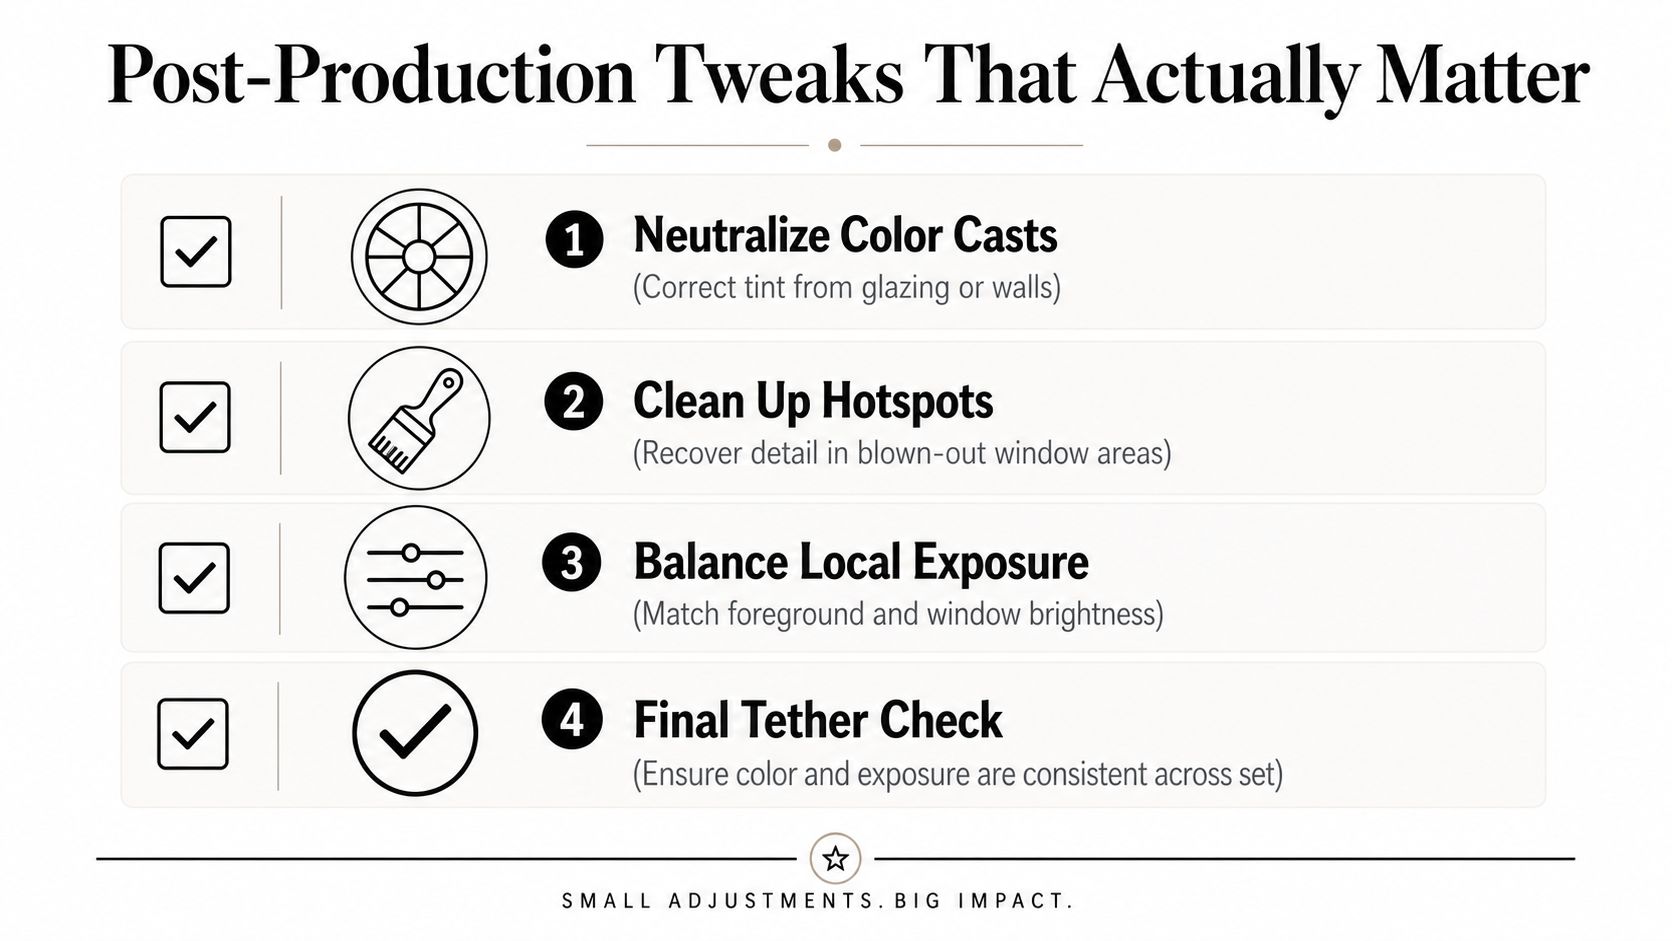
Post-Production Tweaks That Actually Matter
Window light leaves recognizable artifacts. Tinted glazing can push a room toward green or blue, blinds can stripe a wall, and tungsten practicals can fight the daylight in the same frame. A preset rarely fixes those problems cleanly because the cast changes across the room.
Start with the neutral reference. Sample a wall, card, or other surface that should read as neutral, then balance the image before adjusting contrast or saturation. If the wall itself has a deliberate color, use a known neutral object from the ColorChecker Passport rather than guessing from painted architecture.
Correct color by zone
Pastel paint can reflect window color into skin and fabric. A global saturation reduction may calm the wall while making the subject lifeless, so use a masked HSL adjustment that targets the affected hue range. Keep the mask limited to the wall, tabletop, or fabric receiving the cast.
Mixed daylight requires separate treatment for shaded and sunlit zones. In Lightroom Classic, use masking to apply a targeted white-balance correction to the shadow side without neutralizing the warmer area that gives the scene its depth. Don't force every part of the room to the same color if the variation explains the light.
A focused Lightroom Classic checklist should include:
- Set the neutral balance: Use a ColorChecker or neutral wall reference.
- Inspect window edges: Recover highlight detail where the raw file allows it, but don't manufacture texture that wasn't captured.
- Mask wall-tone corrections: Pull distracting hue saturation from the affected surface only.
- Separate daylight zones: Adjust shaded and sunlit areas independently.
- Remove sensor dust: Capture a dark frame at f/16 before wrap, then use it to speed spotting of marks revealed by bright window edges.
- Control global contrast: Keep architectural lines and material texture believable.
- Dodge selectively: Lift the subject's shadow side only when the contrast is stronger than the story requires.
Don't use clarity to compensate for a weak exposure decision. Excessive local contrast makes glass edges, stone pores, and window frames look artificial while doing little for the underlying tonal imbalance. This guide to using post-production for structural photos offers a useful reminder that editing should support the building's structure, not distract from it.
Review the finished set side by side in tethered software. Check that the same room doesn't shift from green to magenta between frames, that exposure remains intentional across the sequence, and that every window treatment or reflection the client asked to preserve still appears credible. A consistent set is more valuable than one spectacular frame surrounded by unstable color and contrast.
If you need architectural interiors, branded spaces, or portraits that hold together under difficult window light, Jimmy Clemmons Photographer brings location scouting, lighting design, on-set direction, and precise editing to the assignment. Visit Jimmy Clemmons Photographer to discuss a visual brief and plan a window-light shoot that stays controlled from the first meter reading through final delivery.