
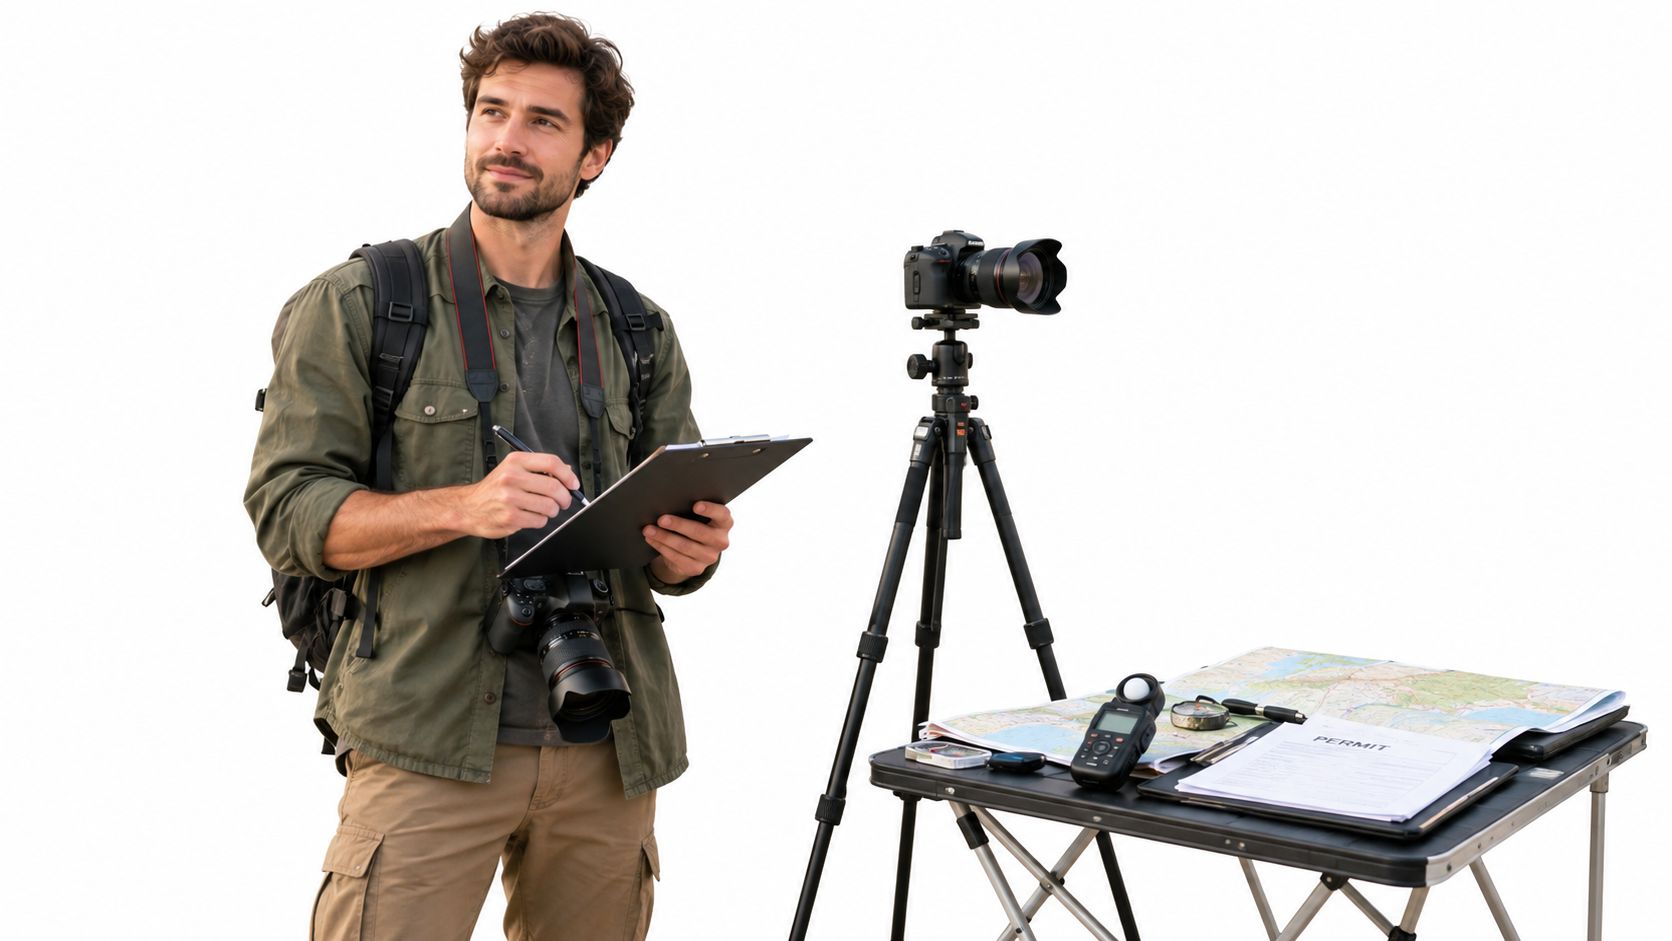
A crew arrives at a beautiful interior ready to make the hero frames. The sun is already blasting through the wrong windows. The building manager hasn't approved access. There's no usable power near the planned camera position, and the freight elevator is reserved for another tenant. By lunch, the team has lost the day.
Good location scouting prevents that kind of failure before equipment leaves the truck. The seven location scouting tips below follow the sequence from remote research to on-site documentation, with each check tied to the shot it protects. The same framework works for architectural exteriors, commercial interiors, corporate portraits, hospitality spaces, and lifestyle work. It also gives you clearer information before a client moves toward contract signing for photo studios.
1. Scout at the Same Time of Day You Plan to Shoot
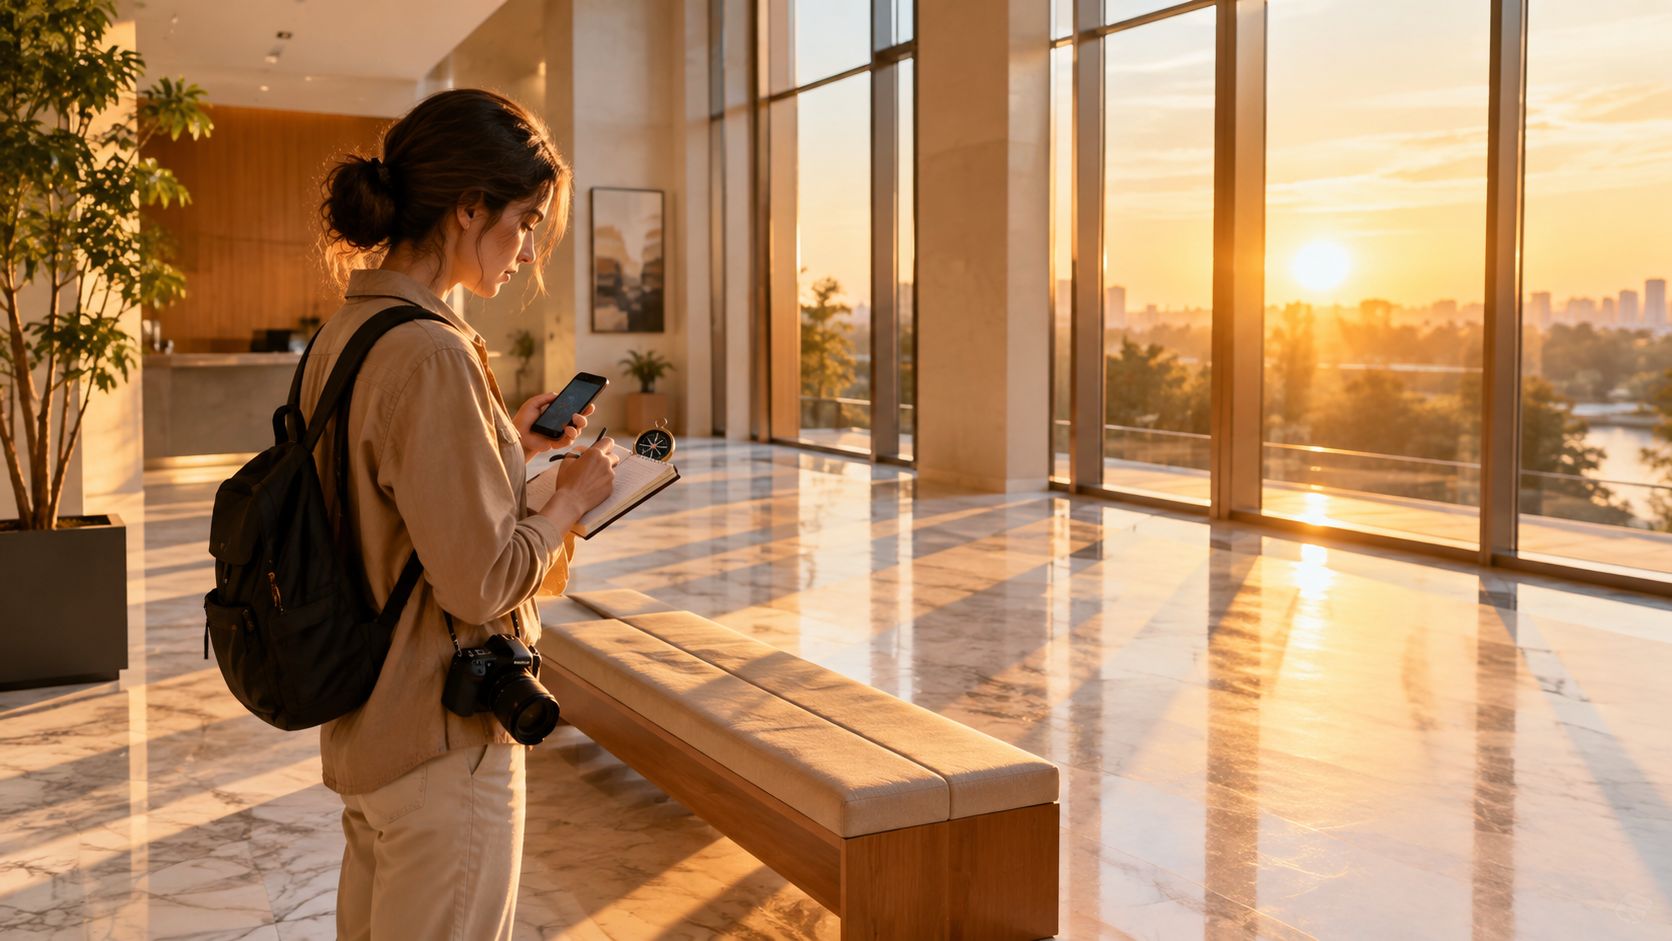
On a mid-rise lobby job last spring, east-facing glass flooded the reception desk before 10 a.m. The same room looked balanced later in the day, so the planned shooting hour determined whether the architectural lines held together or the windows dominated the frame.
Light direction, intensity, color, reflections, and shadow length can change within hours. Match the scouting hour to the intended shoot whenever possible. For a date-specific job, check sunrise, sunset, sun angle, temperature, precipitation, and cloud patterns through NOAA's local weather and climate resources. Its station-level daily and monthly summaries, climate normals, temperature graphs, precipitation records, and calendar-day climatology provide a stronger comparison than a general weather app.
Protect the intended light
Start from the planned camera position. Make test frames, then record exposure differences between windows, walls, floors, and reflective surfaces. Use a compass, or a reliable phone compass, to confirm the façade and window direction. This protects exterior elevations, interior compositions, and lifestyle frames that depend on a controlled relationship between subject and light.
Check the full production window, not just the first frame. Shadows may cross the floor, reflections may enter glass, and direct sun may reach the subject later. Record whether rain, heat, wind, or changing cloud cover would affect the shot, then identify a position or timing adjustment that preserves the composition.
- Match the visit to the shot: Scout within 30 minutes of the planned light when possible.
- Record orientation: Confirm the direction of the key façade, windows, and camera position.
- Test exposure: Photograph from the intended position and compare bright and dark surfaces.
- Plan a fallback: Note how weather or moving shadows would change the frame.
Practical rule: If light is central to the image, scout at the same hour. A noon visit can't reliably answer a late-afternoon question.
2. Pre-Scout Remotely Before Visiting the Site
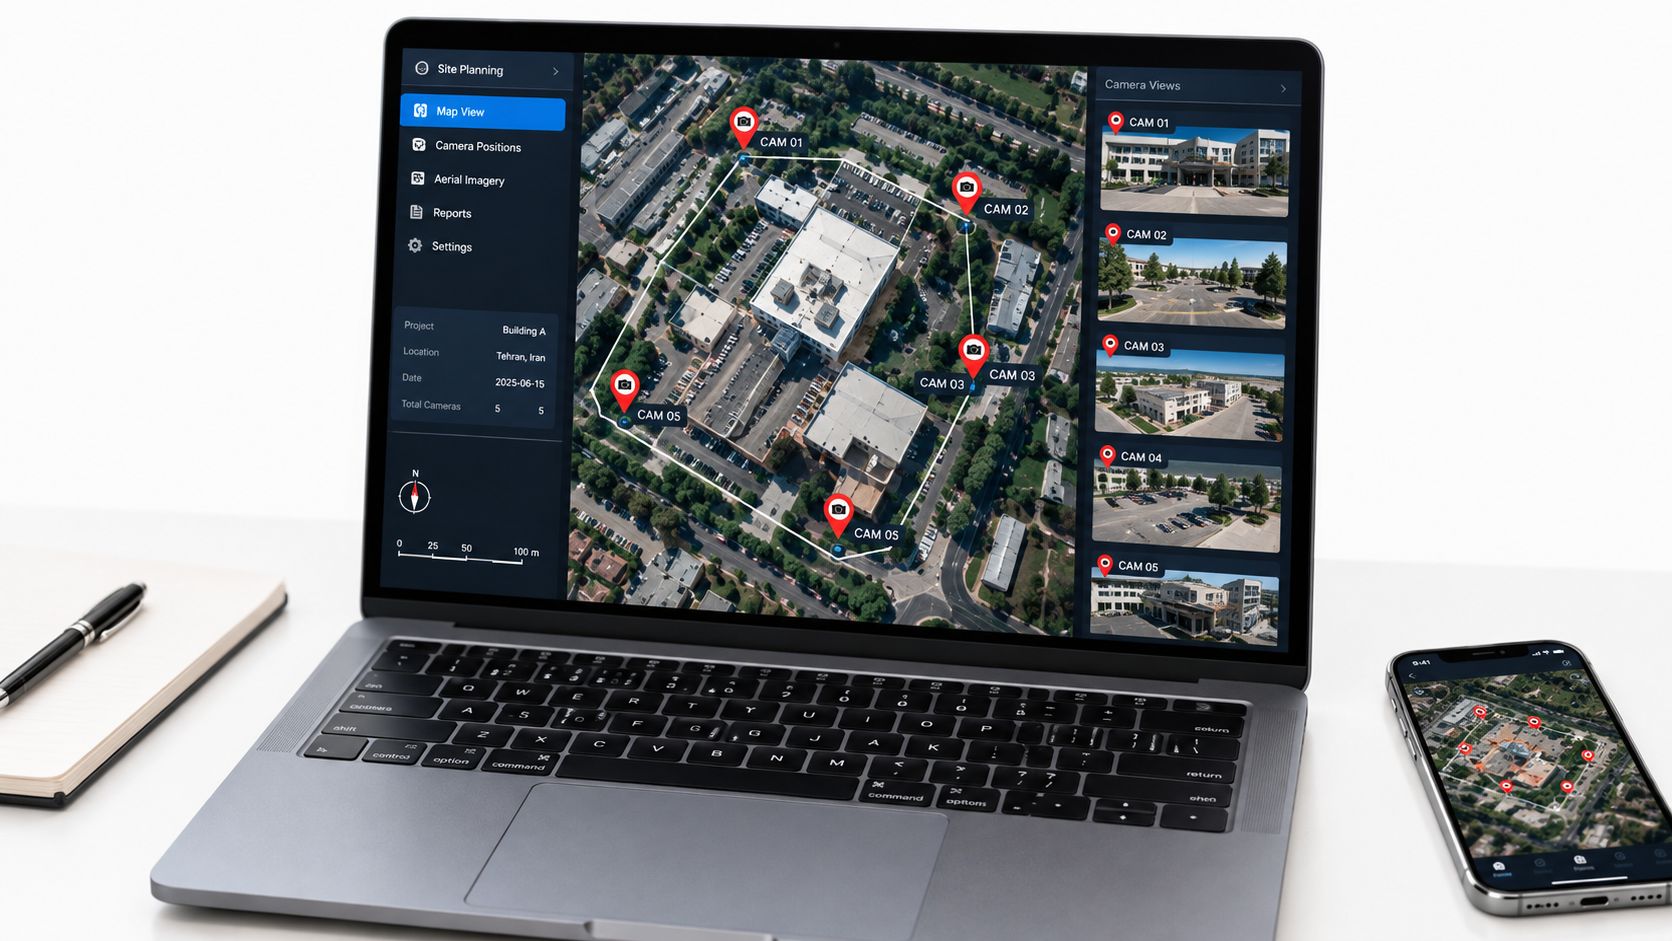
Remote review of a four-building corporate campus recently exposed a tree line blocking the planned exterior angle before anyone booked travel. Satellite imagery, aerial maps, street-level views, property records, and digital walkthroughs can reveal approach routes, rooflines, parking, neighboring construction, and likely camera positions from the desk.
Start by marking candidate positions on a map and pairing each with the focal length you expect to use. A façade that looks accessible from above may be blocked at street level by trees, fencing, parked vehicles, or a newly completed structure. This check protects exterior elevations, architectural details, commercial entrances, and lifestyle frames that depend on a clear approach.
For a more organized review, use a virtual location scouting workflow to assess candidate spaces before committing travel or crew time. Treat virtual information as a first filter. Confirm flicker, mixed color temperatures, acoustic problems, glare, restricted rigging points, and the exact perspective from your planned lens on site.
Turn maps into shot decisions
Remote research should produce a decision for each proposed frame. If imagery shows an obstruction across the intended view, shift the camera position, revise the lens, or remove that frame from the visit list. The on-site scout can then confirm the revised composition instead of discovering the problem from scratch.
For large campuses, multi-building developments, and rural properties, mark vehicle access, pedestrian approaches, loading points, gates, and likely equipment paths alongside the camera locations. These details affect whether a wide architectural frame is practical, whether a commercial entrance can be reached without crossing public areas, and whether a lifestyle setup has room for people and gear.
Before leaving the desk, verify:
- Imagery age: Check when satellite or street-level images were captured, then compare them with a newer source if available.
- Ownership details: Confirm the property contact, managing party, and likely access authority.
- Approach routes: Mark vehicle access, pedestrian approaches, loading points, and gates.
- Candidate frames: Save map screenshots with camera positions, direction of view, and expected lens.
- On-site questions: List every detail virtual imagery cannot settle, including glare, sound, power, rigging, and color consistency.
Use the saved frames to brief the team and keep the physical visit focused on confirmation and documentation.
3. Secure Permissions, Permits, and Insurance Early
A location is only usable once the people who control the property, public access, equipment footprint, and neighboring impact have approved the plan. Raise permissions during the first contact so the shot survives client review and production scheduling.
Private property may require consent from the owner or manager. Public streets, parks, sidewalks, campuses, and other publicly controlled spaces may require permits when the production uses vehicles, temporary structures, closures, unusual equipment, or exclusive access.
The footprint determines the permit question. In New York City, a handheld camera or tripod generally does not require a permit when the production does not claim exclusive city-property use or request related services. Equipment packages, production vehicles seeking parking privileges, prop vehicles or weapons, stunts, and emergency-service support can change that assessment. The listed fee is $500 for each consecutive 14-day period or portion thereof, according to New York City guidance on when a permit is required.
Put approval conditions in writing
One private school required a certificate of insurance and a supervised walkthrough before approving exterior drone images. The scout confirmed both requirements, identified the escort, and recorded the permitted flight area. Those details protected the exterior shot from a late access refusal and gave the crew a clear operating boundary.
Record drone authorization in the approval checklist whenever aerial images support an architectural, construction, or development location. Review the built-environment drone survey.
Your approval record should include:
- Property permission: Name the approving owner, manager, or representative.
- Permit status: Record the authority, application date, lead time, restrictions, and fee conditions.
- Insurance: Confirm certificate wording, additional-insured requirements, and coverage limits.
- Site controls: Note escorts, background checks, safety training, drone authorization, and restricted areas.
Use a location release form workflow to keep property approvals separate from informal email threads. For public-property work, check the local authority before treating a private-looking setup as permit-free. Atlanta may require a permit for public-property filming, street or sidewalk control, temporary structures, or activities involving smoke, water, flames, firearms, crashes, or dangerous stunts. Review Atlanta's permitting conditions.
4. Evaluate Sightlines, Lens Choice, and Camera Positions
The shot list becomes useful on site only after you test where the camera can stand. Walk each proposed position and check how the room or façade behaves at the focal lengths you expect to use.
In a hospitality lobby with a 14-foot ceiling, a 16mm from the corner captured the full ceiling detail. A tighter lens clipped the upper structure, and the reception desk blocked any retreat. That single check protects the architectural wide shot before the crew arrives.
A wide lens shows more architecture, but it also makes perspective errors more visible. A telephoto lens can compress a façade or isolate a design detail, yet it needs working distance. Walls, columns, low ceilings, furniture, and neighboring buildings determine which lenses are practical. Choose after testing the space, not from a floor plan alone.
Label phone reference frames as location evidence with camera height, distance, direction, and lens equivalent so the crew can reproduce the position. Use a laser measure when the relationship between camera, subject, and wall controls perspective.
- Mark camera positions: Use removable tape or a written floor-plan reference.
- Measure critical distances: Record room depth, ceiling height, wall-to-wall width, and distance to the primary subject.
- Check obstructions: Note columns, railings, furniture, signs, trees, vehicles, and reflective surfaces.
- Test verticals: Find a position that keeps the camera level while retaining the required ceiling or façade coverage.
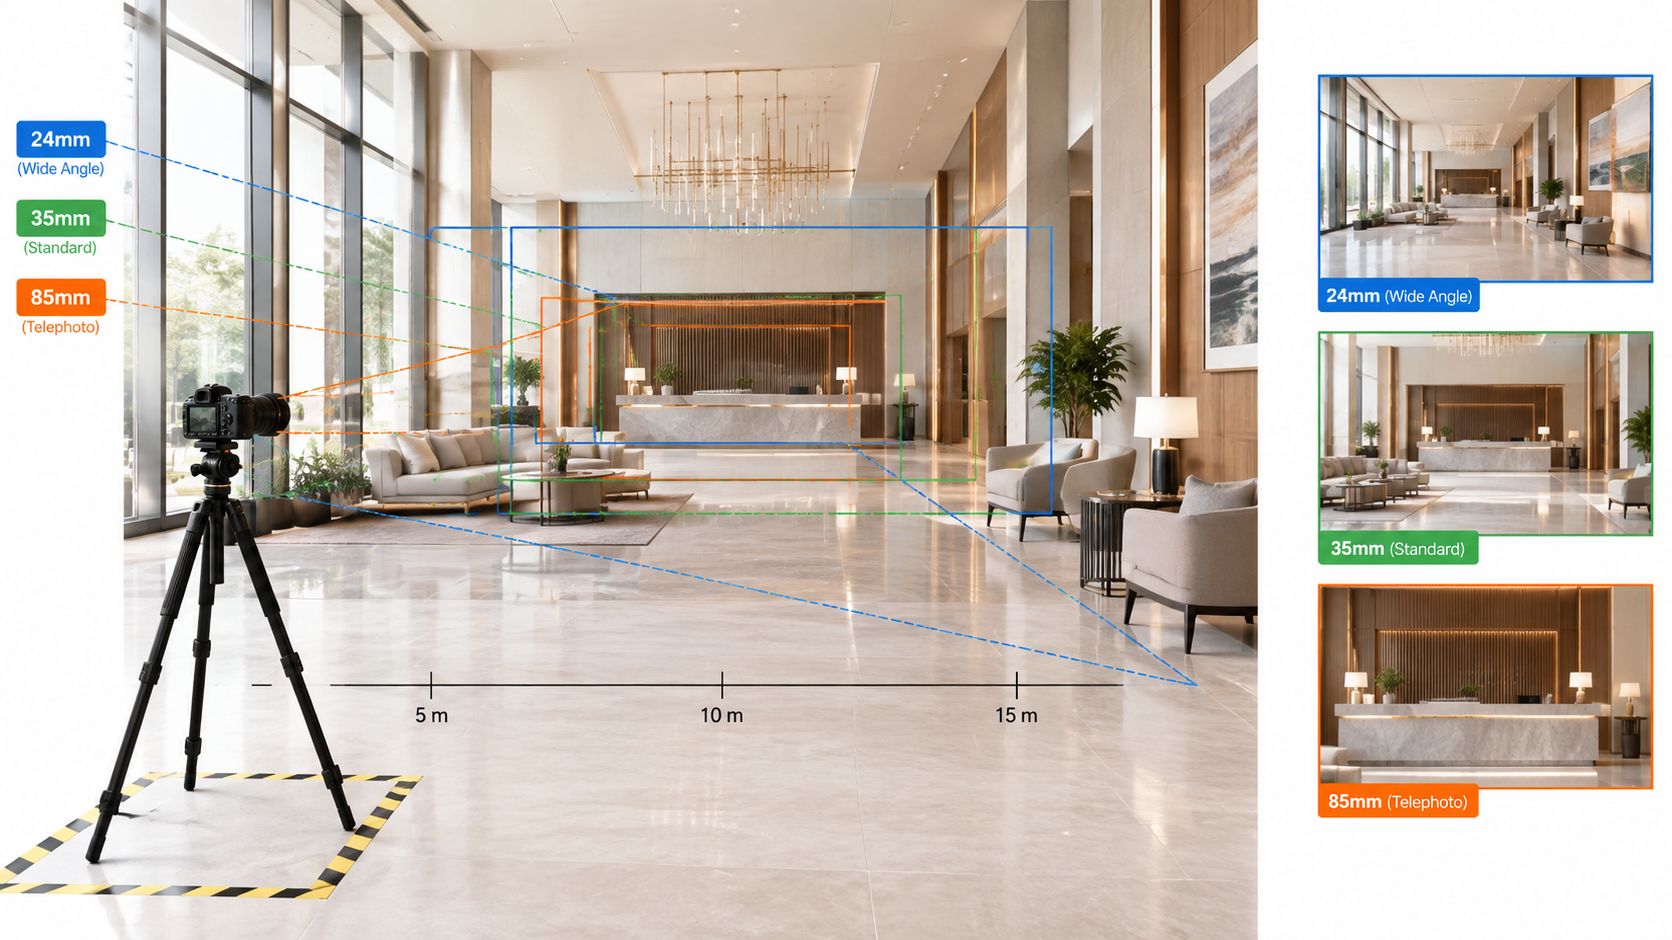
A useful scouting photo answers a production question. Show whether the tripod fits, whether the foreground stays clear, whether a person can cross the frame, and whether the selected lens preserves the intended relationship between design elements. Record enough context for the same camera position to be rebuilt during the shoot.
5. Assess Power, Access, and Logistics for Crew and Equipment
On a mid-rise renovation, the only freight elevator had a short weight limit, so the lighting kit was split into two smaller loads. The shot stayed viable, but the crew needed extra load-in time and a clear handoff between trips. Check this before approving an upper-floor interior.
Start at the vehicle and walk the full route to set. Measure or record gates, stairs, ramps, security desks, freight elevators, corridor widths, door clearances, loading windows, parking restrictions, and the distance from drop-off to the shooting area. Walk the exit route too. A building may allow delivery in the morning but require every case out before closing.
Test the route, then test the power
Power needs the same practical check. Photograph outlets, breaker panels, extension routes, and points where cables could cross public or tenant paths. Ask who controls the electrical system and whether after-hours access changes what the crew may use. Several outlets can still share circuits with construction tools, refrigeration, elevators, or office equipment.
Record these details:
- Loading conditions: Note delivery windows, dock rules, vehicle height limits, and security procedures.
- Vertical movement: Record elevator dimensions, weight restrictions, reservation rules, and backup stairs.
- Crew access: Confirm restrooms, changing space, holding areas, and accessible routes.
- Power supply: Photograph outlets and panels, then identify circuits that can support the planned lighting.
- Noise exposure: Record traffic, HVAC, construction, alarms, public announcements, and tenant activity.
Tie each check to the shot it protects. A commercial set may need a reliable route for cases and stands. An architectural interior may depend on quiet access and power for controlled lighting. A lifestyle shoot may require changing space, holding areas, and a clear path for people moving through the frame.
Accessibility affects the whole operation. Denver may require a film permit when production affects pedestrian or vehicle flow, uses public parking, or cannot maintain a continuous five-foot ADA-accessible pathway. Review Denver's film-permitting requirements.
A camera position is not workable if people, equipment, and the public cannot move safely around it.
6. Document Every Scout with a Standardized Checklist and Reference Photos
For a corporate headquarters project, rating each room for light, access, background clutter, and power let the team shortlist three rooms in one meeting. The result came from consistent records, not memory or attractive images alone.
Use one template for every candidate site. Consistent fields make rooms easier to compare and give the client a clear record during a long approval process. Separate observed facts from assumptions. “Two outlets on the north wall” supports a production decision. “Power should be fine” does not.
Build a record the crew can use
Capture the location in layers. Start with a wide room view, then photograph camera positions, windows, outlets, ceiling fixtures, loading routes, elevators, signage, public paths, and problem areas. Name files by property, room, position, and time. Record the scout date and time, weather, light direction, contact person, permission status, restrictions, and intended shot.
A location scouting report template keeps these details together. Add a short video walkthrough when the route from vehicle to set affects the shoot. Video shows turns, door operation, floor transitions, ambient noise, and room for cases or carts.
- Record the address: Include the building name, entrance, access contact, and emergency contact.
- Describe each frame: Add camera position, orientation, lens, height, subject distance, and expected light.
- Log constraints: Record power, parking, elevator access, public movement, noise, restrictions, and approvals.
- Update after the shoot: Note what worked, what slowed the crew, and what should change next time.
Tie each record to the shot it protects. A commercial frame may depend on a clear equipment route. An architectural image may depend on a specific camera height and controlled light. A lifestyle portrait may require enough room for subjects, crew, and movement around the frame.
The documentation gives the client a practical briefing, showing why a site was selected and which risks still need a decision before shoot day.
7. Build Backup Locations and Plan for Weather and Occupancy Changes
The primary location can change after the scout. A tenant may move furniture, a renovation may begin, or a building may schedule an event. Outdoor weather can also make a planned exterior unusable, even when the forecast looked favorable during booking.
Choose a backup for every important shot. Match its visual purpose rather than searching for an identical setting. An indoor atrium can replace an exterior portrait location, while a covered loading area can preserve an environmental frame during rain. The substitute should support the client's story and the required composition.
Ask what the property will become
Ask property managers about renovations, tenant moves, events, maintenance, deliveries, and access changes before confirming the date. Commercial and lifestyle shoots are especially exposed to background changes because the property may remain operational during production. An architectural exterior was planned for a clear morning; the scout also inspected an indoor atrium and a covered loading area, so when rain arrived the crew shifted indoors without improvising.
Set a weather decision time, such as 24 hours before the shoot. At that point, confirm the primary location, backup, and decision-maker. For remote exteriors or properties where rescheduling is costly, use NOAA's historical weather information to compare the planned date with local records and normals. Use those records to choose the production window, then define the go/no-go trigger for weather or occupancy changes.
Keep backup records focused on decisions unique to the alternate site:
- Alternate-site approval: Confirm that the backup is approved for the same activity.
- Decision trigger: Record who makes the weather or occupancy call and when.
- Visual purpose: Identify the protected shot, the acceptable framing change, and any equipment or subject adjustment.
Cross-reference the permission and insurance record from section 3, along with the access and logistics audit from section 5, rather than duplicating those checks. Reconfirm them if the backup changes the activity, crew route, equipment load, or operating hours.
A useful backup protects the shot, gives the crew a clear decision point, and preserves working time when the property or weather changes.
7-Point Location Scouting Comparison
| Approach | 🔄 Implementation Complexity | ⚡ Resources & Speed | ⭐ Expected Outcome / Quality | 📊 Ideal Use Cases | 💡 Key Advantages / Tips |
|---|---|---|---|---|---|
| Scout at the Same Time of Day You Plan to Shoot | Medium, time-specific site visits | Low gear, time‑intensive (onsite at target hour) | ⭐⭐⭐⭐, precise lighting & shadow prediction | Lighting‑critical interiors/exteriors, golden/blue hour work | 💡 Bring compass, photograph test frames, check sunrise/sunset |
| Pre-Scout Remotely Before Visiting the Site | Low, map and imagery review | Minimal travel; fast prep using online tools | ⭐⭐⭐, good for identifying obstructions & shortlist | Large campuses, multi‑site projects, remote locations | 💡 Verify imagery date, mark camera positions, confirm contacts |
| Secure Permissions, Permits, and Insurance Early | High, administrative and legal steps | Paperwork and lead time; can be slow | ⭐⭐⭐⭐, reduces legal risk and shoot disruption | Public spaces, drone work, schools, commercial sites | 💡 Ask about requirements on first contact; keep checklist of approvals |
| Evaluate Sightlines, Lens Choice, and Camera Positions | Medium, measurement and framing work | Requires tape/laser measure and reference shots; moderate | ⭐⭐⭐⭐, accurate compositions, less on‑set compromise | Architectural and interior photography, tight spaces | 💡 Measure distances, take reference photos, mark tripod spots |
| Assess Power, Access, and Logistics for Crew and Equipment | Medium‑High, operational coordination | May need generators, reservations; variable speed | ⭐⭐⭐, prevents setup delays and safety issues | Commercial shoots, large crews, heavy equipment jobs | 💡 Photograph outlets/panels, confirm freight elevator limits, map load routes |
| Document Every Scout with a Standardized Checklist and Reference Photos | Low‑Medium, consistent documentation effort | Time to document now; speeds future prep | ⭐⭐⭐⭐, reusable records, clearer team handoffs | Multi‑site comparisons, repeat clients, team briefs | 💡 Use templates, name files by location/time, update after shoots |
| Build Backup Locations and Plan for Weather and Occupancy Changes | Medium, additional scouting & contingencies | Extra prep time; saves time and cost when problems arise | ⭐⭐⭐, strong risk mitigation for schedule continuity | Outdoor shoots, busy venues, occupied buildings | 💡 Set a weather decision time, confirm backups' permits and availability |
Turn Your Scouting Notes Into a Shoot-Day Plan
A useful scout report should read like a working production plan. Start with a timed sun schedule that shows when each exterior, window-lit interior, portrait, or detail frame has the best chance of working. Add the confirmed property contact, permission status, permit conditions, insurance requirements, and any escort or access rules.
Then attach measured camera positions. Each position should include the intended lens, camera height, subject distance, direction, and a reference image. The crew should know where the tripod goes before arriving, but the report should also show which positions are optional if furniture, tenants, weather, or public movement changes the room.
Power and logistics belong in the same document. Record the load-in route, elevator reservation, parking plan, outlet locations, cable paths, restroom access, noise sources, and building restrictions. If a location depends on public access or traffic control, identify the responsible authority and schedule approvals early. Atlanta requires applications at least five business days before a street closure and at least three business days before a lane closure. Arizona's transportation authority requires roadway film applications, proof of insurance, and traffic-control plans at least 10 business days before the desired filming date. Review the relevant application timing guidance.
Safety notes should name hazards and controls. Texas workplace-safety guidance recommends thorough location scouting, planning meetings with key crew members, clear safety responsibilities, and appropriate insurance for accidents, injuries, or property damage. Read the Texas production-safety guidance. For state-owned property in California, still-photography applicants must provide general-liability coverage of at least $1 million per occurrence, name the state as an additional insured, and provide workers' compensation proof or an applicable exemption statement. Check the California state-property requirements.
Jimmy Clemmons Photographer, an Atlanta-based studio at jimmyclemmons.com, includes location scouting, lighting design, and on-set direction in its services. That support can help architecture, commercial, and lifestyle teams evaluate the site before the first production visit, then carry the approved plan through the shoot.
Jimmy Clemmons Photographer offers location scouting, lighting design, on-set direction, and professional photography for architectural, commercial, and lifestyle assignments. Visit Jimmy Clemmons Photographer to discuss access, light, camera positions, logistics, and backup planning before your next shoot.