
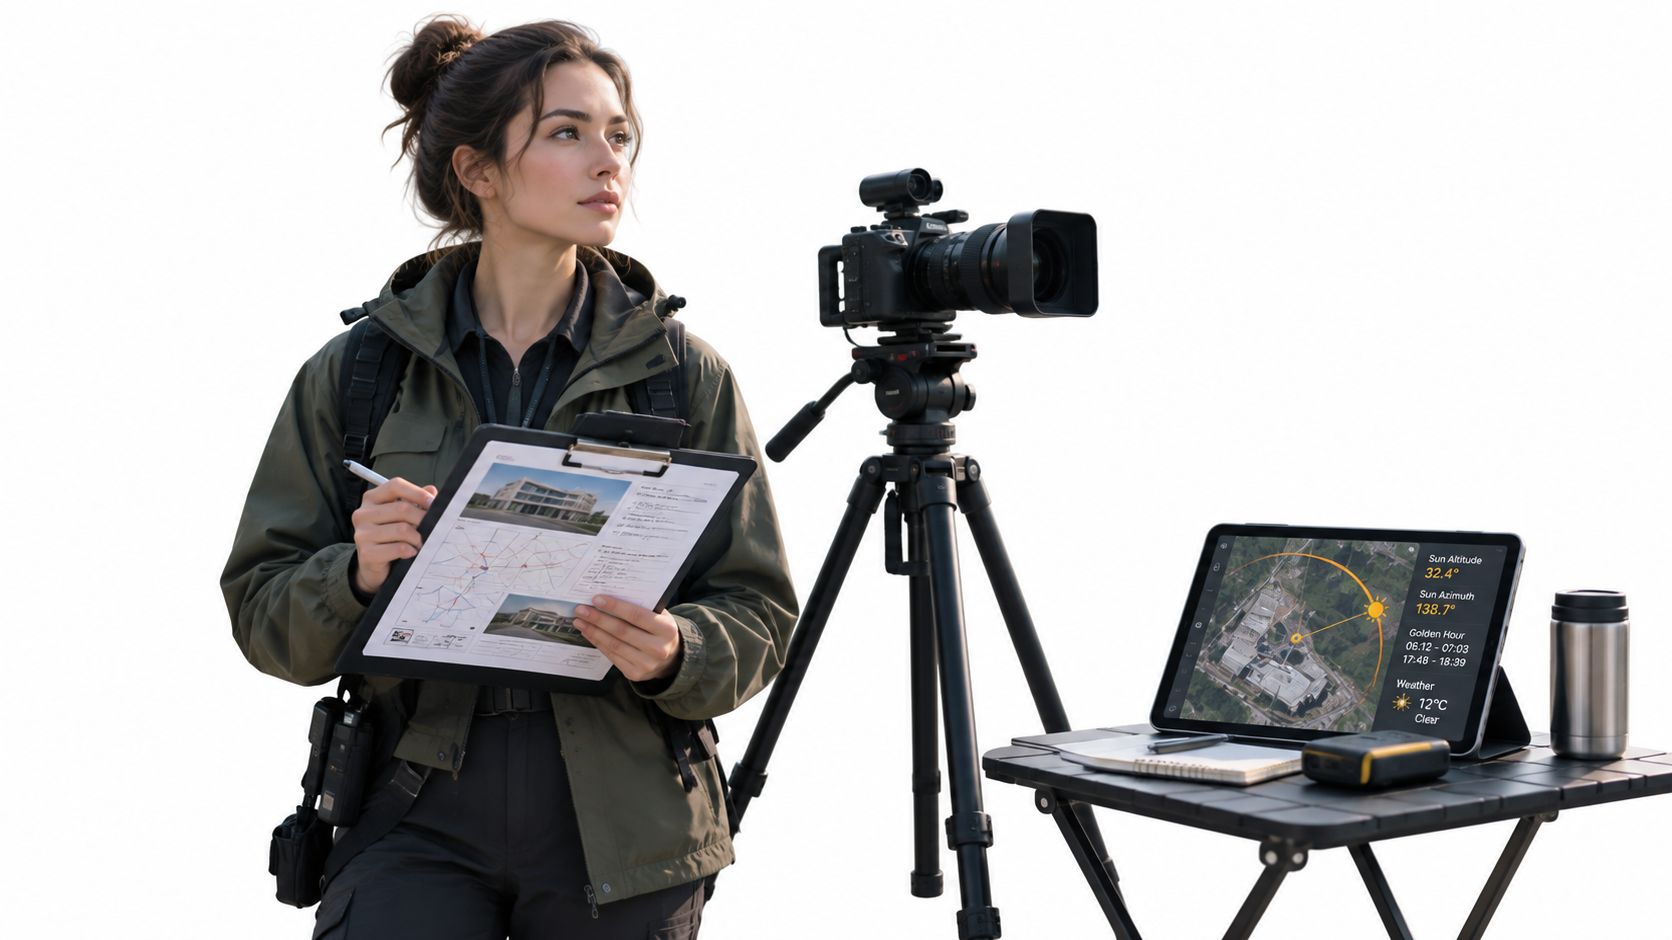
You arrive before sunrise, open a beautiful modern interior, and discover that the loading entrance is too narrow for the equipment case, the nearest parking area is occupied, and a mechanical system hums through every quiet room. The photographs online looked perfect. The location isn't shootable in its current condition.
That failure rarely begins with a camera. It begins with a weak location scouting report, one that presents attractive views but leaves production-critical questions unanswered. A useful report lets a photographer, producer, client, and property contact make the same decision from the same evidence before anyone commits a crew or shoot date.
Why a Professional Location Scouting Report Matters
A location scouting report protects more than the visual concept. It protects the schedule, the budget, the client relationship, and the photographer's ability to deliver the image that was approved.
A room can have excellent geometry but unusable sound. An exterior can offer a strong façade view but no place to park or unload. A hospitality space may photograph beautifully in the afternoon and lose the intended light entirely by the planned call time. These aren't minor inconveniences. They can force a change in lensing, lighting, crew movement, or even the location itself.
Location scouting has long functioned as a specialized pre-production discipline in film and television, not a casual search for scenery. A New York University archival collection documents location scout photographs from the 1980s through the 2000s, including panoramic reference images and logistical notes created before digital workflows became standard. The same historical record describes responsibilities such as access negotiation, pricing discussions, written agreements, and permit coordination, while a 2024 Harvard publication frames location scouting and location management as core parts of postwar cinema's pre-production space practices. Read the Harvard publication on location scouting and location management.
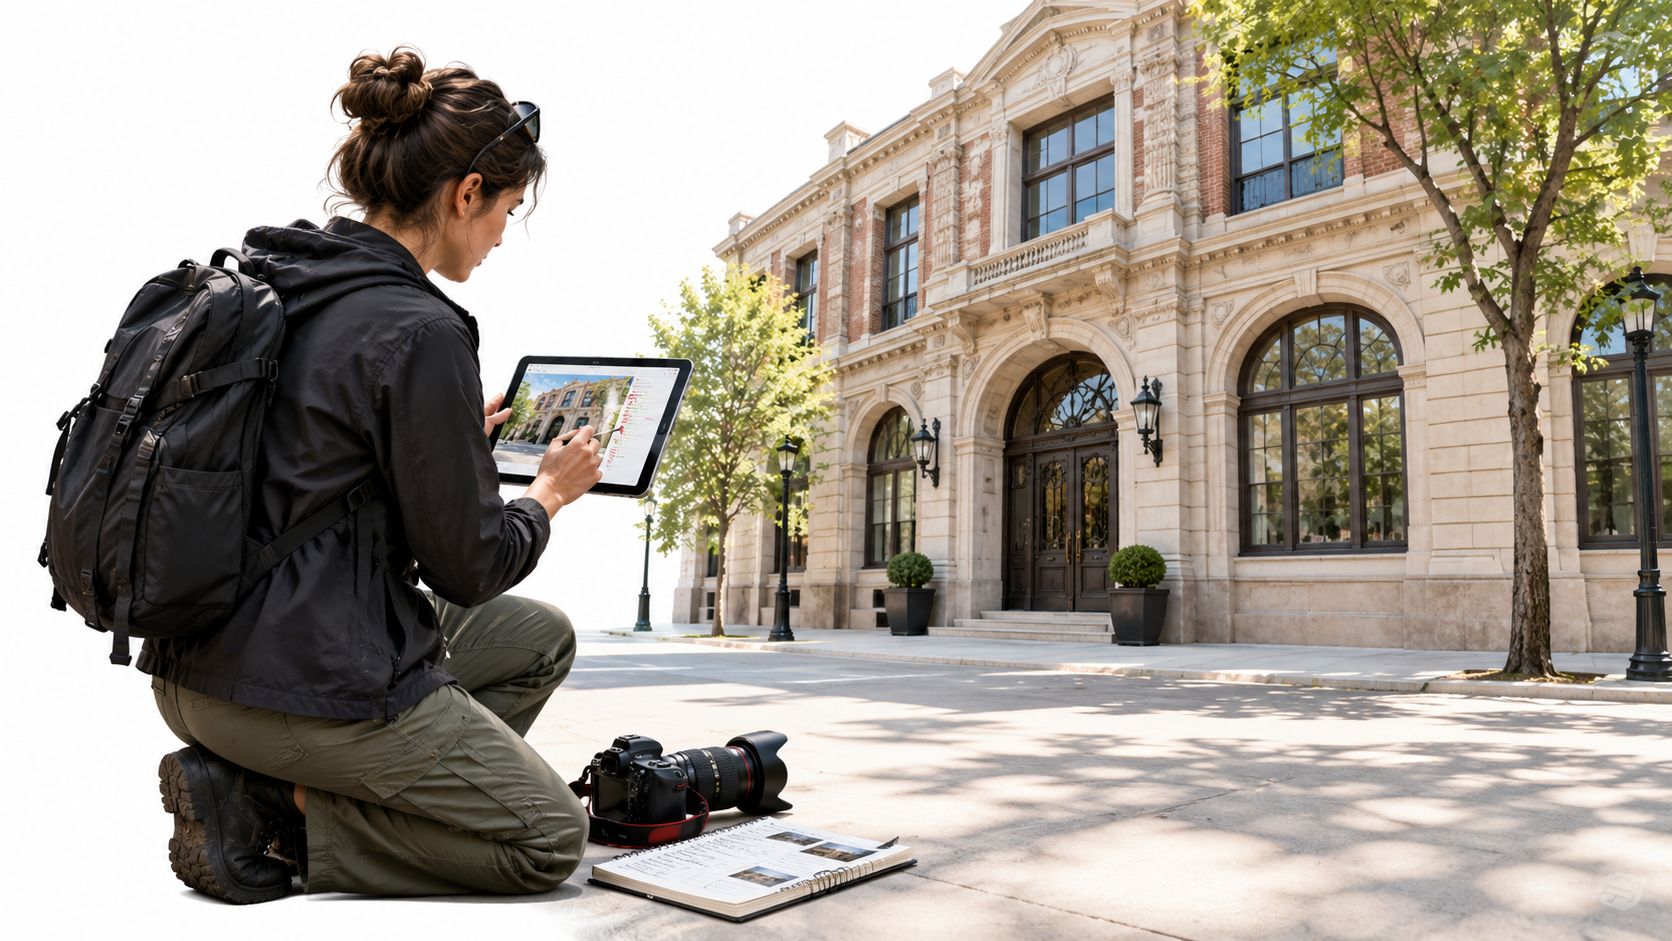
A report creates shared evidence
The best report gives every candidate the same visual and operational treatment. Instead of asking a client to remember which room had the better window or relying on one flattering “hero” photograph, the team can compare sightlines, flaws, access, sound, and timing directly.
That consistency matters in architectural photography because buildings are judged through relationships. The frame needs to explain circulation, scale, material transitions, and the way light moves across the structure. A report should reveal enough of that logic for the team to discuss the final image before the shoot.
The discipline also has value beyond photography. Teams responsible for visitor movement and built-environment planning may find related value in learning how to improve visitor guidance with data, especially when the site has complicated entrances, paths, or public-facing circulation.
Practical rule: A pretty location earns a place on the shortlist. A documented location earns a place on the schedule.
The global scale of this work reflects the same shift. A 2025 industry report estimated the worldwide location services for filming market at USD 4.2 billion in 2024, with a projection of USD 8.3 billion by 2033 and a forecast 7.8% compound annual growth rate from 2024 to 2033. Review the location scouting market overview. The figures point to a practical reality for architecture, real estate, hospitality, editorial, and branded production. Location intelligence has become a substantial operational service, not an informal walk-through with a phone.
What to Capture for a Complete and Comparable Report
A candidate location should never be represented by a single impressive angle. Photograph every option with the same evidence set, in the same sequence, so the creative team can compare spaces without guessing what the scout didn't show.
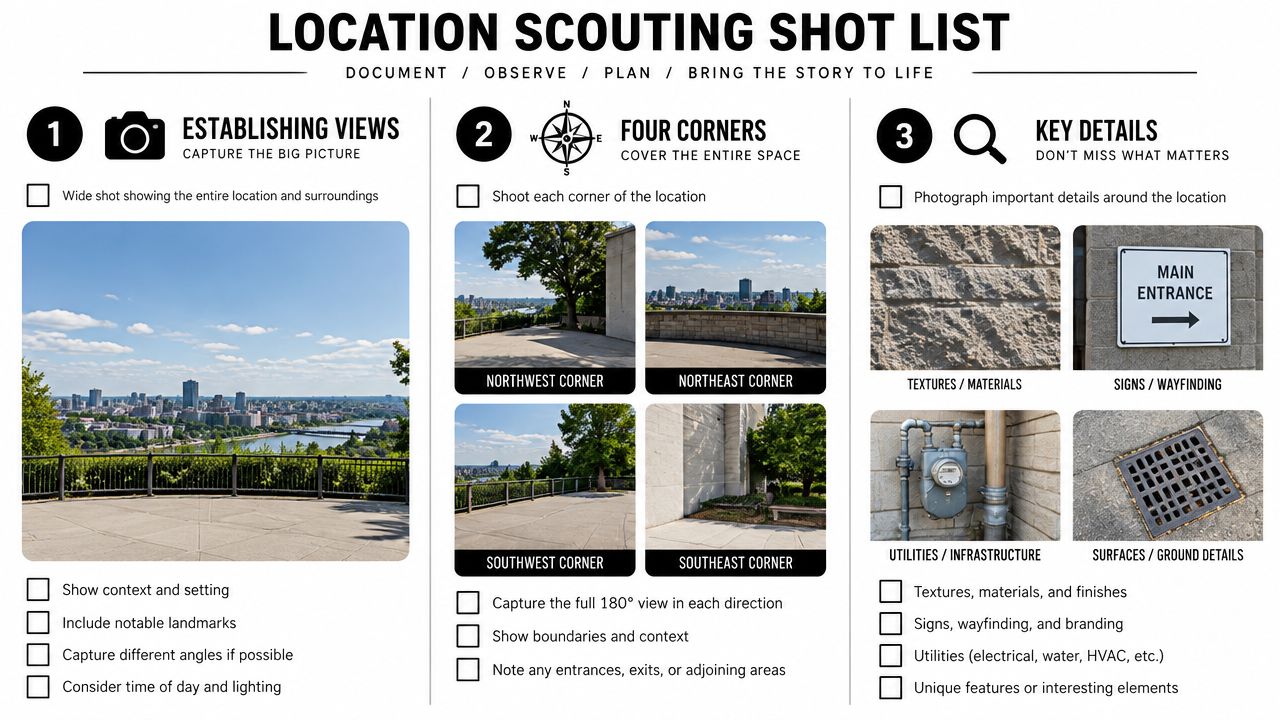
The core visual set should include:
- Establishing views: Show the building, room, site, or street in context. Include enough surrounding information to understand scale and orientation.
- Four corners: Photograph each corner of the principal room or area. This reveals obstructions, ceiling conditions, competing sightlines, and usable wall space.
- Likely camera angles: Mark the positions that could support the intended composition, including low, eye-level, and elevated options where relevant.
- Documented flaws: Record stains, damaged finishes, clutter, reflections, construction activity, blocked windows, and anything that will require retouching or removal.
- Texture and detail: Capture materials, hardware, signage, utilities, thresholds, landscaping, and distinctive architectural elements.
- Access routes: Photograph the entrance, path from vehicle to set, stairs, elevators, loading areas, and any tight turns.
- Surrounding context: Include neighboring structures, public circulation, street conditions, nearby sound sources, and exterior views that may affect the frame.
This approach isn't about taking more photographs for their own sake. It creates comparability. A client can assess one interior against another because both have been documented from equivalent positions and with equivalent attention to limitations. The report becomes a visual record rather than a gallery.
Label files while the information is fresh
Unlabeled images lose value quickly. Weeks after a scout, “IMG_4821” doesn't tell a producer whether the photograph shows the north corner, the service entrance, an outlet, or a noise source.
Use a predictable naming system such as:
entrance-widecorner-view-northwestcamera-angle-lobbyoutlet-wall-eastnoise-source-streetload-in-routeflaw-window-reflection
Add a short note beside each image when the detail affects the decision. Identify the direction of view, the approximate camera position, the relevant time, and the problem or opportunity visible in the frame. If a photograph shows an outlet, include the wall location. If it shows an exterior angle, note whether the view depends on a gate, parked vehicles, or temporary landscaping conditions.
A location report should answer the question behind every photograph: what decision does this image help the team make?
For architectural assignments, include a visual sequence that explains movement through the space. Start with the approach, show the entry, establish the main volume, then move toward the proposed shooting positions and important details. That sequence helps people who weren't present understand how the location feels, not just how it looks from its strongest angle.
How to Scout Efficiently From Desk to On-Site Recce
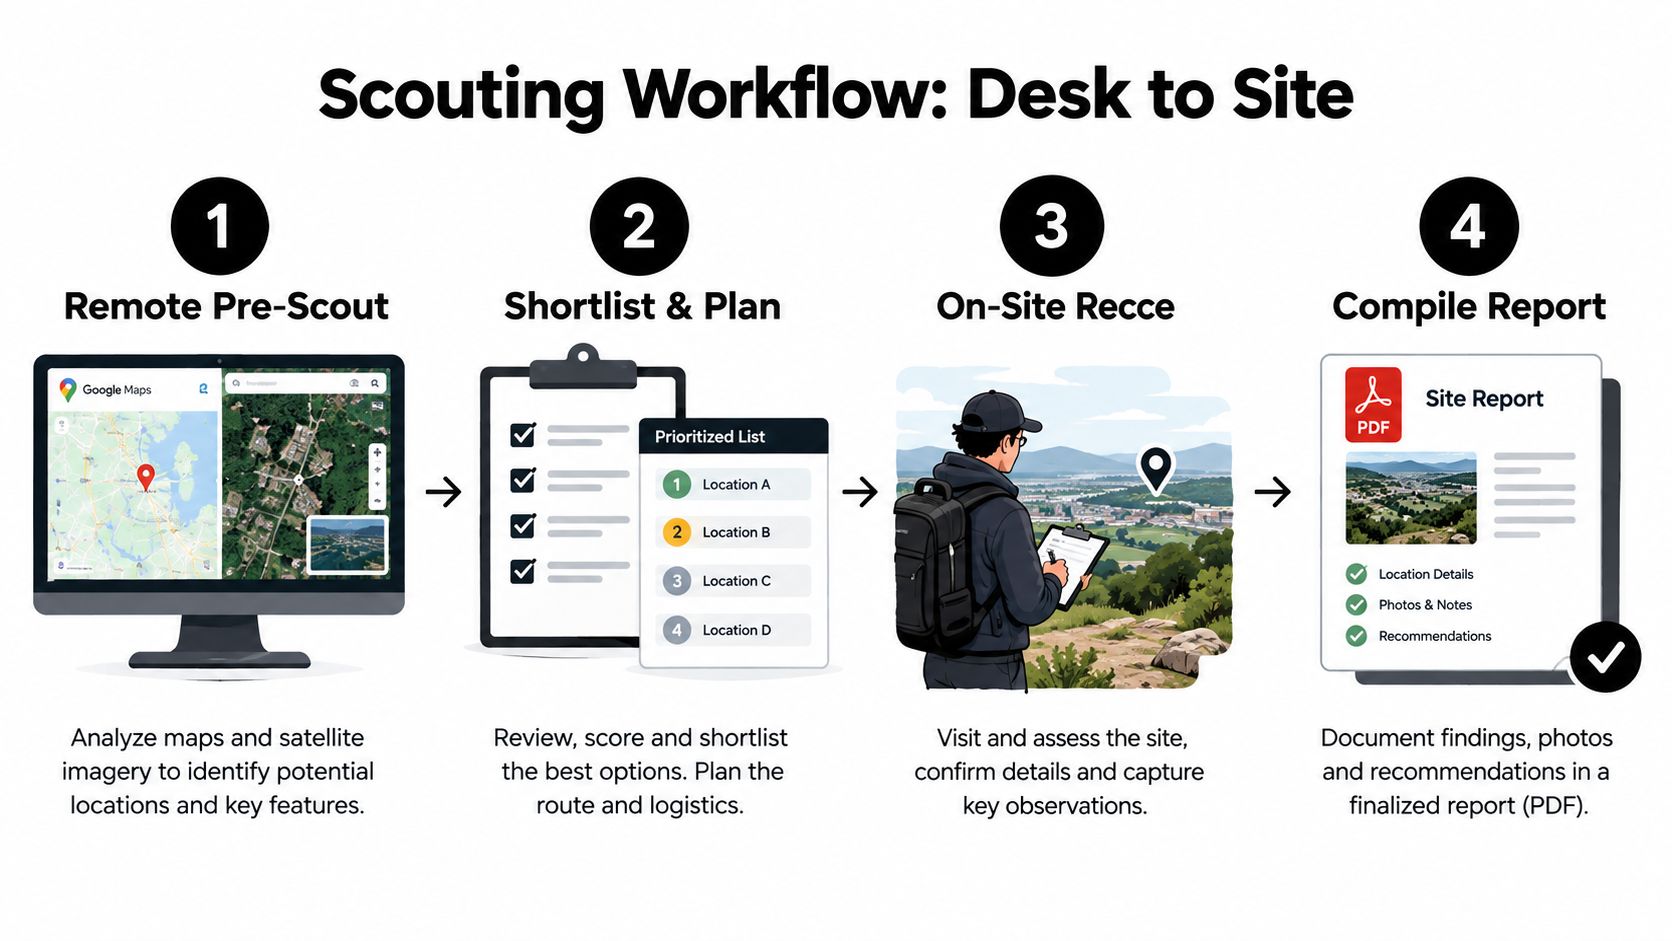
Efficiency starts before the car leaves the driveway. Remote research should narrow the field, not replace the physical visit.
Begin with maps, satellite imagery, property materials, public photographs, and any information supplied by the owner or producer. Look for orientation, neighboring structures, parking, street access, apparent entrances, terrain, and possible staging areas. A remote pre-scout should eliminate obvious mismatches and create a prioritized shortlist.
Then plan the site visit around the actual production conditions. If the shoot is scheduled for early morning, scout at or near that call time. If the final image depends on late-day side light, visit when the sun will produce the relevant shadow pattern. A room that appears open at midday may receive direct glare or deep contrast when the camera is meant to roll.
Use sun-path information before arrival
Sun-path planning tools can forecast sunrise, sunset, golden hour, blue hour, solar noon, azimuth, and shadow conditions for a chosen date and location. See how sun-position planning supports location decisions. Use that information to decide which façades, windows, courtyards, and exterior approaches deserve attention during the recce.
On site, verify rather than assume. Record where shadows fall, how quickly they move across the building, whether neighboring structures block the intended direction, and whether reflective surfaces create unwanted highlights. For interiors, note how daylight enters through glazing and whether blinds, trees, overhangs, or adjacent buildings change the result.
Treat the recce as a test, not a confirmation
Walk the route the crew will take. Open doors, test elevators, stand in the proposed camera positions, and listen in quiet moments. Ask what changes during the planned shoot window. A location that passes a visual review can fail once vehicles arrive, occupants move through the space, or building systems cycle on.
Document hazards and backup options before leaving. A backup doesn't have to be a second property. It may be an alternate room, a reverse angle, a different exterior elevation, or a time adjustment that preserves the creative intent.
For teams trying to make this repeatable across multiple assignments, a structured resource on how to build a repeatable video workflow can help connect scouting, approvals, production, and delivery. Architectural photographers can also use virtual location scouting to reduce unnecessary travel during the shortlist stage, provided the physical recce still verifies the conditions that remote imagery cannot prove.
Documenting Logistics Permits Power Sound and Access
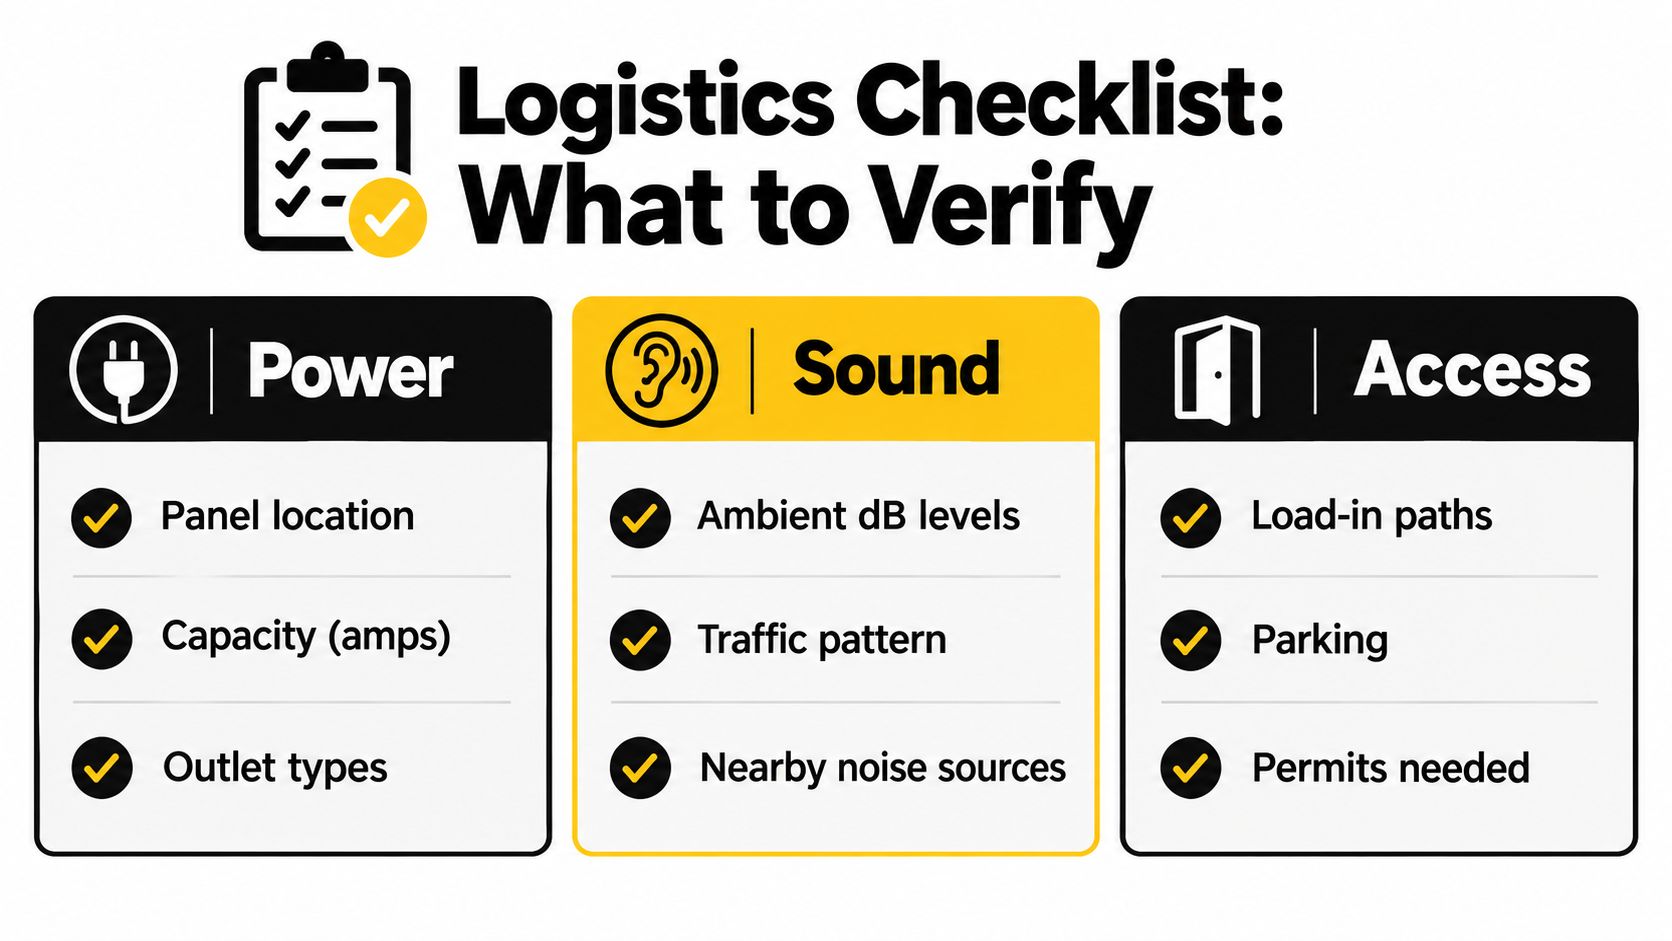
The most expensive scouting omissions are usually invisible in a photograph. Electrical capacity, panel location, ambient sound, parking, load-in, safety, permits, and light timing determine whether the crew can work efficiently once equipment arrives. High-quality scouting guidance emphasizes verifying precisely these variables because photographs alone often hide them. Review a practical location scout workflow.
Record the constraint, not just the presence
“Power available” isn't enough. Note where the panel is, what outlets are accessible, whether the route creates a cable hazard, and whether the power arrangement is suitable for the planned lighting package. For sound, identify traffic, HVAC systems, elevators, nearby businesses, public activity, generators, and intermittent sources that may affect interviews or quiet room tone.
Access deserves the same specificity. Photograph the vehicle approach, loading door, stairs, elevator interior, threshold changes, and the distance between parking and set. Measure tight passages when equipment cases, carts, or large modifiers may need to pass. A producer needs to know the route, not see that a door exists.
Permits should be treated as schedule dependencies. Processing can range from 3 to 21 days, depending on the municipality and location type, so record the expected lead time alongside the proposed shoot date. Use this professional scouting checklist to account for permit timing.
Commercial shoots, activity that may disturb traffic or pedestrians, and equipment such as tripods, dollies, wires, generators, sidewalks, or streets used in a special way can trigger permission requirements before work begins. Review the practical guide to photo and video shoot permits. Private locations generally require the owner's consent, while photography from public-view areas is often allowed unless signage or an authority says otherwise. That broad public-view principle doesn't extend to places with a reasonable expectation of privacy, including dressing rooms and restrooms. Read the location rights guidance for photographers.
| Factor to Verify | What to Record | Risk if Skipped |
|---|---|---|
| Power | Panel location, available capacity, outlet types, cable paths | Lighting changes, unsafe routing, or an unusable package |
| Sound | Ambient conditions, traffic pattern, mechanical systems, nearby sources | Interrupted interviews, unusable audio, or delayed takes |
| Access | Parking, load-in route, door widths, stairs, elevators | Lost crew time, equipment handling problems, or added labor |
| Permits | Authority, owner contact, application status, expected lead time | Delayed production, restricted activity, or cancellation |
| Safety | Hazards, emergency routes, medical access, site rules | Injuries, stoppages, and avoidable liability |
| Light timing | Sun direction, shadow movement, interior daylight changes | Missed visual intent and forced lighting adjustments |
If the assignment involves a release, keep the paperwork connected to the report rather than in a separate forgotten folder. A location release form can clarify permission, use, and property expectations before the crew arrives. Review location release forms for production planning.
Building a Client Ready Report Template That Teams Trust
A client-ready report should read like a decision document. It needs enough visual character to communicate the opportunity, but it also needs enough operational detail that a producer can approve the site without discovering its limitations on shoot day.
Start with a concise location summary. Include the address or site identifier, owner or property contact, access instructions, GPS coordinates, proposed shoot date, recommended time window, and the intended visual purpose. Then present the images in a deliberate order, beginning with context and moving toward camera positions, details, and constraints.
Build every candidate on the same page logic
A reusable template might follow this sequence:
- Location overview: Identify the site, its strongest visual qualities, and the type of assignment it suits.
- Approach and access: Show arrival, parking, load-in, entrances, vertical circulation, and restrictions.
- Primary views: Present the establishing image, room coverage, exterior elevations, and likely camera angles.
- Light notes: Describe the direction and quality of daylight, shadow behavior, glare, and recommended timing.
- Technical notes: Record measurements, power, sound, equipment considerations, and safety observations.
- Permissions: List ownership, permit status, contacts, restrictions, and unresolved approvals.
- Risks and alternatives: State what could fail and identify the alternate angle, room, or location.
- Recommendation: Give a clear viability assessment with conditions attached.
The report should work for interiors, exteriors, commercial brand shoots, editorial assignments, and property documentation. Keep the design restrained. Use consistent image sizes, captions, page labels, and file names so the document remains easy to scan on a phone, tablet, or laptop.
Add infrastructure and resilience details
Modern scouting increasingly includes GPS coordinates, ownership, permit status, measurements, ambient sound, access details, local services, emergency response times, and a viability score. Explore the expanded location scouting checklist. These details give clients a better understanding of resilience. A beautiful site with weak access or uncertain permissions may be a poor choice, while a less obvious site may become practical once its operational strengths are documented.
Use a simple status language such as approved, approved with conditions, pending confirmation, or not recommended. Don't hide uncertainty inside vague prose. If power hasn't been confirmed, say so. If the owner still needs to approve commercial use, identify that as an open item.
Version the report whenever the site changes. A renovation, tenant move, landscaping update, construction barrier, or new access restriction can make a previous scout misleading. A practical location scouting report template can provide a starting structure, but the template should remain adaptable to the client's shot list and production scale.
A strong report lets a client understand the space without pretending to replace the site visit. It communicates atmosphere, scale, composition, and logistics in one coherent package.
Pro Habits That Keep Your Reports Accurate and Reusable
Reliable scouting comes from maintenance, not memory. Keep a searchable location library with consistent folders, contact details, permissions, access notes, representative photographs, and the date of the latest verification. A report that was accurate during a previous assignment may not reflect current construction, furniture, tenants, landscaping, or building rules.
Write for the next person who will open the file. Avoid personal shorthand such as “good wall” or “bad side.” Describe what makes the wall useful, what blocks the side, and what condition must change before production. Clear notes reduce follow-up calls and help a producer brief a crew without translating the scout's observations.
Keep clients informed before constraints become surprises
Share material limitations early. If the best angle requires a restricted area, if a quiet room depends on turning off a building system, or if a permit remains unresolved, put that information beside the recommendation. Clients can usually work with a constraint when they hear about it early. They lose confidence when the same constraint appears after the crew has arrived.
Maintain backup thinking even when the primary option looks strong. Record a reverse angle, alternate time, secondary room, or nearby exterior that preserves part of the visual idea. The backup doesn't need to be equally beautiful. It needs to be workable and already understood.
The report should also preserve the photographer's visual judgment. Exposure, composition, scale, reflections, texture, and narrative detail still determine the final image. Operational due diligence doesn't replace aesthetic scouting. It tells you whether the aesthetic idea can survive contact with the building, the schedule, and the people working inside it.
Field habit: Update the report when the location changes, not when the next project exposes the change.
Before sending a report, confirm that every image has a purpose, every major risk has an owner, every approval has a status, and every recommendation includes its conditions. That final review turns a collection of photographs into a trusted production tool.
For architectural and commercial assignments, Jimmy Clemmons Photographer provides location scouting alongside architectural imagery, lighting design, on-set direction, and professional editing, with notes focused on sightlines, access, clutter, power, window direction, neighboring structures, and landscaping. Visit Jimmy Clemmons Photographer to discuss a scouting report that gives your team a clear creative plan and a workable production path.