
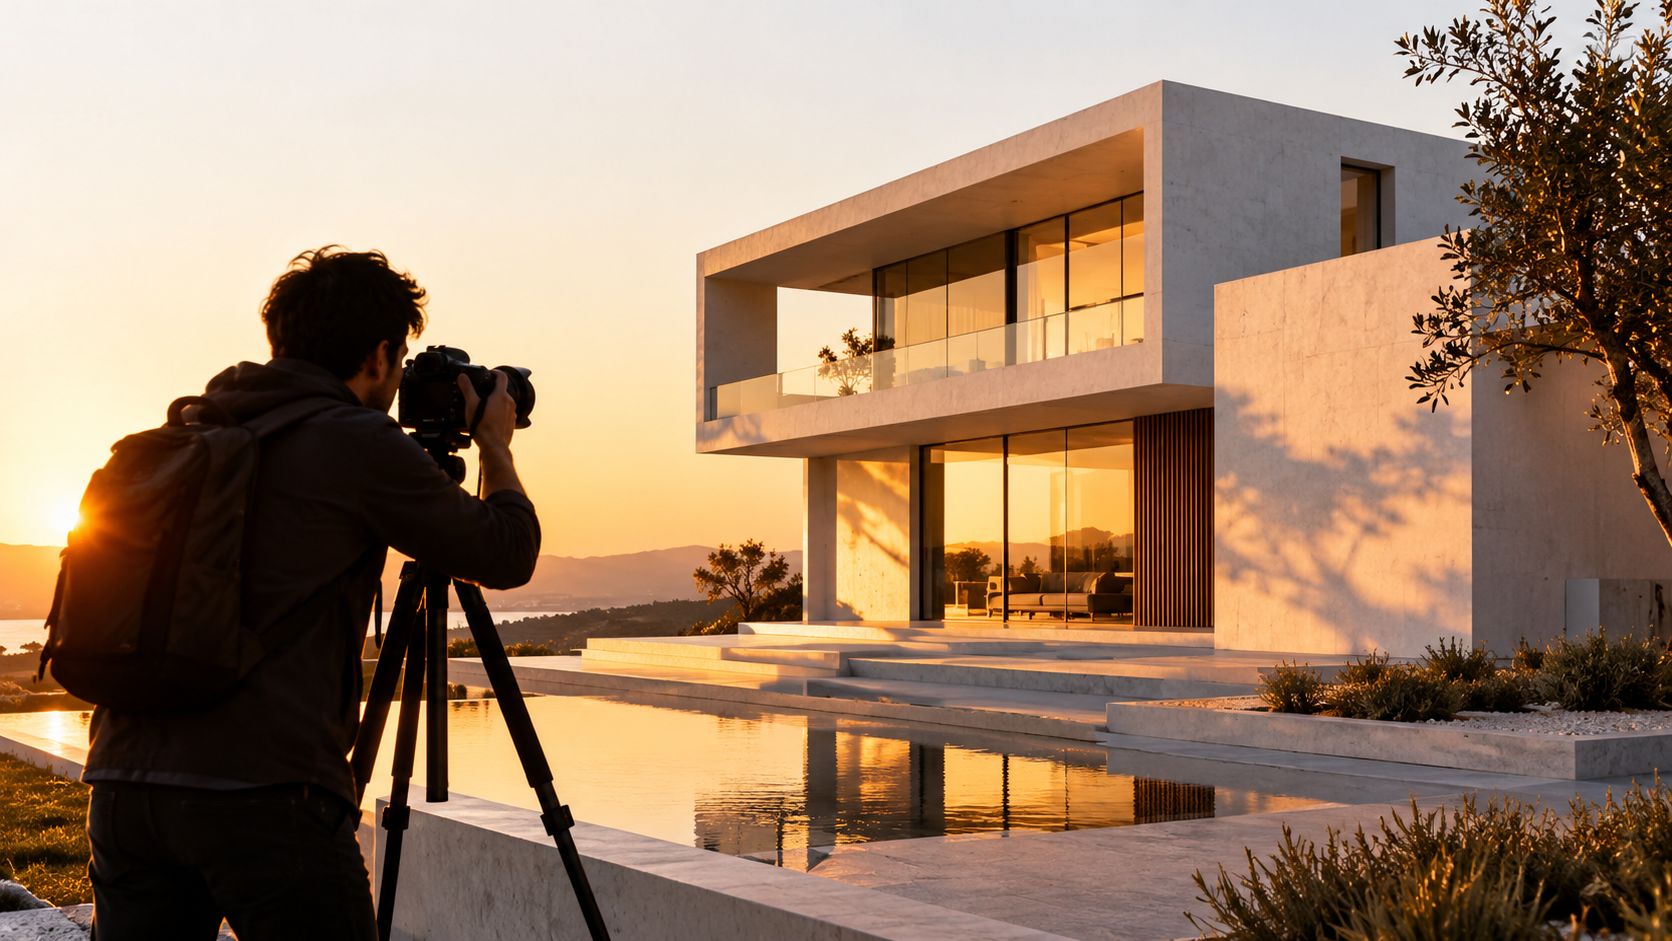
You arrive before sunrise, while the site is still quiet and the glass holds the last traces of darkness. The building is finished, but the photograph isn't. You still need to decide which elevation carries the design, where the first light will reveal the material, whether people belong in the frame, and how much of the street should remain visible. Those choices define contemporary architecture photography long before a shutter opens.
A successful commission connects geometry, light, and narrative. Straight verticals can establish trust, carefully timed illumination can explain material, and a sequence of images can show how a building works rather than merely how it looks. The photographer's task is interpretation first, documentation second.
What a Photographer Sees Before You Press the Shutter
At first light, I walk the perimeter before unpacking the camera. I look for the elevation that makes the building legible, not necessarily the one that appears most dramatic from the access road. A narrow view may reveal a structural rhythm that disappears in a wide frame. An interior may only make sense when the pavement, planting, or neighboring buildings remain in the foreground.
I also watch the sun's path. A low side light can separate projecting slabs and expose a textured façade, while direct front light may flatten the same surface. Inside, the relationship between window light and artificial illumination determines whether a room feels connected to its setting or sealed away from it. The best time is often the moment when the design intent becomes visible through use, reflection, shadow, and scale.
Practical rule: Before discussing lenses, agree on what the building should communicate. Equipment can preserve a decision, but it can't make an unclear brief precise.
A photographer is choosing among competing truths. A perfectly corrected elevation may explain the façade, while a lower, slightly more interpretive viewpoint may communicate its civic presence. A clean interior may show finishes accurately, but a person crossing the threshold can explain circulation and scale more efficiently than an empty room.
That interpretive responsibility has a long history. The Library of Congress holds approximately 14,350 fully digitized photographs by Theodor Horydczak, documenting Washington-area architecture primarily from about 1920 to 1950, demonstrating how architectural photographs can become part of a permanent public record (Library of Congress architectural photographer archives). Your commission may begin as marketing, but the images can later shape how the project is remembered.
Before the camera rises, I make notes about:
- The strongest elevation: Which side explains the project most clearly?
- The light sequence: Where will direct sun, reflected light, and shadow describe the materials?
- The human route: How do visitors enter, move through, and occupy the building?
- The visual evidence: Which details must remain documentary, and which frames can carry more mood?
A simple composition planning reference can help teams discuss these choices before the shoot. The useful briefing question isn't “Can we photograph everything?” It's “Which visual decisions will help someone understand this place without standing here?”
Defining Traits of the Contemporary Practice
Contemporary architecture photography respects the building's geometry while acknowledging that every frame is authored. The photographer controls the viewpoint, height, lens position, timing, and sequence, then uses those decisions to make structure and experience readable.
From the 1910s onward, Modernist architects used photographs of contemporary buildings to communicate new forms internationally. Images of the Bauhaus buildings at Dessau by Lucia Moholy helped circulate Modernist ideas far beyond their physical locations (historical account of architectural photography and Modernism). The image became part of the architecture's public life, not a neutral record stored after the fact.
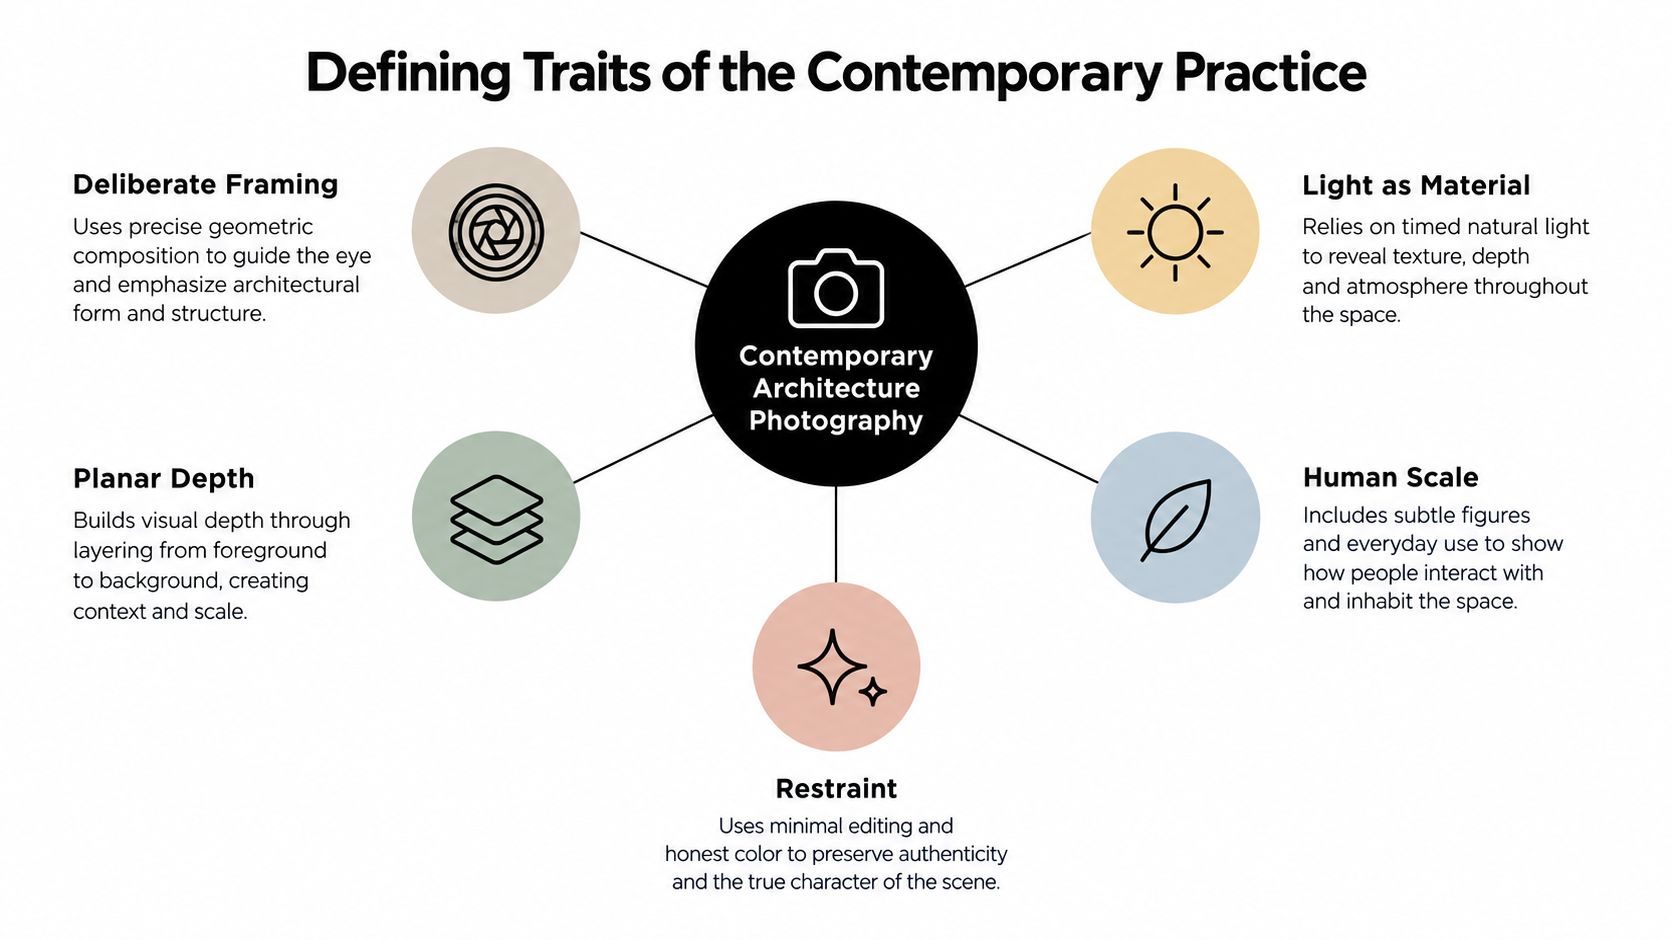
Geometry that earns confidence
Perspective control keeps verticals and horizontal relationships believable. The photographer levels the camera, keeps the sensor parallel to the principal façade, and uses shift where possible. This preserves orthogonals without forcing the viewer to interpret severe convergence.
Light that explains material
Light should reveal what a surface does. Side light can articulate relief, diffuse conditions can support a quiet material study, and interior fixtures can balance a window view without making the room appear artificially bright. The aim isn't maximum drama. It's material legibility.
Depth that organizes experience
Foreground framing, intermediate planes, and a clear background give a flat image spatial logic. A doorway can frame a courtyard, a stair can lead the eye toward a public room, and a restrained human presence can establish scale without becoming the subject.
Sequence that carries meaning
One image may show massing, another circulation, another detail, and another occupation. Together, they create a narrative. Contemporary practice often allows a wide establishing view to sit beside a tightly cropped study of a joint, handle, shadow line, or reflected surface.
For broader vocabulary around how architectural styles communicate through form and detail, the Hutter Architects design guide offers useful context. The photographer's job is then to translate that vocabulary into a consistent visual set.
The shift from straightforward record to authored interpretation is also traced in the evolution of architectural photography. A strong portfolio should therefore be judged on more than sharpness. Ask whether it preserves geometry, explains space, respects color, and gives the building a recognizable character.
The Technical Toolkit for Clean Geometry
A camera tilted upward to include a tall façade creates three-point perspective. Vertical lines converge, and the upper portion of the building appears smaller. Keeping the sensor vertical and parallel to the façade, then using lens shift to move the image circle upward, includes more of the building without tilting the camera (Cornell lecture materials on lens shift and perspective).
That mechanical decision affects the entire workflow. A tripod, a reliable level, and a shift-capable lens aren't accessories added after composition. They establish whether the original capture contains enough clean geometry and usable pixels for the final image.
Match the lens to the assignment
| Lens Type | Best For | Geometry Control | Limitation |
|---|---|---|---|
| Shift-capable wide lens | Tall façades, interiors, and controlled panoramas | Maintains camera orientation while repositioning the frame | Requires careful movement limits and edge checks |
| Conventional wide-angle lens | Confined rooms and quick location coverage | Limited optical correction, perspective depends heavily on camera position | Tilting upward can create converging verticals |
| Normal or short telephoto lens | Detail studies, material relationships, and compressed elevations | Naturally reduces exaggerated spatial expansion | Needs more distance from the subject |
| Tilt-shift lens | Selective focus across deep interiors or foreground-to-background planes | Shift controls framing, while tilt changes the plane of focus | Excessive tilt can look artificial and requires precise setup |
Shift and tilt solve different problems. Shift changes the subject's position within the frame while the camera remains oriented, making it valuable for façades and stitched panoramas. Tilt changes the focus plane according to the Scheimpflug principle, which can extend apparent depth of field across a counter, floor, or converging room geometry.
A practical capture sequence is deliberately unglamorous:
- Mount the camera on a rigid tripod.
- Level the body and verify the horizon.
- Keep the sensor parallel to the principal plane.
- Compose within the available shift range.
- Inspect verticals and horizontal edges near the frame boundaries.
- Set manual exposure and white balance before capturing a stitched sequence.
- Overlap adjacent frames consistently.
Canon's technical guidance describes tripod-mounted left, center, and right shifted captures for wider architectural panoramas, while also distinguishing tilt from shift and identifying tilt-shift optics as a way to control the viewing center and reduce lens distortion (Canon guidance on tilt-shift panoramic capture).
Optical correction at capture usually preserves more dependable geometry than stretching an ordinary frame later. Software still has a place, especially for finishing and minor alignment, but aggressive correction can crop useful pixels and magnify edge artifacts. The more exact the project documentation needs to be, the earlier perspective must be solved.
For a practical discussion of focal lengths and architectural applications, review this guide to architectural photography lenses.
Composing Light, Material, and Mood
A room can feel expansive or compressed before anyone changes the furniture. Camera height, foreground distance, visible ceiling, and the relationship between near and far planes all influence that reading. Photography flattens a three-dimensional scene into a composition, yet that flattening can make spatial qualities more apparent when the frame organizes them carefully (scholarly analysis of photography and architectural space).
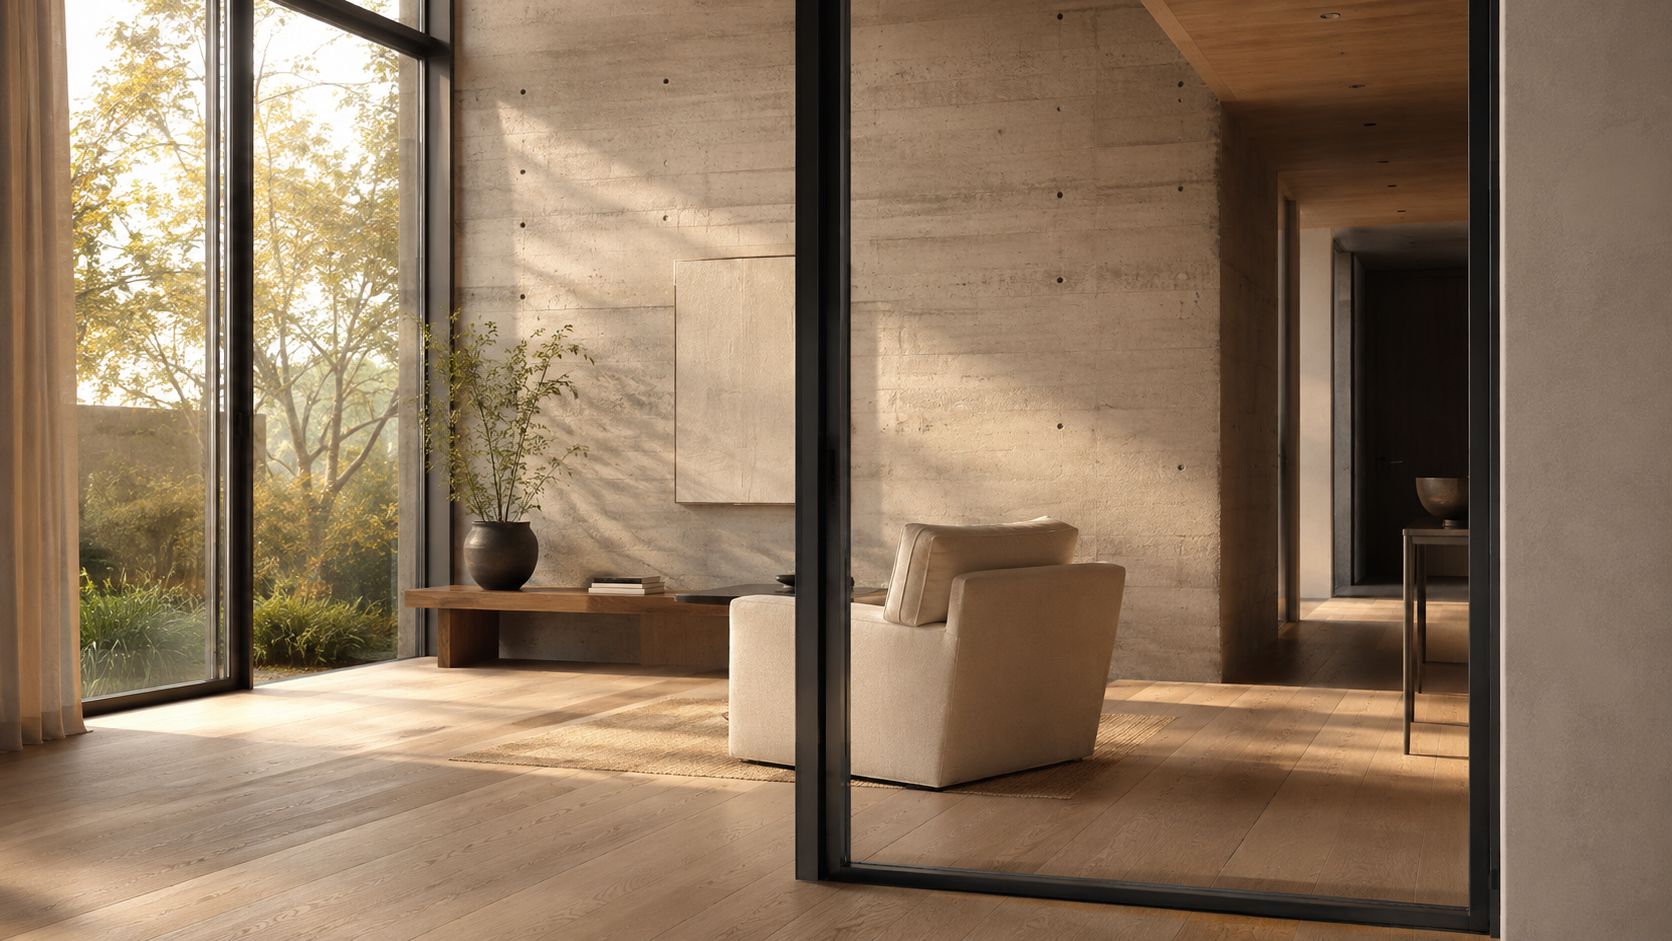
Let the building set the mood
For an exterior, golden-hour light can separate volumes and give glazing a controlled reflection. It can also create long shadows that obscure entrances or make a pale façade appear warmer than it does in ordinary use. The choice works when atmosphere supports the design story, not when it disguises the building.
For material studies, soft north-facing light or overcast conditions often produce quieter transitions across concrete, timber, stone, and plaster. Supplemental strobe or continuous light can then lift a dark interior or balance an exterior view through glass. I prefer adding only what the room needs. Too much fill erases the difference between natural light and artificial illumination, making the space feel staged.
Foreground framing is equally practical. A column, planting bed, door opening, or neighboring plane can give the viewer an entry point. Layers should clarify circulation rather than turn the image into a puzzle.
Build a set, not a pile of frames
A commissioning team should decide how the images will function together:
- Establishing frame: Shows the project in its urban or setting context.
- Spatial frame: Explains how rooms connect and how people move.
- Material frame: Gives finishes enough scale and light to be understood.
- Detail frame: Isolates a meaningful junction, object, or crafted surface.
- Use frame: Shows occupation without making the building disappear behind activity.
Color and contrast decisions should remain consistent across that sequence. A cool exterior beside a warm interior can be appropriate when the conditions differ, but unexplained shifts in white balance make materials appear inconsistent. Retouching should preserve reflections, textures, and the evidence of use unless the brief defines an editorial transformation.
Composition isn't decoration applied over architecture. It is the method by which a viewer understands the building's spatial intent.
Inside the Edit Suite Without Losing the Truth
The first edit is usually subtraction. A shoot may contain several versions of a room, but only the frame with the clearest circulation, strongest geometry, and most useful light belongs in the final set. I compare images at matching exposure and white balance, then select for content, composition, and character, three criteria used in a framework for evaluating architectural photography beyond sharpness or exposure (framework for assessing architectural photography).
Separate correction from interpretation
A standard edit may include dust removal, restrained color correction, exposure balancing, lens finishing, and small distractions that don't alter the building. Those changes support the original capture.
An editorial edit goes further. It may deepen a sky, remove temporary clutter, adjust the appearance of a passing vehicle, or combine exposures to control a difficult brightness range. These choices can be legitimate, but the client should know what changed.
A concept image is different again. If the sky, terrain, lighting, neighboring context, people, or atmosphere is generated or substantially composited, the image no longer functions as a straightforward record of the built project. Labeling it protects the viewer and the design team.
Consider an anonymized interior commission. The architect needs a calm image for a portfolio, so the editor removes loose packaging and corrects a slight color cast. That is ordinary finishing. In a separate presentation image, the client requests a twilight atmosphere and additional planting that wasn't present on site. That frame should be marked editorial or concept, not placed beside as-built documentation without explanation.
Preserve the archive
Keep the original files, the selected captures, the retouched masters, and the delivery versions separate. Use consistent naming that records the project, view, sequence, and status. A resource on how to organize Mac files with naming rules can help teams make those decisions before folders become difficult to search.
The archive matters because architectural images outlive the campaign that commissioned them. A future editor, researcher, or project team may need to know which frame shows the built condition and which one was shaped for atmosphere.
A written agreement should identify standard correction, editorial adjustment, and generative intervention. That distinction doesn't restrict creativity. It gives every image an honest role.
Where AI, Drones, and New Tools Fit Honestly
AI isn't a single category, and treating every assisted image as either authentic or deceptive avoids the genuine commissioning question. The useful question is what the image claims to show.
A 2025 survey of more than 1,000 architects and designers found that 44% use AI for concept images, 35% for rapid design variations, 32% to enhance photorealism, and 26% to improve image quality, while 11% reported that AI was already part of their visualization workflow (survey discussion of AI use in architectural visualization). Those figures describe different purposes, not one uniform practice.

Use three disclosure categories
As-built images preserve the captured geometry, materials, and site conditions, with normal technical correction and clearly defined retouching.
Editorial images may adjust atmosphere, remove temporary distractions, or combine exposures to communicate the project more clearly. The intervention should be recorded.
Concept images can introduce generated skies, people, planting, lighting, or neighboring context. They're valuable for proposals and unbuilt work, but they shouldn't be mistaken for evidence of completed construction.
Drones add viewpoints that a tripod can't reach, while 360-degree capture can explain orientation and circulation. Both can distort scale or simplify detail, so they need the same disclosure discipline as ground-level frames. Mixed-media presentations can be persuasive when the viewer understands which elements are photographed and which are constructed.
For teams comparing workflows, a practical AI real estate photo editing guide provides a useful starting point for discussing automated edits. The client should then ask direct questions: Was the sky replaced? Were neighboring buildings removed? Were people or landscaping generated? Does the delivered file retain the original?
A transparent protocol protects both the photographer and the architecture firm. It also lets creative images remain creative without asking them to carry documentary authority they don't possess.
Briefing and Hiring a Photographer With Confidence
A strong brief gives the photographer enough information to make intelligent decisions before arriving. “Photograph the building beautifully” describes an aspiration, not a working assignment.
Start with the building's purpose, audience, and publication context. A developer may need clear exterior coverage and leasing imagery, while a design publication may prioritize spatial sequence, material detail, and a strong opening frame. Those goals can overlap, but they don't produce identical shot lists.

Give the photographer a usable brief
Include:
- Project context: Design intent, location, completion status, and the audiences who will view the images.
- Priority views: Required elevations, interior connections, details, amenities, and contextual relationships.
- Timing constraints: Access windows, sun preferences, occupancy, construction activity, cleaning, and landscaping.
- Styling responsibility: Who moves furniture, clears surfaces, manages vehicles, and coordinates people?
- Deliverables: Orientation, file type, resolution, retouching level, naming convention, and delivery schedule.
- Disclosure categories: Which images must remain as-built, and which editorial or concept treatments are acceptable?
- Usage rights: Publications, websites, social channels, advertising, competitions, archives, and third-party licensing.
- Approval process: Name the person who can approve selects, retouching, and final releases.
A pre-shoot walkthrough is more valuable than a hurried arrival. It reveals access problems, identifies the best camera positions, and lets the photographer test how light moves through the building. The walkthrough also gives the architect a chance to explain details that may not be obvious from the finished space.
Check rights before international publication
Copyright treatment varies by jurisdiction. Freedom-of-panorama rules in some countries permit photographing and distributing images of buildings permanently located in public spaces, while other jurisdictions require additional permission (overview of photography and copyright law). The exception may also treat interiors, sculptures, temporary installations, and visible artwork differently.
Record the country, viewpoint, intended use, permanence of the building, and any separately protected work appearing in the frame. Ask the photographer to identify what rights are being licensed, rather than assuming that possession of the files grants every possible use.
Portfolio quality still matters, but the selection conversation should focus on process. Ask how the photographer controls perspective, handles mixed light, preserves originals, labels AI-assisted imagery, and manages approvals. Those answers reveal more than a gallery of attractive frames.
Working Together to Serve the Building
An architectural photograph serves two audiences at once. It must respect the building's physical reality, and it must help someone who has never visited understand how that reality feels, functions, and fits together.
That balance depends on collaboration among the designer, photographer, editor, and client. The brief establishes intent, the camera preserves geometry and light, and the edit clarifies without altering the evidence. AI, drones, and composite techniques can extend the visual language when their role remains visible.
Start with a site walk, a ranked shot list, and an explicit agreement about as-built, editorial, and concept imagery. That small investment gives the photographer room to interpret the project while protecting the trust behind every frame.
Jimmy Clemmons Photographer offers architectural photography with location scouting, staging, specialized lighting, multiple-exposure capture, and professional editing for modern interiors and exteriors. If you need images that connect precise geometry, material detail, and an honest visual narrative, visit Jimmy Clemmons Photographer to discuss your next project.