
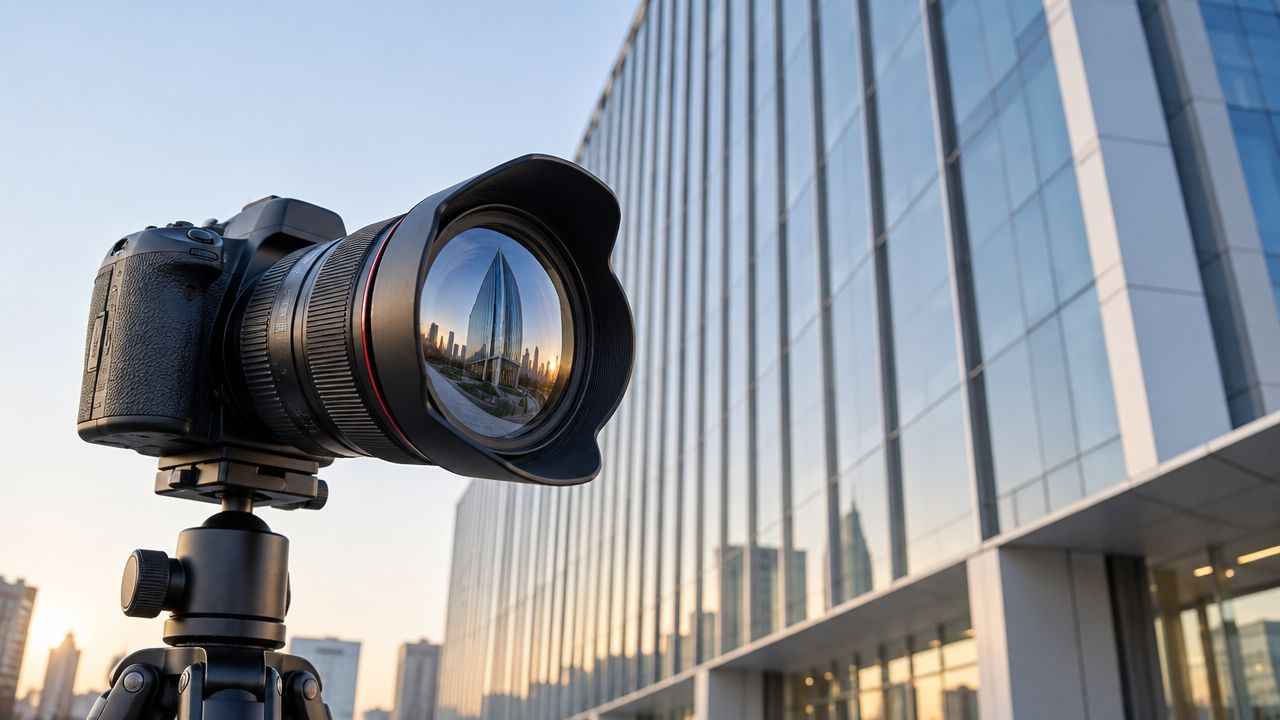
Most architectural photography advice starts with the same prescription: buy an expensive tilt-shift lens before you take the work seriously. That advice is incomplete. A specialty lens can preserve geometry at capture, but a modern high-resolution mirrorless body, a carefully chosen wide-angle prime, and disciplined correction in post-production can satisfy many real client deliverables with less equipment, less weight, and a simpler operating routine.
The useful question isn't, “What's the widest lens available?” It's, “What level of distortion, edge sharpness, field coverage, and editing tolerance does this assignment require?” A design firm commissioning visual documentation may need consistent orthogonal files for presentation or reproduction. A property team may need fast, polished images for marketing. Those jobs can overlap, but they don't always justify the same glass.
Rethinking the Architectural Photography Lens Toolkit
A heavy specialty lens is not automatically the professional choice for architectural photography. Shift optics can correct perspective before software crops or warps the file, which matters when vertical alignment, edge fidelity, and repeatable geometry must survive close inspection. They also bring cost, weight, manual operation, and a narrower workflow.
A high-resolution mirrorless body with a carefully chosen prime can provide more reframing latitude, while autofocus primes and wide-angle zooms are easier to carry through interiors, streets, and active project sites. Recent market coverage describes widening demand for perspective correction and high-resolution work market coverage of tilt-shift trends and mirrorless development. That convenience does not make correction-free files equivalent to optically shifted captures. It changes where the work happens, and how much editing time the project can absorb.
Start with the deliverable
Let the final use determine the lens:
- Documentation: Does the file require controlled geometry across the frame?
- Editorial imagery: Can limited correction support a more expressive composition?
- Marketing content: Do speed, autofocus, and flexible framing matter more than perfect in-camera alignment?
- Large-format reproduction: Will corner detail and field flatness receive close inspection?
Ultra-wide coverage often introduces problems. A lens that includes an entire room can exaggerate foreground-to-background distance, stretch furniture near the edges, and make a compact interior feel unlike the space visitors experience. A slightly narrower view, combined with better positioning, often produces a more credible rendering and leaves fewer corrections for post-production.
Practical rule: Choose the least extreme focal length that delivers the composition, then correct only what the brief requires.
Tilt-shift optics became more precise for architectural work as shift and tilt movements moved from large-format view cameras into smaller systems. View cameras had offered these movements from photography's early days. Nikon's 1961 PC-Nikkor 35 mm f/3.5 marked an early perspective-control milestone for 35 mm SLRs overview of tilt-shift photography. Nikon followed with 35 mm and 28 mm PC-Nikkor variants through 1981, while Canon's 1973 TS 35 mm f/2.8 SSC combined tilt and shift in one lens. That history explains the value of specialty glass, not a universal requirement to buy it.
Match the lens to the tolerance. A firm documenting construction details may justify optical shift, while a marketing team with an efficient correction workflow may prefer a lighter mirrorless kit. The hidden cost is not only purchase price. It includes setup time, manual focusing, movement limits, adapters, and the labor required to standardize files afterward.
Understanding Perspective and Optical Distortion
Before blaming an architectural photography lens, separate optical distortion from perspective distortion. Barrel or pincushion distortion comes from the lens design itself. Software profiles can often reduce it. Perspective distortion comes from where the camera is and how it's pointed.
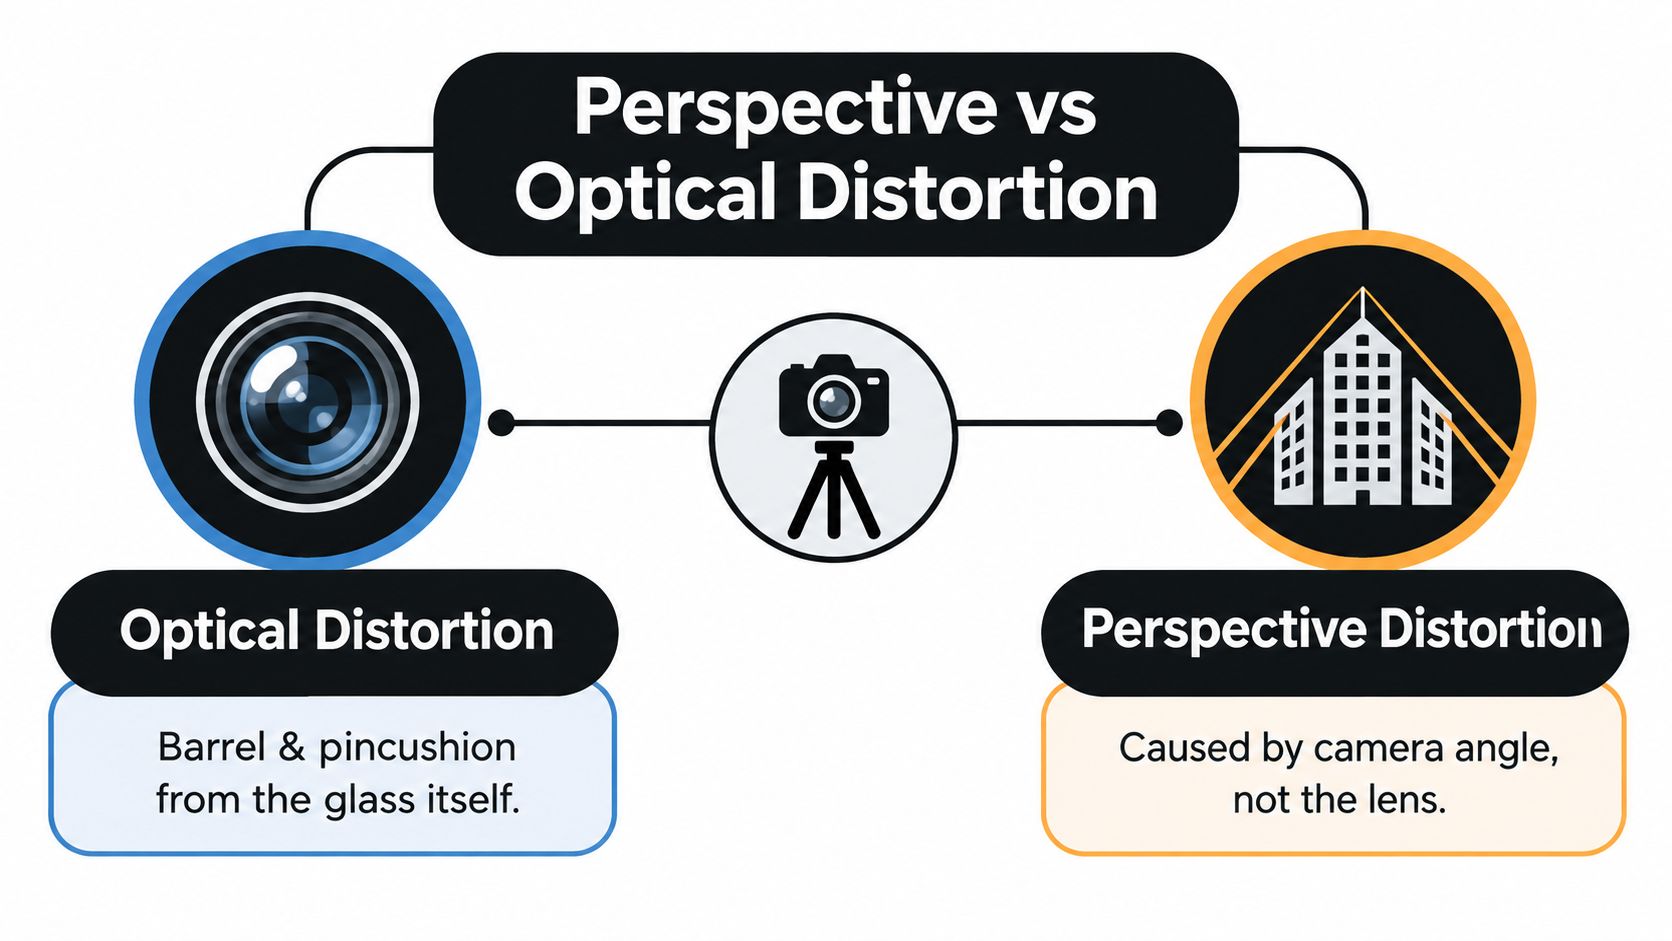
A tall façade offers the simplest example. If the camera sits level and the sensor plane remains parallel to the building, vertical edges can remain parallel in the file. If you tilt the camera upward, the top of the sensor points away from the subject plane. The building's verticals then converge toward the upper part of the frame, making the structure appear to lean backward.
Distance creates a different visual effect. Move too close to a room or façade and the nearest elements occupy a disproportionately large part of the image. A table edge, doorway, or projecting balcony can dominate, even when the lens has little barrel distortion. ZEISS describes this relationship as a function of camera-to-subject distance and angle, recommending that photographers keep the camera level or back up and use a wider lens instead of tilting upward ZEISS guidance on wide-angle perspective.
Use position before software
A practical sequence keeps the geometry under control:
- Level the camera. Use the tripod head and electronic level to establish a neutral starting position.
- Move backward when possible. Distance reduces the foreground-to-background exaggeration caused by working too close.
- Select a wider focal length only after moving. Wider coverage should solve framing, not compensate for careless placement.
- Keep important verticals away from the extreme edges. Even well-corrected wide lenses can make edge placement visually demanding.
- Correct residual lens distortion in software. Profile correction is useful, but it can't fully undo the geometry created by camera angle and position.
This is why focal length alone doesn't determine whether a photograph looks distorted. A longer lens used from farther away can render proportions more naturally than an ultra-wide lens pressed into a corner. For a practical discussion of how focal length affects perceived building proportions, see this guide to wide-angle lenses and building proportions.
The central distinction is simple: lens distortion is an optical error, while perspective distortion records a real change in viewpoint. Software can often address the first. Careful camera placement, leveling, or a shift movement addresses the second.
The Mechanics of Tilt-Shift Optics
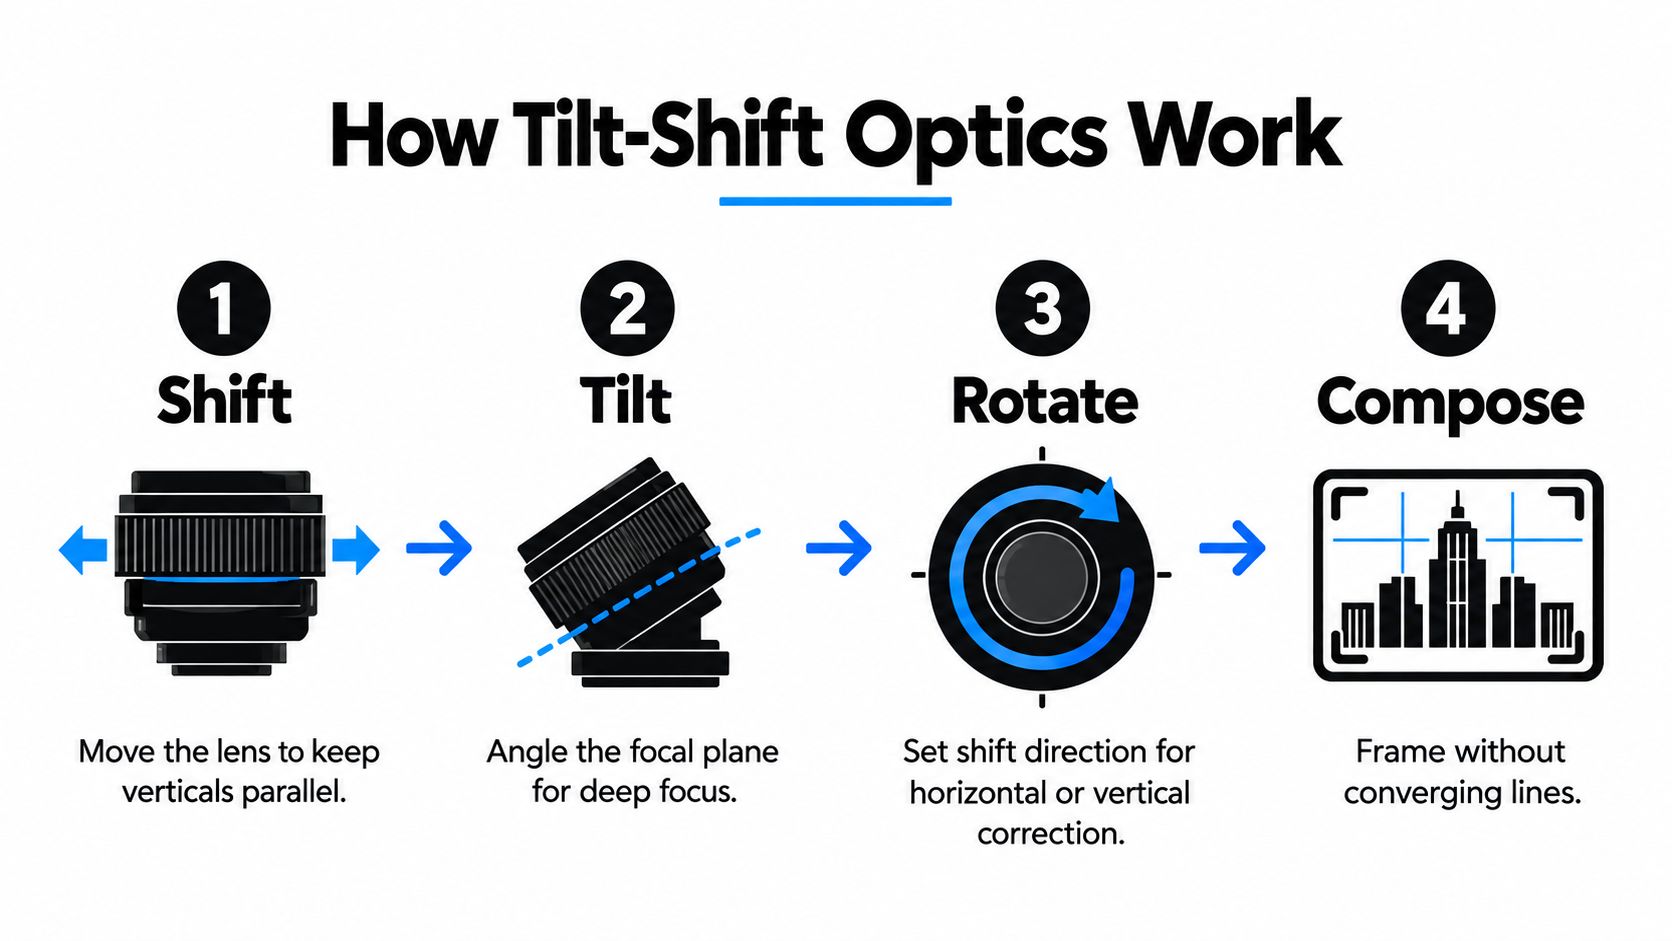
Tilt-shift lenses separate two adjustments that standard lenses combine. Shift changes framing and perspective control, while tilt changes the orientation of the plane of focus. That separation matters when a client needs a façade documented with parallel verticals and a deep, controlled focus plane.
A shift lens projects an image circle larger than the sensor. Keep the sensor parallel to the façade, then move the lens upward instead of pointing the camera up. The sensor captures a different part of that circle, adding the upper structure without introducing the converging verticals caused by camera angle. The correction happens during capture rather than through a later geometric warp, as explained in this technical account of architectural tilt-shift use.
Shift is a reframing movement
On full-frame systems, shift movement is typically described as about ±8 mm to ±12 mm shift lens mechanics and movement range. This is a linear movement, not an angular one. It raises or lowers the composition while the camera remains level, and some designs allow lateral movement after rotating the movement assembly.
Set up the camera in a fixed sequence:
- Mount the tripod and level the camera.
- Align the sensor plane with the building or interior plane.
- Compose with the lens centered.
- Apply shift gradually, checking corners and edges.
- Rotate the movement when horizontal correction is needed.
This method suits elevations, measured interiors, and documentation where walls, doors, and structural lines must remain orthogonal. It also preserves more usable image area than correcting severe convergence in post. The trade-off is workflow. Shift lenses require precise setup, manual checking, and attention to their movement limits. A modern high-resolution prime may be faster to position and correct later, but those corrections can reduce framing flexibility and alter edge rendering.
Tilt addresses focus rather than framing. Through the Scheimpflug principle, tilting the lens changes the relationship between the lens plane, sensor plane, and subject plane. The sharp focus plane can follow a tabletop, floor, or receding interior surface, helping keep a foreground object and distant wall sharp without depending entirely on a very narrow aperture.
Tilt movements are commonly described around ±8 degrees, while shift movements are commonly described around ±8 mm to ±12 mm the distinction between tilt and shift movements. The controls demand deliberate operation. Manual focus, magnified live view, and edge checks belong in the capture process, particularly when the final file will be inspected closely.
Tilt-shift optics do not remove the need for sound placement. Excessive shift can push corners into weaker parts of the image circle, while an incorrectly aligned tilt can place focus somewhere other than the intended geometry. Specialty glass can deliver a cleaner original file, but its slower operation and manual controls carry real workflow costs. The right choice depends on the documentation tolerance, not just on the widest available coverage.
Focal Length Strategies for Interiors and Exteriors
Interior and exterior assignments rarely benefit from the same optical behavior. Tight rooms demand coverage, but excessive width can make furniture, doorways, and wall junctions look inflated. Exteriors allow more working distance, so a longer lens can often preserve proportions while isolating form, rhythm, or material detail.
A useful starting point is 16–24 mm on full-frame, 11–17 mm on crop-sensor, and 8–12 mm on Micro Four Thirds systems, according to this architectural photography focal-length guide. These are working ranges, not rules. The right choice depends on whether the image must describe an entire space, establish a relationship between rooms, or isolate a designed element.
Match the lens to the scene
For a compact interior, a high-quality wide prime can provide the necessary field of view while keeping the camera in a more considered position. A zoom adds speed when furniture, walls, or people prevent precise movement. For an exterior elevation, a moderate wide lens or shift lens may give a cleaner relationship between coverage and proportion. A standard lens can be more persuasive for details because it avoids the spatial exaggeration associated with very wide glass.
| Sensor format | Wide/interior range | Standard/exterior range |
|---|---|---|
| Full-frame | 16–24 mm | 24 mm and beyond, as composition allows |
| Crop-sensor | 11–17 mm | 17 mm and beyond, as composition allows |
| Micro Four Thirds | 8–12 mm | 12 mm and beyond, as composition allows |
The table's first three ranges come from the cited focal-length guidance. The exterior column is a practical working distinction rather than a fixed specification. On location, the best exterior lens is often the one that lets you step back, keep the camera level, and maintain a convincing relationship between foreground and background.
Think about tolerance, not just coverage
One independent market source identifies a distortion tolerance benchmark of ≤0.10% RMS for architectural documentation reporting on tilt-shift lenses, documentation tolerance, and mirrorless trends. That level of precision changes the buying conversation. A lens can be wide enough and sharp enough for a marketing image while still creating too much correction work for strict documentation.
For design presentations, a small residual error may be acceptable if the lines remain visually credible. For measured records, repeatable elevations, or large-format reproduction, inspect corner rendering, field flatness, and correction behavior before judging the lens by its maximum width. This is the more useful way to choose an architectural lens for interior design photography.
Evaluating Specialty Glass Versus Modern Workflows
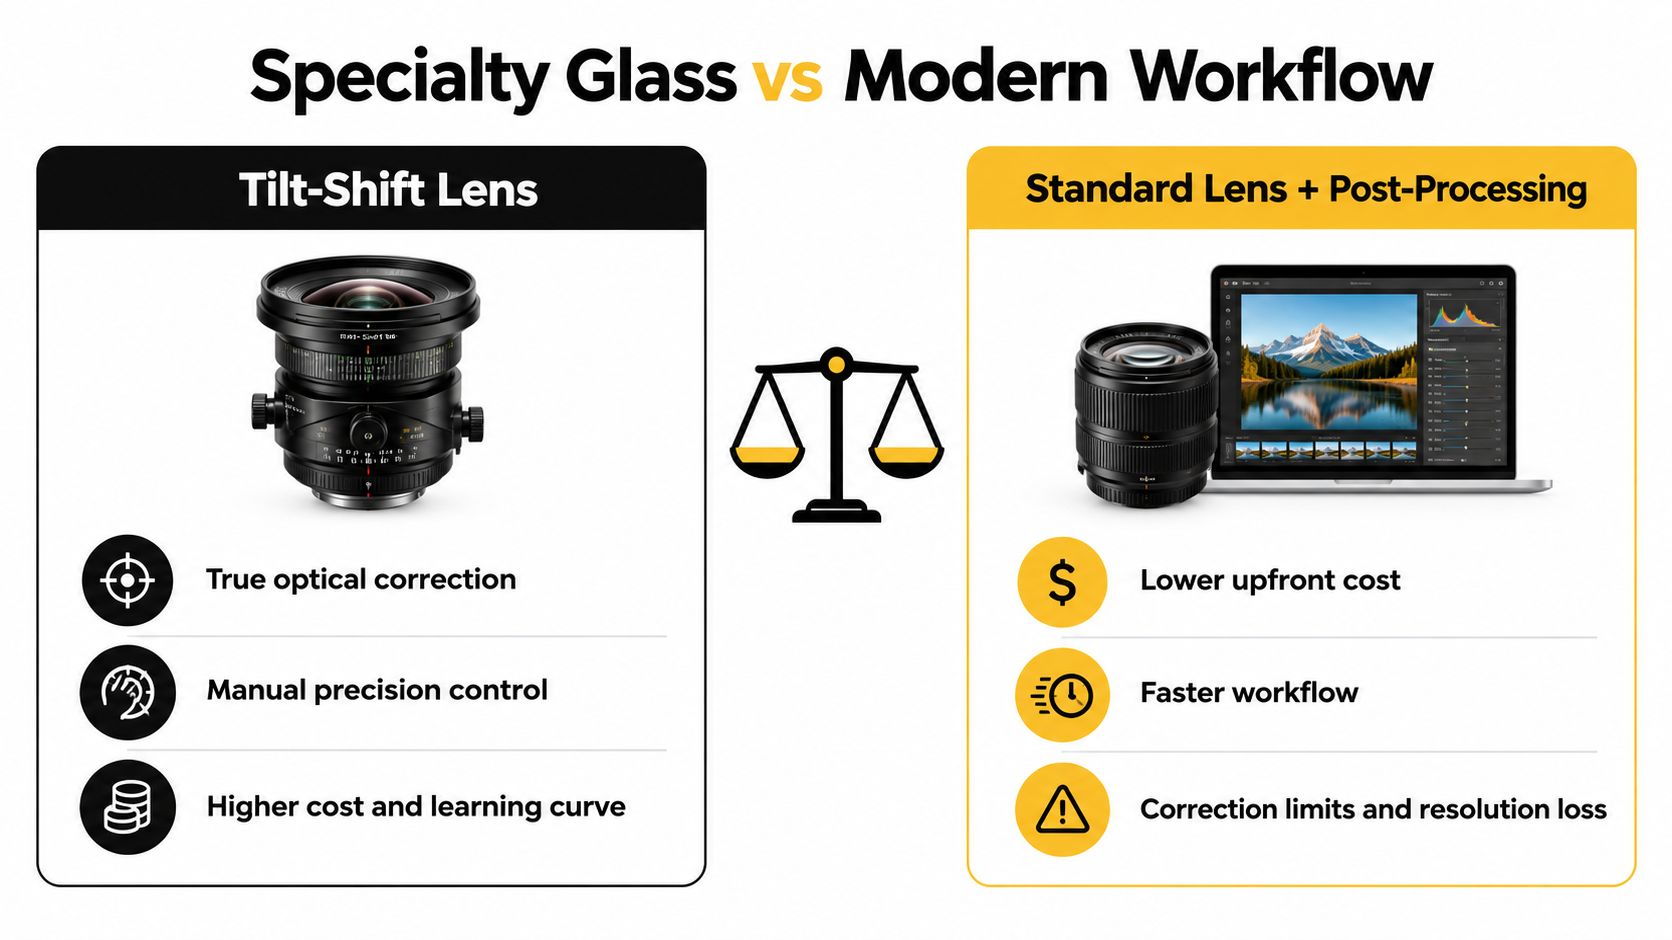
Tilt-shift lenses correct perspective during capture, but the correction carries workflow costs. Manual focusing, tripod work, and careful alignment slow the shoot. Each movement also requires checks for edge behavior, vignetting, and composition, particularly when the shift approaches its limit. That extra review time matters on a schedule with multiple elevations or interior views.
A modern mirrorless prime shifts more work into post-production. Autofocus, lower weight, and familiar framing can speed capture, provided the camera stays level and the file includes enough surrounding area for the final crop. Software can then address residual geometry. The trade-off is reduced image area, more correction decisions, and less control when distortion varies across the frame. A comparison of specialty tilt-shift lenses and standard lenses with digital correction makes that exchange clear.
The hidden cost is often time
Specialty glass can reduce editing, yet it may add time at the camera. Standard lenses can lower equipment expense while increasing file review, crop planning, and retouching. The cheaper purchase is not automatically the cheaper workflow.
Choose specialty glass when:
- Geometry is contractual: The client requires clean, repeatable verticals with little digital manipulation.
- The subject is tall or constrained: You cannot move backward, and upward framing would otherwise require a severe crop or camera tilt.
- The set is part of a documentation series: Consistent optical behavior across views matters more than rapid setup.
- The final output is demanding: Edge detail and orthogonal rendering will receive close inspection.
Choose a modern prime or zoom when the assignment values speed, flexibility, or a lighter kit. Correction software is a reasonable trade when camera position is controlled, extreme angles are avoided, and the capture includes sufficient margin. Review lens distortion correction techniques before committing to that approach for a strict documentation brief.
Mirrorless changes the baseline
Recent reporting describes compact autofocus prime options for mirrorless mounts, including 14 mm, 20 mm, 40 mm, and 50 mm designs, alongside lighter construction and broader mirrorless compatibility in lens development mirrorless lens development and distortion expectations. Those options let photographers build around consistent rendering instead of buying specialty movement for every assignment.
A staged purchase is usually easier to justify. Start with a capable wide lens, test its files against the client's strictest tolerance, and rent specialty glass when the brief demands it. Repeated correction time, lost framing, or inconsistent edges can establish a business case for a tilt-shift lens. If those problems do not appear, a lighter, faster prime may serve the practice better.
Applying Lens Choices on a Real-World Shoot
A real assignment often exposes the hidden cost of specialty glass. Consider a new-building exterior, a compact residential interior, and several material details. The brief calls for straight verticals, believable interior proportions, and enough resolution to show workmanship without making every surface look unnaturally wide. The right lens is the one that meets those tolerances without adding avoidable setup or correction time.
At dawn, the exterior comes first. The camera sits on a tripod where the street and façade relate clearly in the frame. Keep the body level and the sensor plane parallel to the building, then use a shift lens to raise the composition and include the upper structure. On a full-frame system, movement is typically around ±8 mm to ±12 mm. The lens shifts its image circle across the subject, avoiding the crop and geometric warping that can follow software correction. The shift movement has to be checked for corner shading and detail loss at the selected setting.
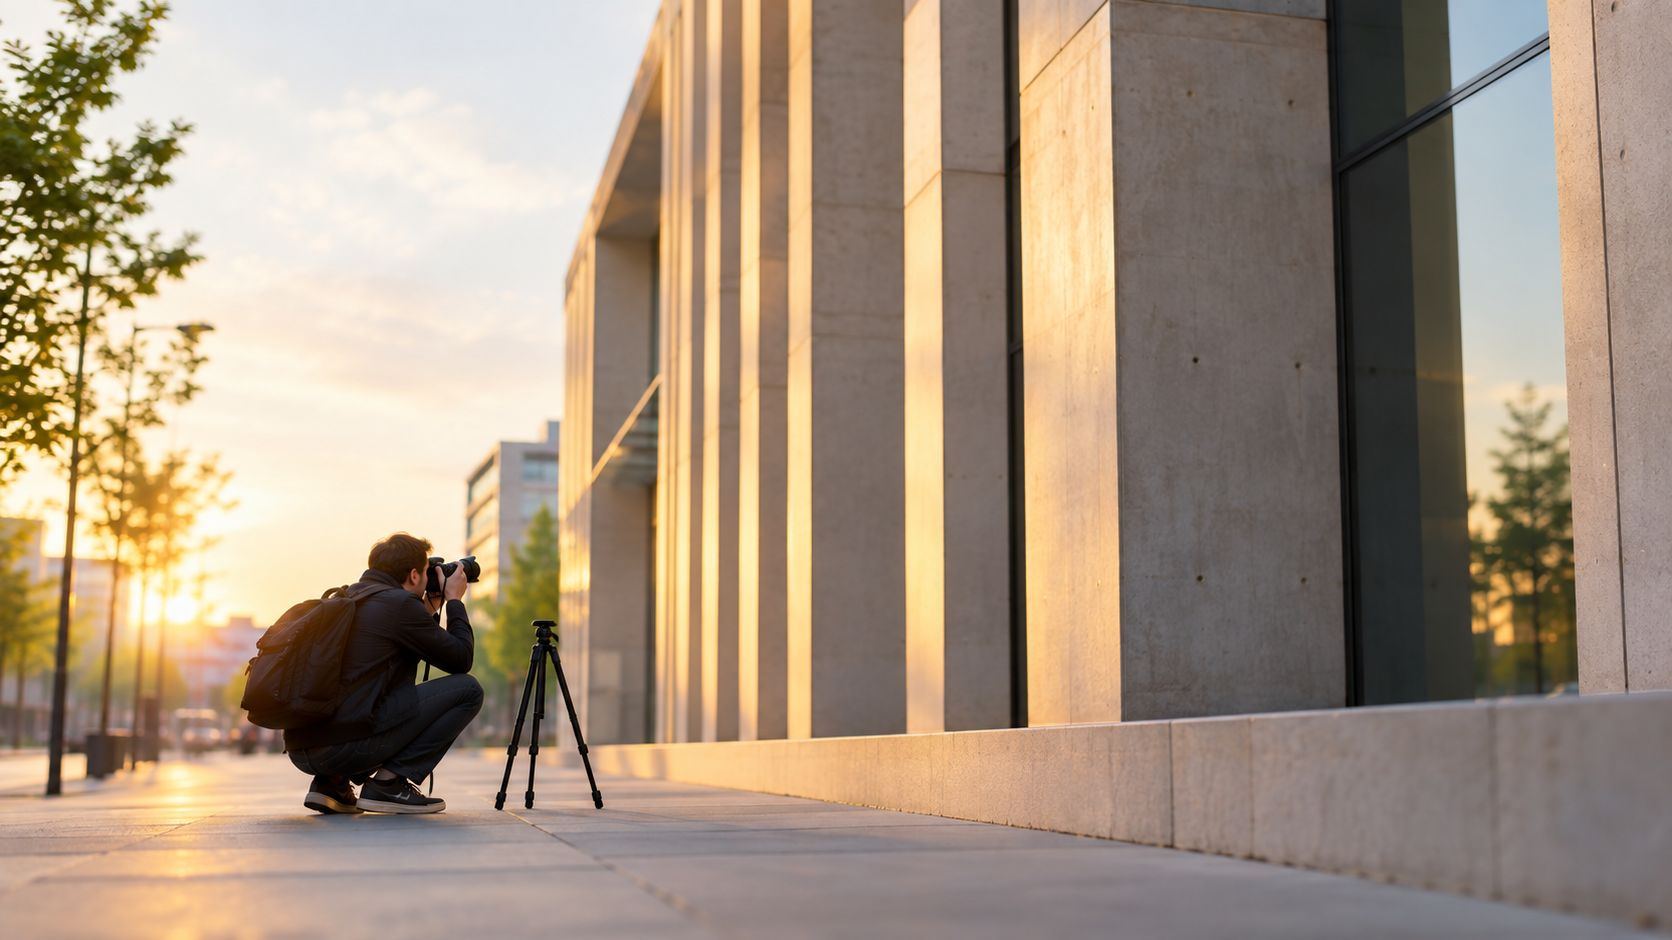
The specialty lens earns its place when the elevation itself is the deliverable. Capture a centered frame first, inspect the upper corners, and then apply additional movement only if the composition needs it. A modern wide prime may produce a faster, lighter workflow when you can move farther back and leave enough pixels for correction. On a restricted sidewalk or dense urban site, that flexibility may not exist, and the time spent repairing geometry can exceed the benefit of the cheaper setup.
Interior work changes the priority
Inside the residence, a high-quality wide prime often makes more sense. Set the tripod near the room's natural center, keep the camera level, and resist using the widest setting just because it is available. If a wall edge bows, separate lens-profile correction from perspective correction. Check the camera distance and angle before treating software as the solution.
A zoom helps when furniture, walls, or circulation paths prevent small repositioning. The purpose is to show how rooms connect, how light travels, and how materials relate at a believable scale. A wider view is useful only when it preserves those relationships.
An aerial view may support the site record, but aircraft operation involves separate training and regulatory responsibilities. Teams assessing that workflow can consult this drone pilot training blog for background on aerial-capture training considerations.
Material vignettes call for a change in perspective, not more width. A standard focal length can describe joinery, fixtures, and surface transitions with less spatial exaggeration. That makes the final set more consistent, while each lens handles the subject it can render most credibly.
Building Your Final Architectural Lens Kit
Build the kit around recurring deliverables, not the prestige of a particular lens category. A design firm documenting interiors may need a clean wide prime and a standard lens for material relationships. A photographer producing formal elevations may gain more from a shift lens than from another ultra-wide zoom. A commercial property team may value autofocus, manageable weight, and fast repositioning.
Use this decision sequence:
- Audit the files you already deliver. Identify where verticals, corners, or fine textures fail inspection.
- Measure your working constraints. Note whether you can move backward, use a tripod, control the camera height, and change lenses safely.
- Set the tolerance. Separate visually corrected marketing imagery from documentation that demands tighter geometric consistency.
- Test before buying. Rent a shift lens and compare its capture-to-delivery time with a mirrorless prime and correction workflow.
- Prioritize optical behavior. Look for edge-to-edge sharpness, controlled native distortion, even illumination, and durable construction before chasing maximum zoom range.
- Keep a detail option. A standard or short telephoto perspective can show materials and connections without the spatial drama of ultra-wide coverage.
An architectural photography lens is a working instrument, not a credential. The strongest kit gives you control over geometry, believable proportions, and repeatable detail while fitting the pace and physical demands of your assignments. Light, camera position, and visual narrative still determine whether the final image communicates the building.
Jimmy Clemmons Photographer provides architectural imagery for exteriors, interiors, and design-led visual content, with location scouting, lighting design, on-set direction, and professional editing available as part of the workflow. If your project needs client-ready images with controlled geometry and a clear spatial story, visit Jimmy Clemmons Photographer to discuss the assignment.