
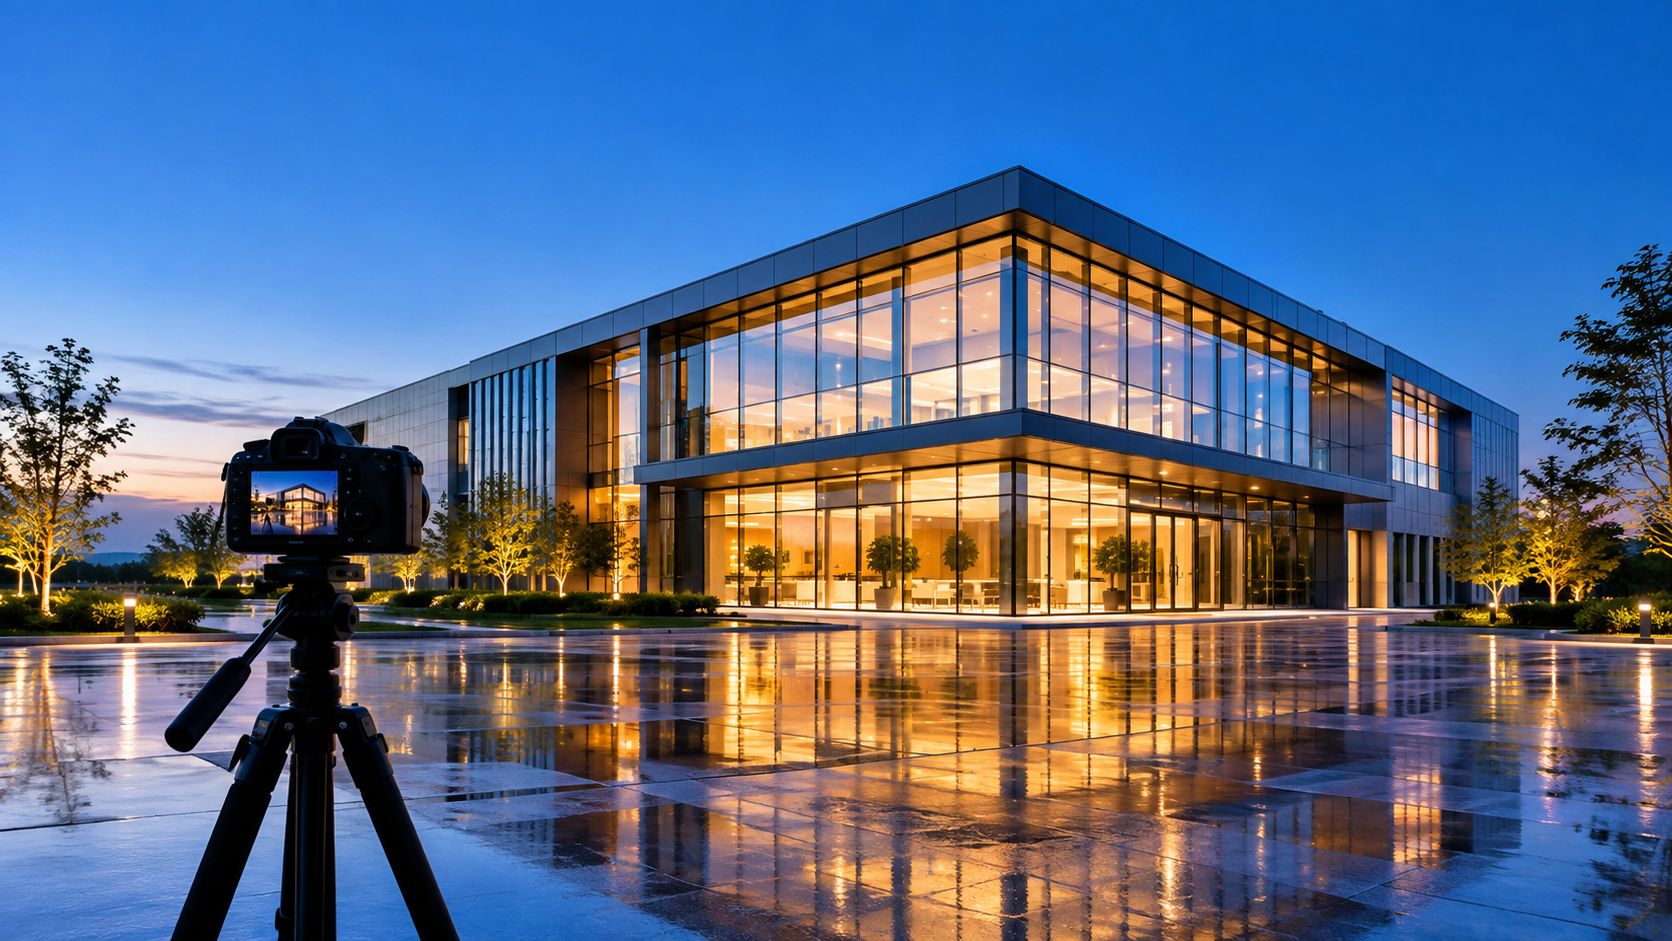
The sun is dropping, the building is ready, and your client is expecting the image that makes the property feel finished, occupied, and valuable. You have a short period to align the sky, interior practicals, façade lighting, traffic, weather, and camera position. Miss that window, and a technically competent exterior can still look flat, rushed, or strangely artificial.
Twilight architectural photography works because it treats dusk as a production system rather than a single exposure. The strongest results come from deciding whether twilight belongs in the visual story, scouting the site before the shoot, preparing for failure points, directing the scene while the light changes, and choosing between an authentic capture and a carefully edited twilight finish.
Why Twilight Transforms Architectural Imagery
A daylight exterior explains a building. Twilight gives it a pulse.
At the end of a commercial property shoot, the daylight frames may show the façade clearly, but the building can still feel closed or inactive. As the sky cools and the windows begin to glow, the same structure communicates a different message. Interior rooms become visible, paths through the site become legible, and the building appears connected to its surroundings rather than isolated against a bright sky.
That contrast between cool ambient sky light and warm artificial building light creates depth without requiring exaggerated effects. Glass gains reflection, concrete takes on a quieter tone, and illuminated entrances guide the eye into the frame. For a developer, that can make a property feel ready for occupation. For a design team, it can reveal how materials, lighting, and circulation work together after dark.
The emotional job of dusk
Twilight has a narrative advantage over straightforward night photography. The sky still carries structure and color, while the building has begun to reveal its interior life. A fully dark background can make a structure feel isolated, but dusk preserves environmental context.
The effect has a long photographic history. Daguerre's Boulevard du Temple, made in 1838, required an exposure lasting several minutes, and by the 1860s architectural photography had become an established medium as exposure times shortened and techniques matured. In Brazil, the Foto Cine Clube Bandeirante was founded in 1939, and photographers associated with its modernist practice produced abstract architectural images from the late 1940s onward. José Yalenti's Architecture or Twilight, created in 1957, reflects how dusk became part of a broader modernist interest in form, abstraction, and urban change. Read the historical overview of architectural photography.
Julius Shulman's Case Study House No. 22 image, made in 1960, remains a defining example of this approach. The photograph used a controlled multi-exposure workflow over about 45 minutes, separating exposures for the sky, interior lights, and pool illumination. The history and craftsmanship behind the image helps explain why modern twilight work still depends on timing and exposure control, not just a dramatic preset.
When twilight is the wrong choice
Twilight isn't automatically premium. A building with weak interior lighting, unfinished landscaping, distracting neighboring signs, or inconsistent window illumination may look less credible at dusk than it does in daylight. A bright sunset can also compete with a clean architectural composition, especially when the project depends on restrained material detail.
Use twilight when the assignment needs atmosphere, occupancy, contrast, or a transition from exterior to interior. Stay with daylight when the priority is accurate surface color, construction documentation, or a clear reading of massing without theatrical emphasis. The right question isn't whether twilight looks attractive. It's whether dusk helps the image say what the client needs it to say.
Planning and Scouting for a Predictable Blue Hour Window
Twilight photography fails most often before the camera leaves the case. A crew arrives without confirming access, the interior lights aren't ready, the preferred elevation faces the wrong direction, or the only available window overlaps with a weather change. The photographer then spends the usable light solving logistics instead of making pictures.
Civil twilight is the brightest phase of twilight, with the Sun's center between 0° and 6° below the horizon. Blue hour is commonly treated as the photographic portion of that interval, when the sky appears blue and the ambient level begins to balance with artificial light. This explanation of civil twilight and blue hour is useful when translating a general sunset time into a practical call sheet.
Build the schedule around the site
Blue hour can last about 20 to 30 minutes, while other guidance places it roughly 20 to 40 minutes after sunset or before sunrise, depending on location and season. Blue-hour timing guidance makes the operational point clear, but a project schedule needs more than a sunset entry on a calendar.
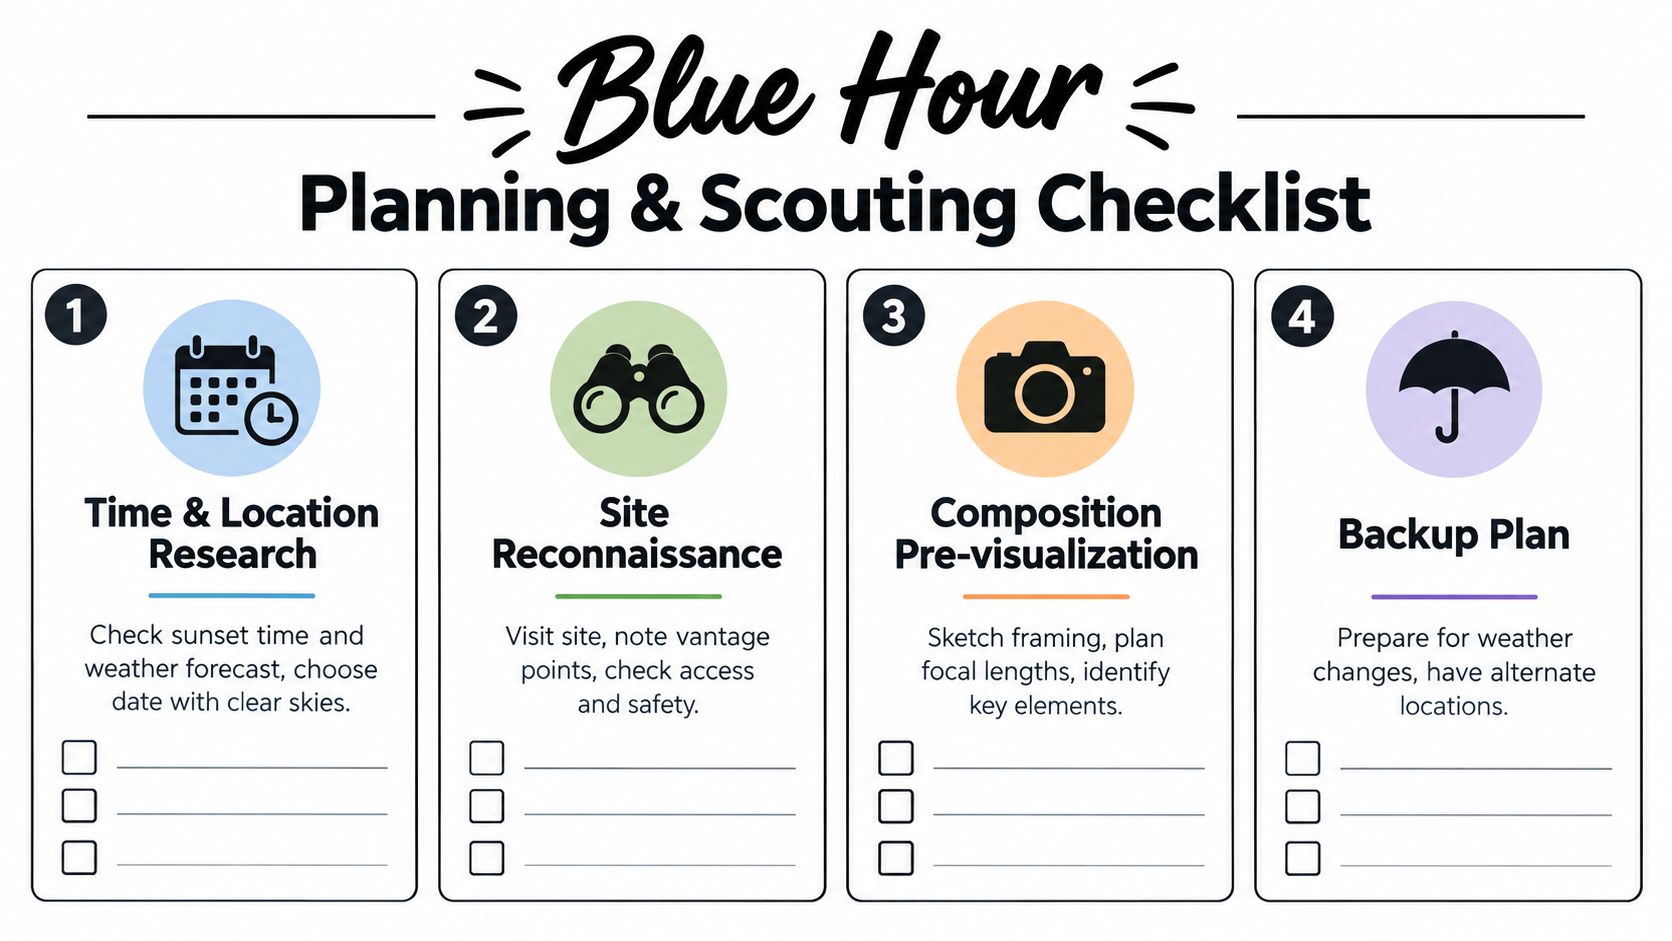
Start by identifying the hero exterior and ranking secondary views. Record the direction each camera position faces, the building elevations that need illumination, and the time required to move between locations. If a project includes several exteriors, don't schedule them as equal priorities. Put the most important view first, then assign later frames to positions that can tolerate a darker sky or a different visual treatment.
My scouting checklist includes:
- Sun direction: Confirm where the sky will retain useful color in relation to the primary façade.
- Access: Verify gates, elevators, roof permissions, parking, security procedures, and safe tripod positions.
- Power and lighting: Confirm which interior and exterior circuits will be active, who controls them, and whether any lamps need replacement.
- Reflections: Check glazing, wet pavement, water features, and polished surfaces from the intended camera height.
- Obstructions: Note temporary fencing, parked vehicles, construction materials, signage, and moving traffic.
- Weather: Watch cloud cover, wind, rain, and visibility rather than relying on a single forecast snapshot.
- People on site: Assign one contact to interiors, one to exterior lighting, and one to access if the project warrants it.
For a deeper field process, use this location scouting photography guide to document viewpoints and site conditions before the crew arrives.
Buffer planning: Treat the blue-hour window as the deadline, not the start time. The camera should be composed, powered, tethered, and test-fired before the light reaches the balance you want.
Prepare a contingency that preserves the story
A backup plan shouldn't mean choosing a random second angle after the weather turns. Choose an alternate position that still supports the client's narrative, such as a covered entrance, a view down a lit pedestrian approach, or a composition where the building occupies less of the sky.
If clouds become heavy, the scene may still work with a darker, more graphic treatment. If wind makes a long exposure unusable, prioritize a sheltered elevation or detail view. If the building's lighting fails, don't pretend the façade is evenly illuminated. Capture a clean plate for later decisions and document the lighting problem for the client.
Planning for twilight means protecting creative options before the light becomes scarce. It also means telling stakeholders that a short visual window cannot absorb late approvals, missing keys, or last-minute styling changes.
Essential Gear and Camera Settings for Twilight Exteriors
A stable camera and a controlled workflow matter more at dusk than an expensive body alone. Twilight architectural photography combines low light, vertical geometry, bright practicals, reflective glazing, and a scene that changes visibly while you're working.
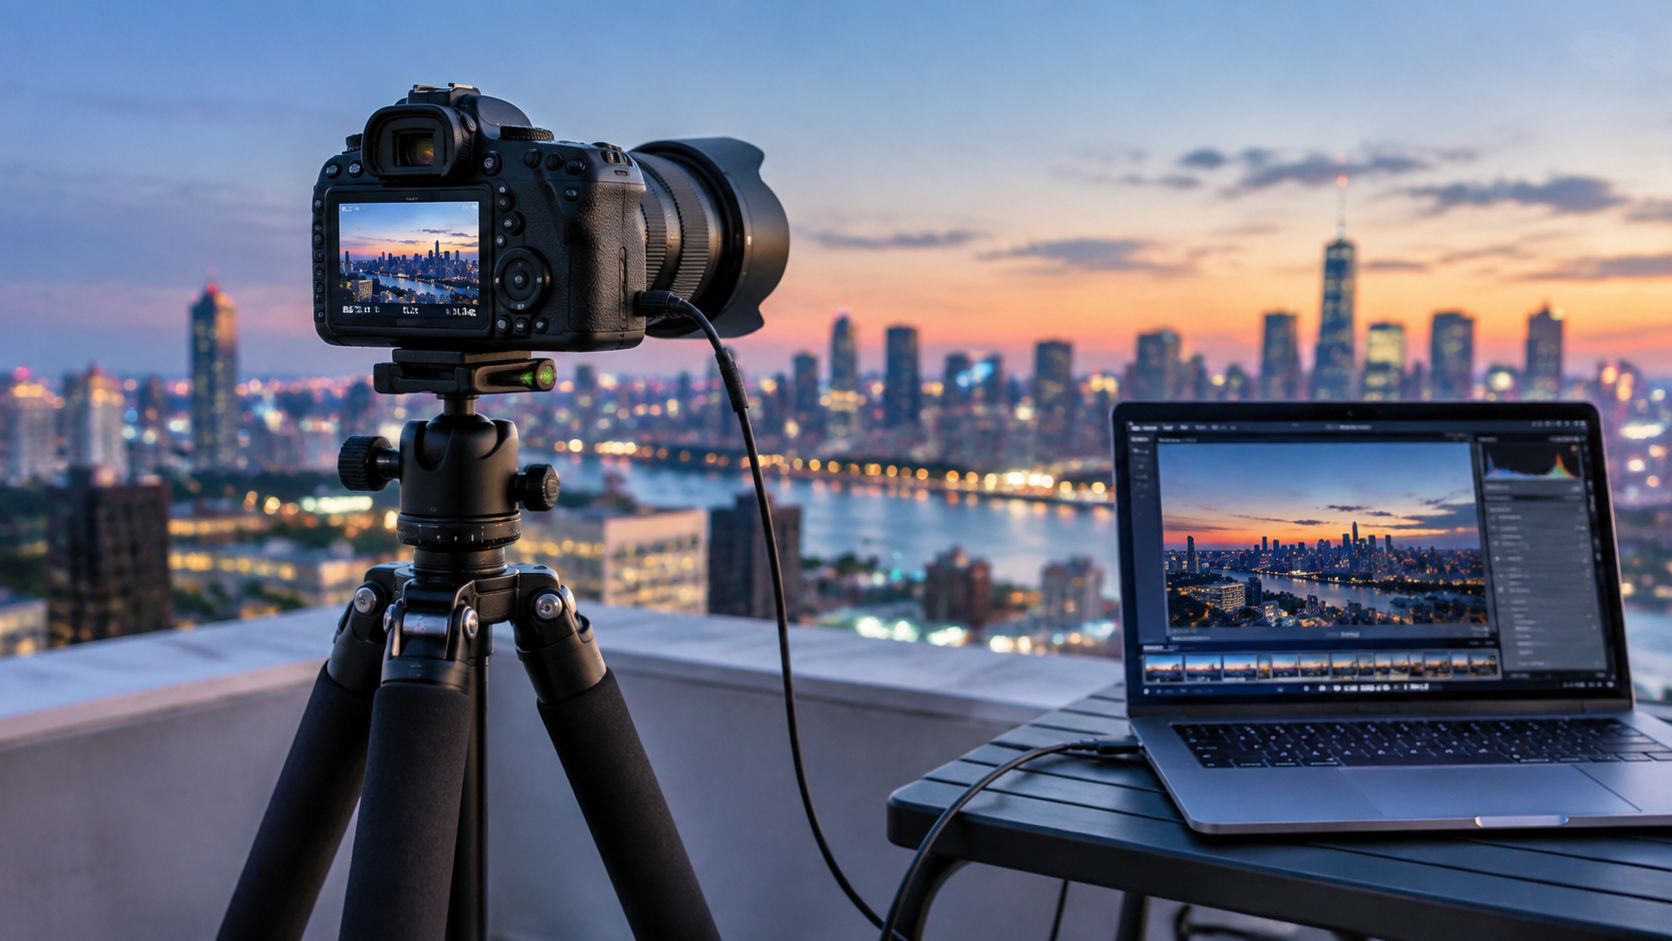
Use a rigid tripod, a remote release or tethered capture workflow, spare batteries, and enough storage for alternate exposures. Tethering to a laptop lets the team inspect vertical alignment, window detail, flare, and highlight clipping at a useful scale instead of trusting the rear display. For site-specific lighting ideas around planting beds, paths, and entries, this landscape lighting resource can also help clients think through the relationship between exterior illumination and the architecture.
Choose control before convenience
A wide rectilinear lens is useful when the site restricts camera distance, but excessive width can make a building feel distorted and insignificant. A normal or short telephoto perspective often gives a more disciplined reading of massing, especially when there's room to step back.
Shift lenses can help control converging verticals, but careful tripod height and digital correction can also produce a clean result. Keep the camera level whenever possible. Raising the camera to include more foreground may seem helpful, but it often introduces the very vertical correction that makes façades look stretched.
A tripod for architectural work should support the camera without flexing when the wind moves through the site or someone walks nearby. These tripod considerations for architectural photography are especially relevant when a project requires multiple aligned frames for blending.
Start with a stable exposure baseline
Blue-hour exposure demands rise quickly as the sky darkens. Common guidance recommends long exposures on a tripod, with examples ranging from 2 to 8 seconds early in blue hour and extending to 20 to 30 seconds or even minutes later in the phase. This blue-hour exposure guide gives useful starting ranges, but the building's lighting and reflective materials should determine the final choice.
A practical reference looks like this:
| Control | Starting point | What to watch |
|---|---|---|
| ISO | 200 to 800 | Raise only when shutter speed or motion requires it |
| Aperture | f/11 to f/16 | Balance depth of field with diffraction and exposure time |
| White balance | Near 5200 K | Keep color consistent across aligned frames |
| Shutter | From seconds into longer exposures | Check movement, highlights, and changing sky |
These settings come from a blue-hour technical guide that also recommends protecting highlights and monitoring the histogram so exposure doesn't run beyond the right edge. I use them as a starting point, not a prescription. Lower ISO generally gives cleaner files, but a longer shutter can expose moving branches, people, or traffic. A smaller aperture can hold architectural detail across the frame, but it may create starbursts or diffraction that the project doesn't need.
Shoot in RAW, disable automatic white-balance shifts, and inspect the brightest windows rather than judging only the overall frame. If the practical lights clip, the architecture may still look polished on a thumbnail while losing the detail that makes the interior believable.
Balancing Light On Set With Blending and Direction
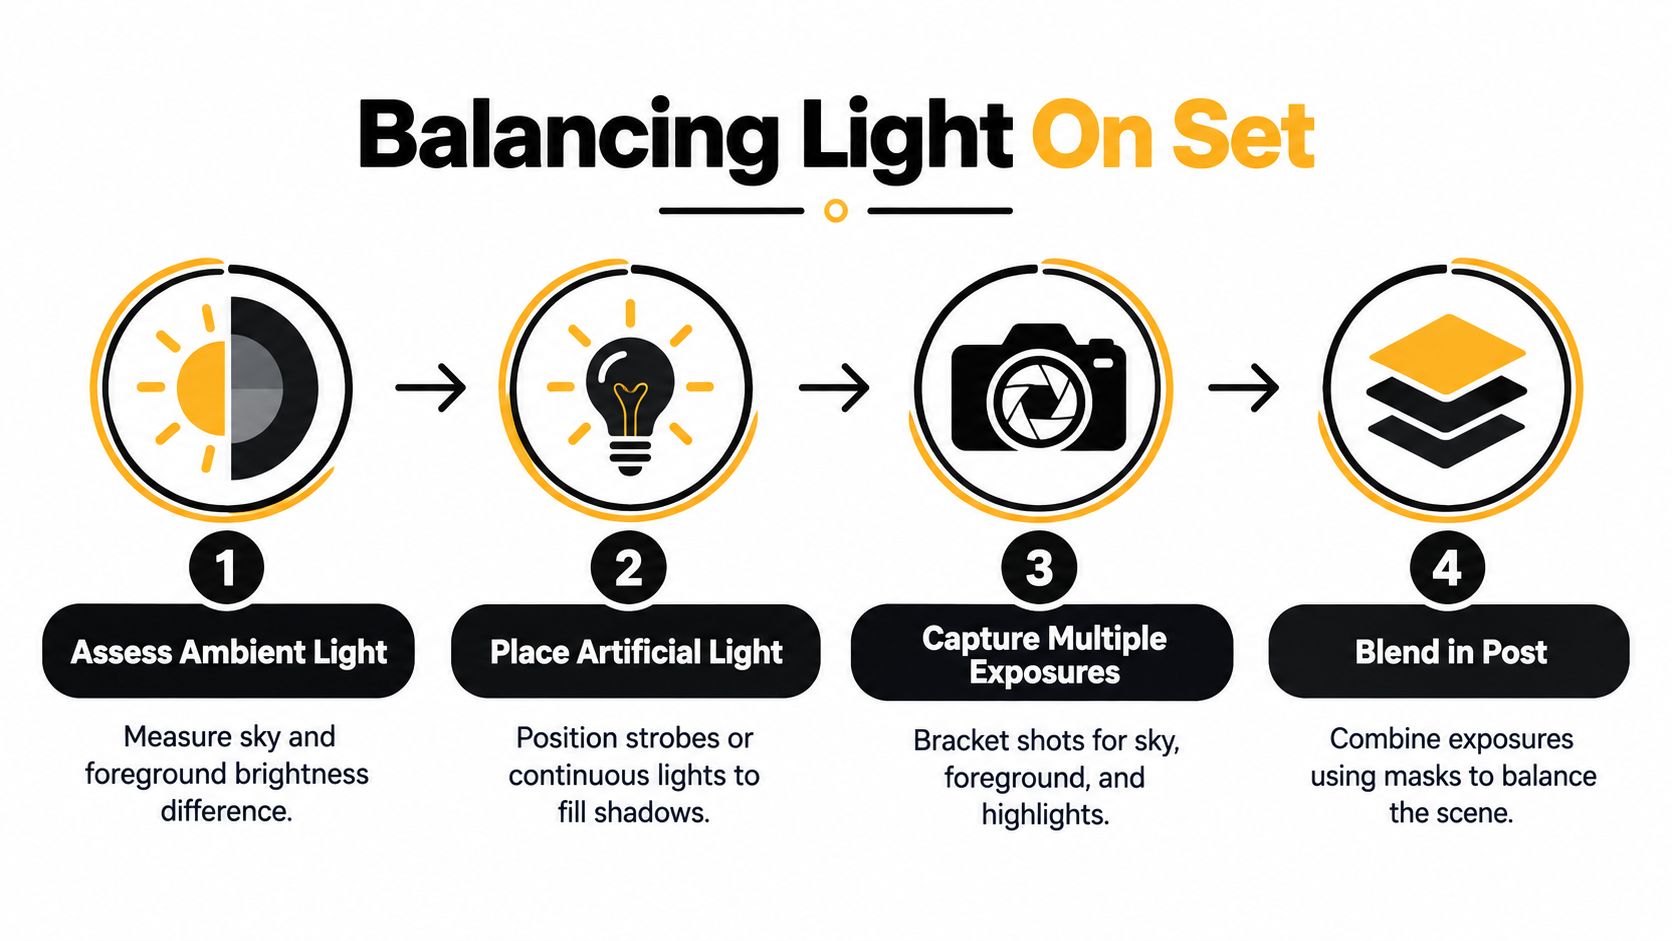
The camera records one scene, but the scene contains several lighting systems. The sky is falling in brightness, interior fixtures may vary by room, façade lights can create hot areas, and the foreground may already be too dark for the composition. A reliable twilight workflow manages those relationships deliberately.
Start by observing the brightness difference between the sky, building surfaces, windows, and foreground. Don't add light because a shadow exists. Supplemental light should support the architecture, not announce itself as a separate source.
Direct the building before directing the camera
Assign someone to walk the interior before capture. Turn on practicals that contribute to the story, switch off mismatched lamps, close blinds that create visual clutter, and remove temporary objects from prominent rooms. A glowing window should suggest a usable interior, not expose a stack of materials or a vacant shell.
For exterior lighting, ask the site contact to test the façade from the chosen camera position. A fixture that looks subtle in person may produce a bright patch on stone or glass. If you use strobes or continuous sources, feather them across the surface and keep them out of the frame. The goal is often a gentle lift in a foreground plane, not a visibly flashed building.
Once the scene is ready, capture a clean sequence without moving the tripod. Begin with a frame that protects the sky, then make exposures that preserve the building and the darker foreground. Add an exposure for bright windows or accent lights when those areas need separate control.
Blend for control, not spectacle
Julius Shulman's Case Study House No. 22 workflow used separate exposures for the sky, interior lights, and pool illumination. Modern photographers use comparable logic with digital blending, masks, and carefully aligned frames. The technique works because each exposure solves a different problem, not because stacking automatically creates a better image.
A restrained HDR workflow can preserve glazing detail and shadow information, but aggressive tone mapping often produces gray skies, crunchy edges, and unnatural halos. A manual blend gives more control over where each exposure appears. It also lets you keep the sky quieter while retaining the warm character of interior illumination.
For a concise guide to HDR real estate imagery, pay attention to the distinction between preserving range and applying a recognizable HDR look. In architectural work, the latter can overpower the design.
The final on-set check is alignment. Lock focus, confirm the tripod hasn't shifted, and keep people, vehicles, and moving foliage in mind when selecting the base frame. If a person crosses the foreground between exposures, a perfect blend may require more cleanup than the original lighting problem.
Composition and Storytelling After Dark
Twilight composition starts with the building's purpose, not the color of the sky. A hospitality exterior may need a welcoming approach and a readable entry. A corporate headquarters may depend on scale, repetition, and the relationship between the façade and the city. An educational building might be better served by a human-scale view that shows circulation and gathering rather than a distant landmark frame.
Make the light lead the eye
Warm windows, illuminated stairs, and paths can act as visual punctuation. Use them to create a route through the image. Leading lines from paving, retaining walls, rails, or curb edges should guide the viewer toward the entrance or the architectural feature that carries the story.
Reflections deserve active scouting. Glass, water, and damp pavement can double a façade or extend a light pattern into the foreground, but the reflection should support the structure rather than compete with it. Lowering the camera can strengthen a reflected composition, while raising it may clarify the building's relationship to the site.
Layering is especially useful after sunset. A nearby tree, gate, wall, or planted edge can frame the architecture and provide scale. Keep the foreground controlled. A dark shape with no texture may create depth, but too much blocked-up space makes the image feel unfinished.
Choose a hero angle with discipline
A hero exterior usually needs a clear hierarchy. Decide whether the image is about massing, glazing, lighting, or the connection between interior and exterior. If every element receives equal emphasis, the frame becomes a property inventory rather than an editorial photograph.
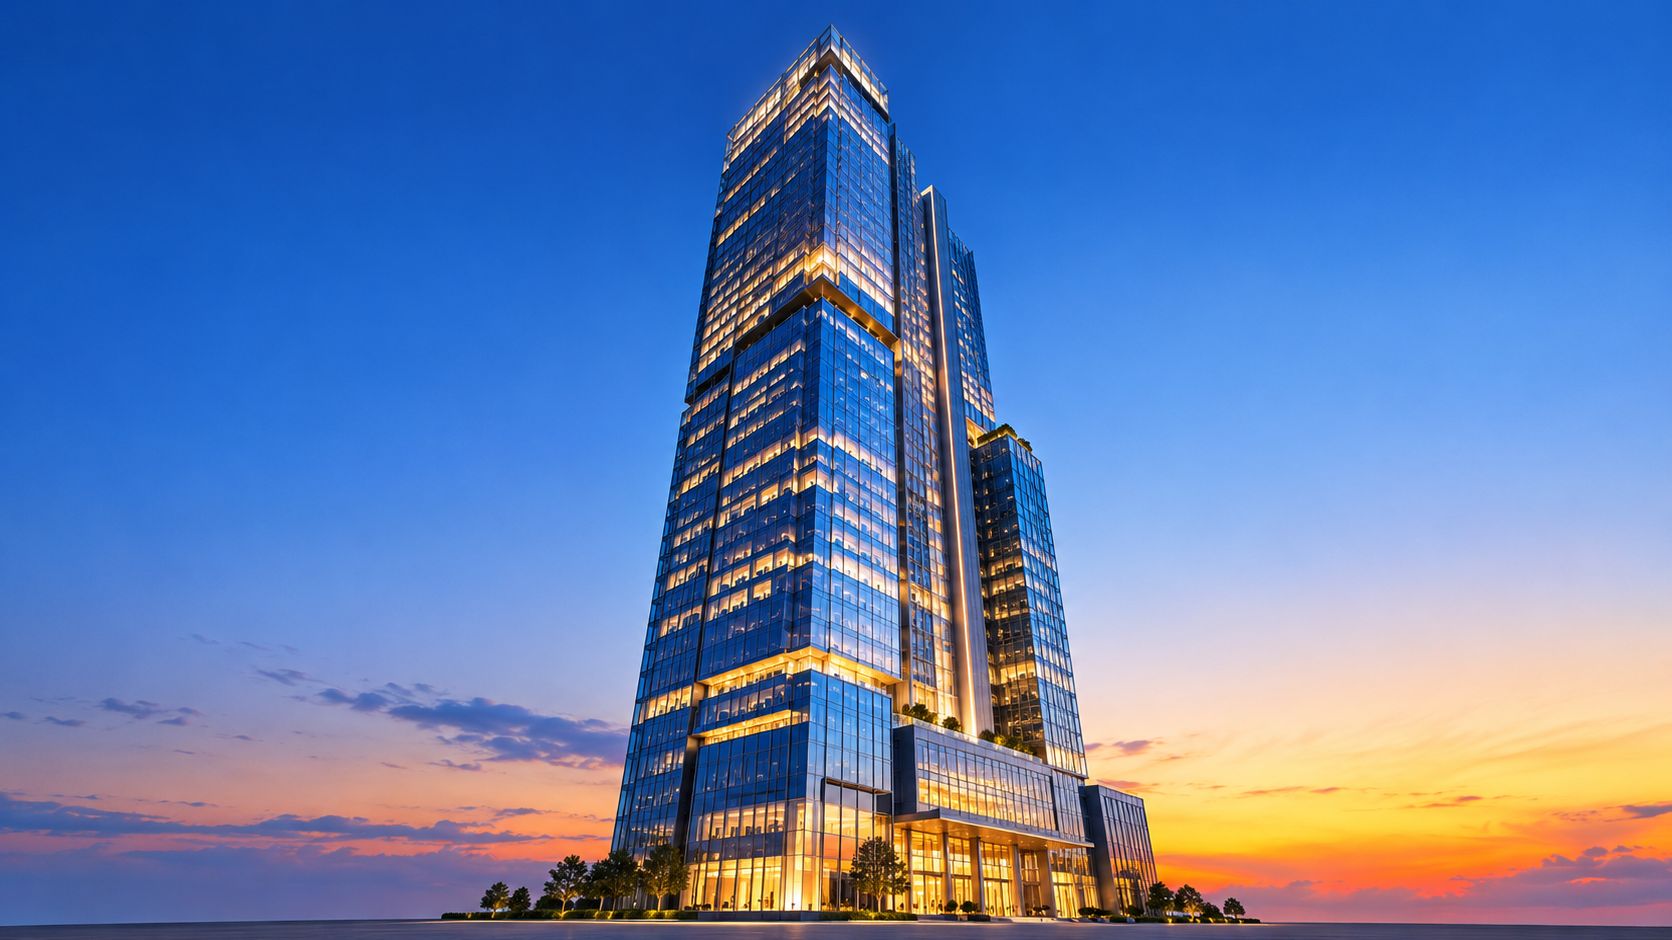
For tall buildings, avoid allowing a saturated sunset to become the subject unless the brief specifically calls for a sky-driven image. A restrained gradient can support vertical rhythm, while an overly dramatic sky can date the photograph and distract from the design. The same applies to color grading. Warm windows should feel inviting, not orange, and blue shadows should retain material information.
Vignettes can communicate craftsmanship more efficiently than a wide exterior. A lit stair, a carefully detailed canopy, or a transition from a covered terrace into an interior can reveal how the building is experienced. Keep enough context to identify the architectural relationship. A detail without spatial logic may look attractive but won't necessarily help an editor, designer, or prospective occupant understand the project.
Match the composition to the brand
A high-end architecture portfolio may favor quiet symmetry, restrained color, and precise geometry. A property marketing campaign may need more approachability, visible activity, and clear entry cues. Editorial imagery can tolerate ambiguity when it creates a stronger story, but commercial deliverables usually need consistent angles and repeatable visual language.
The best twilight frame doesn't show that the lights are on. It explains why the building is worth looking at after dark.
Post Processing Color Balance and When to Create Twilight in Editing
A twilight file should look controlled before it looks dramatic. Start by matching white balance across the selected exposures, then correct lens behavior, vertical geometry, and exposure differences before making stylistic decisions. If each frame carries a different color temperature, the blend can produce visible seams around windows, glass, and façade edges.
Build a natural finish
Protect the sky first. Recover highlights only as far as the RAW file allows, and avoid dragging shadow detail upward until the image loses the separation that makes dusk compelling. Noise reduction should support clean dark areas without flattening masonry, foliage, or fine window structure.
Keep the sky credible. Blue hour is not a license to turn every frame cyan, and warm interior light shouldn't become an artificial orange wash. Use local masks to manage windows, practicals, and façade fixtures independently. Check neutral surfaces such as concrete, painted panels, and metal because they reveal color shifts faster than a saturated sky does.
For a focused reference on color grading in photography, think in terms of repeatability. A portfolio with several twilight images should share a coherent relationship between sky color, interior warmth, shadow density, and highlight restraint. A discussion of cinematic color relationships can be useful too, so explore Department of Vibe for broader context, but architectural delivery still demands material accuracy.
Decide between captured and created twilight
Authentic twilight capture is strongest when the relationship between the building and its environment matters. It records real reflections, real atmospheric conditions, actual interior illumination, and the way the site functions at the transition from day to night. That authenticity can matter to architects, editors, and brand teams who need the image to document a built experience rather than merely suggest one.
Edited twilight can be the more practical option for a large portfolio, multifamily property set, hospitality rollout, or commercial program with tight access and weather constraints. Recent 2026 real-estate editing guidance identifies midday-to-twilight conversion as a major trend because sunset shoots are time-consuming and weather-dependent. The market discussion of twilight editing frames the business decision clearly: buyers may want the visual result without requiring the literal capture moment.
Another 2026 industry report states that approximately 38% of professional listing photos featured both twilight exteriors and virtually staged interiors. That reporting on synthetic visual packages suggests twilight is increasingly delivered as part of a broader post-production system rather than as a standalone craft image.
That shift creates a trust question. An edited sky should not imply lighting, weather, views, occupancy, or site conditions that weren't present. Establish a client policy before production, label altered images when the market or publication requires disclosure, and keep the edit consistent across the portfolio. Authenticity matters more when the photograph documents design performance. Speed and consistency may matter more when the image supports a broad marketing library.
Twilight is therefore not a filter. It's a sequence of decisions about timing, lighting, composition, capture, blending, and disclosure. Brief stakeholders on those choices before the shoot, and the final deliverables will feel intentional whether the dusk is recorded on location or constructed responsibly in post.
Jimmy Clemmons Photographer provides Atlanta-based architectural photography with location scouting, lighting design, on-set direction, twilight exterior capture, and professional editing for cohesive client deliverables. Visit Jimmy Clemmons Photographer to discuss a twilight production plan for your next architecture, commercial property, or brand assignment.