
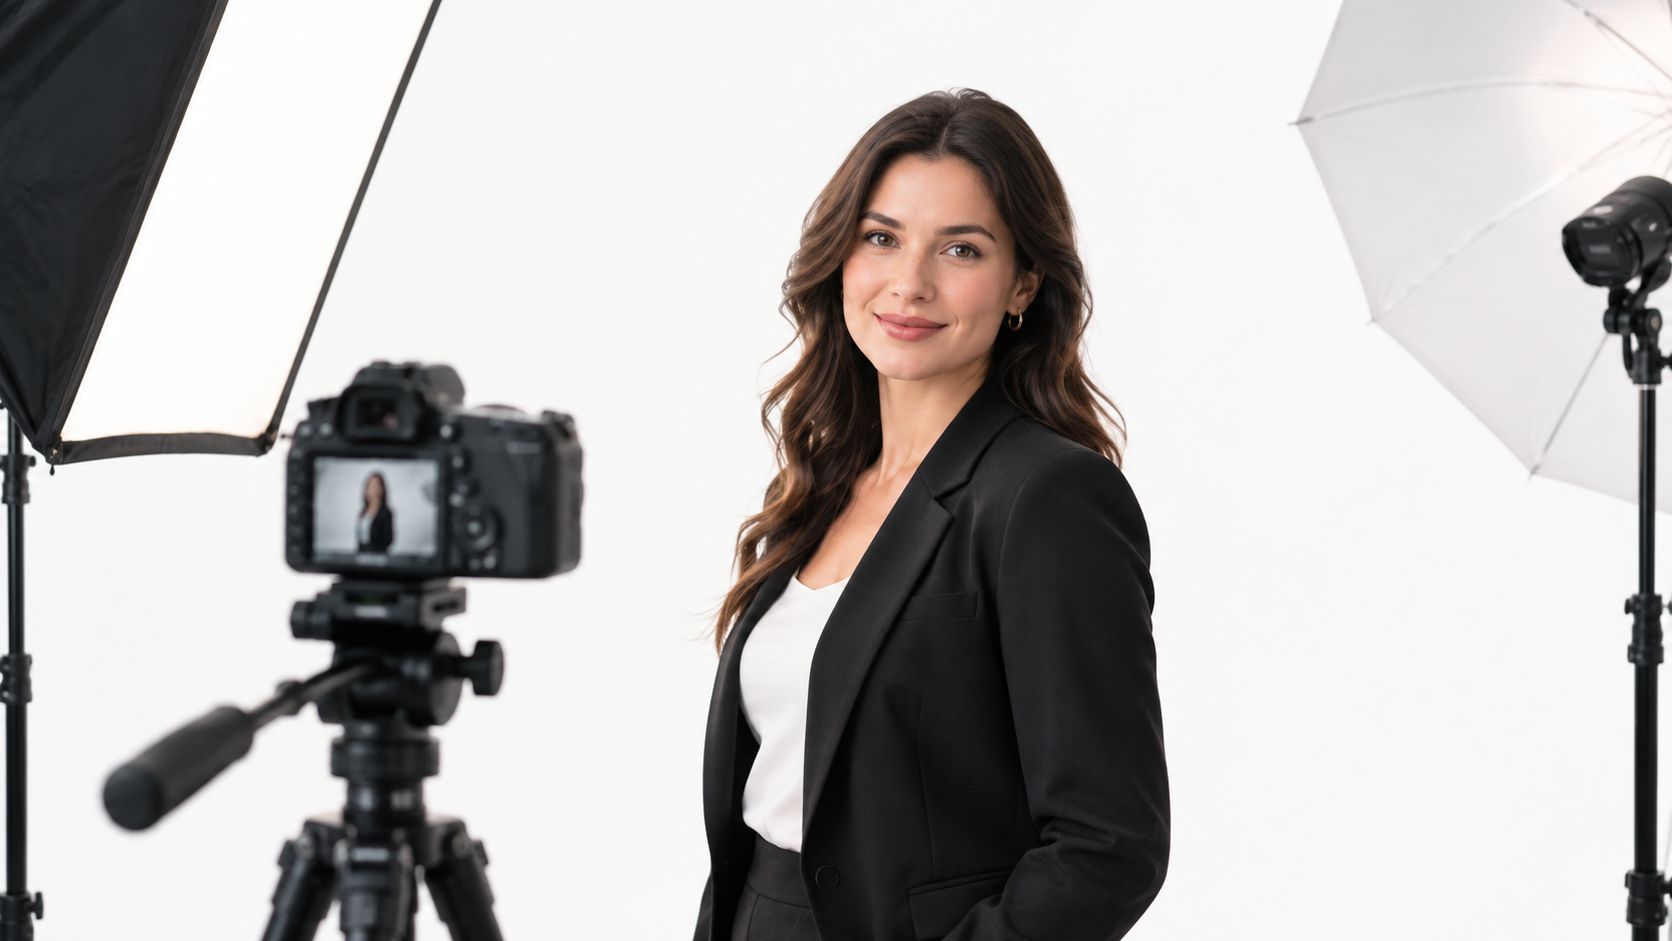
The leadership team is ready, the office looks presentable, and the first test frame appears on the monitor. One person has a bright window behind them, another is sitting beneath greenish overhead fluorescents, and a third has deep shadows under the eyes. The portraits may have been taken on the same day, yet they look as though they belong to different organizations.
That inconsistency rarely comes from the camera. It comes from an undefined lighting process. Business portrait lighting has to make people look credible, approachable, and polished in rooms that were never designed as studios. For a distributed team, the main challenge is creating a recipe that another photographer can repeat in another office, home, or temporary location.
The Foundation of Professional Corporate Light
A corporate portrait can fail before anyone takes a second frame. If the key light is behind the subject, the face loses detail. If the only source is overhead, the eyes sit in heavy sockets and the jawline becomes harder than intended. If every person is placed wherever the available window looks convenient, the final team page becomes a collection of unrelated lighting styles.
The fix isn't adding more brightness. Controlled light has three jobs: separate the subject from the background, shape facial structure, and create a consistent visual language across people. A well-lit executive portrait should feel calm and intentional, not theatrical. It should also preserve enough character that the subject doesn't look flattened into a generic corporate image.
Commercial portraiture began as a lighting problem
Business portrait lighting grew out of the earliest commercial portrait studios following the 1839 public announcement of the daguerreotype. Professional establishments opened within a year in London and New York, while Alexander S. Wolcott's Manhattan studio launched in March 1840 and is widely recognized as the first portrait studio in the United States. The history of portrait photography and its studio conditions shows why lighting was a business constraint from the beginning.
Early exposures were slow, so photographers relied on large windows, reflectors, and north-facing daylight to control shadows and reduce exposure time. Mirror-based and reflective systems offered an early response to insufficient light. Portrait lighting wasn't an aesthetic afterthought. It made commercial portraiture possible.
Artificial sources later changed the workflow. Thomas Edison developed the first commercially practical incandescent light bulb in 1879, and photographers such as Arthur Korn pioneered artificial lighting in portrait work in the early twentieth century. In 1929, the Hauser Company in Germany created the first true flash bulbs, giving photographers more portable and powerful control for studio and location work. These milestones are documented in this history of lighting in photography.
The modern principle is repeatability
The same logic still applies in a contemporary office. A large, controllable source lets you decide where the shadow falls instead of accepting whatever the room provides. That decision shapes how the viewer reads the person. Soft light around the eyes can feel welcoming, while carefully retained shadow along the cheek and jaw can add authority.
A useful starting point is the lighting advice from AiHeadshots, especially when you're comparing a quick natural-light portrait with a controlled setup. For a broader commercial portrait workflow, photographers can also review this guide to business portrait photography.
Practical rule: Don't ask whether a room has good light. Ask whether the light is repeatable, directional, and appropriate for the person in front of the camera.
Building the Core Three-Point Setup
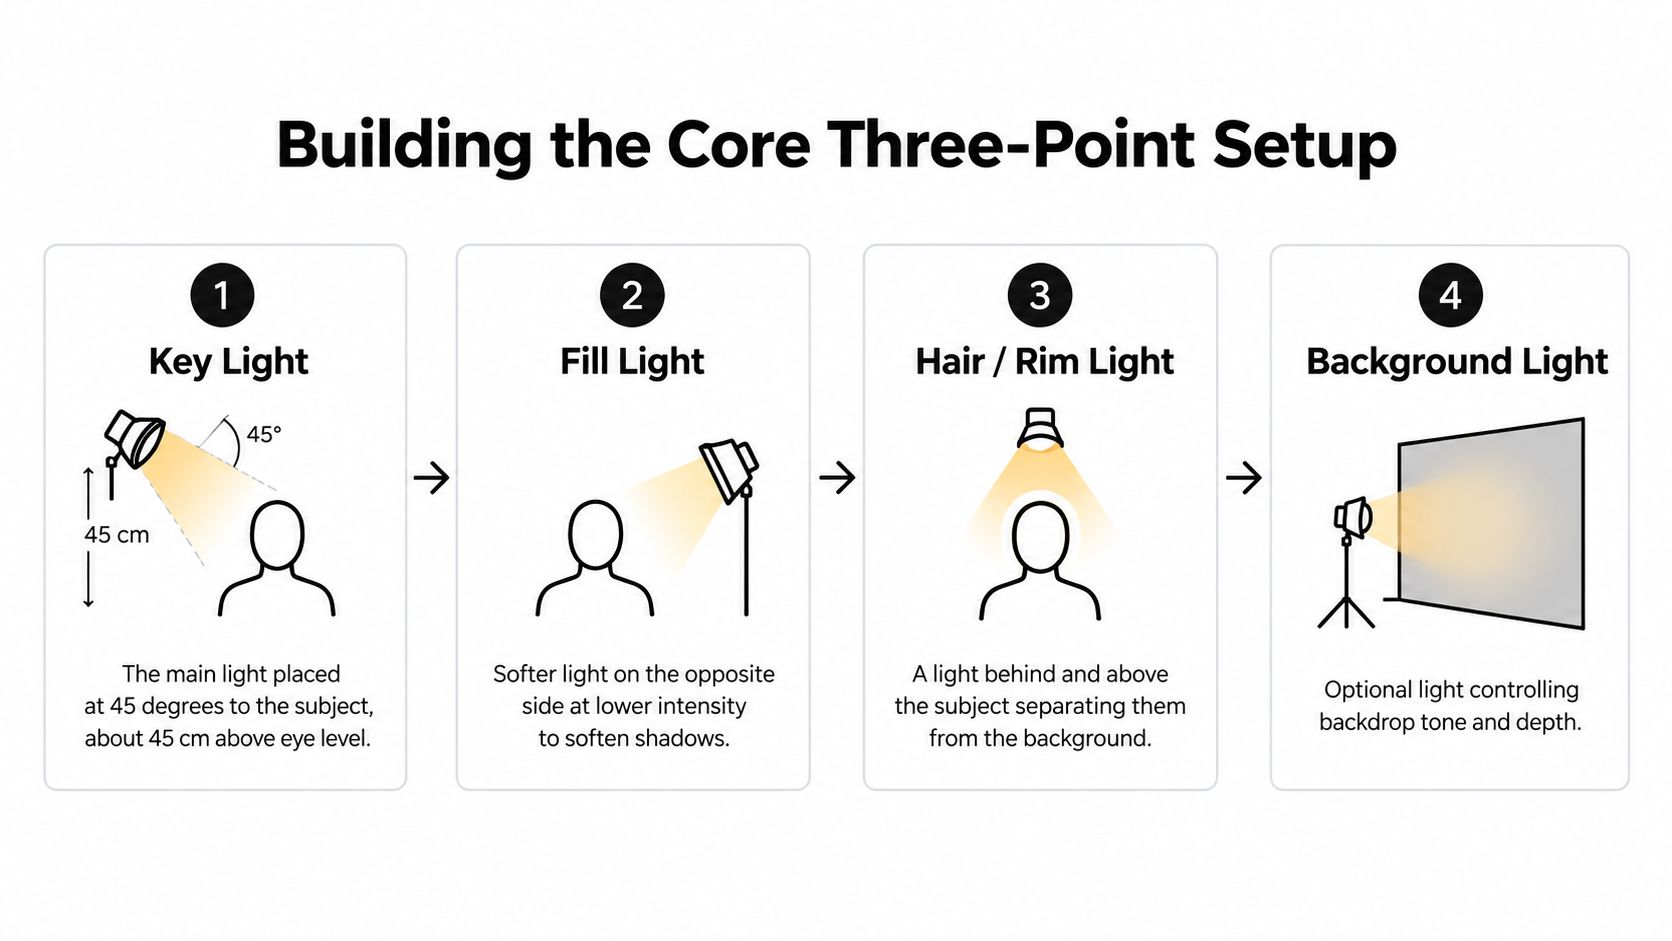
A remote team may photograph executives in different offices, with different wall colors, ceiling heights, and available equipment. A repeatable recipe starts by assigning three jobs, then documenting where each source belongs. The key light sets the primary direction and facial shape. The fill light controls how much detail remains on the shadow side. The hair, rim, or background light separates the subject from the setting when face, hair, and backdrop begin to merge.
A dependable business portrait setup uses a key about 30 to 45 degrees off-axis and slightly above eye level, a weaker fill on the opposite side, and a hair, rim, or background source for separation. This headshot lighting guide supports that arrangement and explains why fill should preserve facial shape rather than erase it.
Start with the key
Place the key to one side of the camera, usually between 30 and 45 degrees from the subject's central axis. Keep it slightly above eye level and angle it down toward the face. Aim for a controlled eye highlight and a gentle shadow beneath the cheekbone. A dark trench under the nose signals that the source is too high, too small, or poorly aimed.
Bring the modifier close enough to produce soft transitions across the face. A distant light can still expose the subject, yet often creates less forgiving contrast and gives you less control over spill. Check the catchlights, nose shadow, and shadow beneath the jaw before adding another source. Mark the stand position and the subject's standing point so another photographer can rebuild the same starting arrangement in a different office or home workspace.
Add fill with restraint
Place the fill on the opposite side of the camera and keep it weaker than the key. Its job is to lift the shadow side until the face remains readable while retaining the contour that gives the portrait depth.
Over-filling can make an executive look static. Equal brightness on both sides produces a flat result. That approach may suit a specific identity system, but it should be a deliberate choice. Adjust the fill while watching the cheek, eye socket, and jaw. A histogram can confirm exposure, but it cannot show whether the face has lost its shape.
Use separation only when the set needs it
A hair or rim light sits behind and above the subject. A background light can be aimed at the wall or backdrop. Use one when it solves a visible separation problem. If the hair already stands apart and the background has enough tonal distinction, another source can add unwanted highlights or make the portrait look over-produced.
For distributed teams, record the decision with the lighting recipe. Note which source provides separation, where it sits, and when the photographer should leave it off. That instruction prevents each location from adding lights just because the diagram shows them.
- Position the key first. Establish the face's direction and shadow pattern before adding anything else.
- Lift the shadow side gradually. Stop when the face remains dimensional while the eyes and skin details stay readable.
- Add separation selectively. Use a rim or background source only where the subject blends into the set.
- Test at the subject's actual position. A light that looks correct on an empty chair may fail when hair, glasses, or wardrobe changes the pattern.
Keep the main light from sitting too high. That placement deepens under-eye and nose shadows, especially on subjects with naturally deep-set eyes. Teams comparing physical portraits with professional portrait AI should still judge the original frame first. The physical placement, shadow pattern, and subject position determine whether the result has believable shape.
Choosing Modifiers and Camera Settings
A lighting recipe that works in one office can fail in another when the room, window light, wardrobe, and camera position change. Standardization starts with choices that travel well. Modifier size, source distance, color control, and fixed camera settings should be recorded together so photographers in different locations can reproduce the same face shape and skin tone.
The same light source can look polished or unforgiving depending on its size, distance, and direction. For corporate portraits, a large modifier is usually a safer starting point than a small bare source. It broadens the apparent light and creates slower transitions across skin, giving the photographer more tolerance when subjects vary in complexion, glasses, hair, and face shape.
Technical headshot guidance recommends soft directional light at about 45 degrees and slightly above eye level, paired with a large softbox or octabox. These modifiers broaden the source, reduce harsh skin texture, and create visible catchlights without forcing the face into severe contrast. This professional headshot guide explains the setup and its practical reasoning. Record the modifier type, approximate position, and subject distance in the team recipe rather than relying on a diagram alone.
Softboxes, octaboxes, and harder sources
A softbox offers predictable rectangular control and can produce a clean, structured catchlight. An octabox creates a rounder reflection in the eyes and often wraps more smoothly around the face. Either can produce a calm, professional portrait with gentle shadow definition. Choose one shape for the standard setup, then keep it consistent across locations unless the room makes that impractical.
A bare flash or small reflector gives crisp detail and stronger texture, but it also emphasizes skin irregularities and creates harder transitions. Direct flash, overhead fluorescent light, and midday sun commonly leave heavy shadows beneath the eyes and chin. These sources can be shaped, flagged, or softened, but they slow down a distributed workflow and make matching results harder.
Distance changes the character of the light. Move a large source closer and it becomes softer across the subject because it occupies more of the subject's visual field. Place the key close enough to create softness, then control spill by turning the modifier, adding a flag, or using the room's existing surfaces. Mark the stand position when possible. A repeatable mark saves time when another photographer rebuilds the set.
Color and exposure discipline
For corporate and LinkedIn-style headshots, a neutral daylight-balanced output around 5000 to 5600K is widely used to keep skin tones consistent and the image clean. This headshot lighting guide identifies that range as a practical starting point. Set the lights and camera to the same intended color environment before judging skin. A written white-balance setting prevents each team from correcting color by eye.
Do not mix an uncorrected window, warm practical lamp, and cool LED without a plan. Mixed color can make one side of the face appear neutral while the other looks orange or green. Control the ambient light, or include it deliberately in the design. Consistency improves when the photographer decides which sources count before the subject arrives.
Use the same camera position, focal length, exposure mode, and white-balance approach for every office in the program. Take a test frame from the subject's actual position, meter the key, set the fill lower, and inspect the face at working distance. For many business portraits, keeping the shadow side roughly one to two stops darker than the lit side preserves shape without making the subject look severe. Confirm the result visually, since skin tone, glasses, and wardrobe can change the apparent contrast.
Reflective glasses, glossy skin, and bright office walls often need small adjustments rather than new equipment. Raise or lower the modifier slightly, rotate the subject instead of swinging the light dramatically, and watch the reflection in the lenses. A circular polarizer can help manage reflections in some portrait situations. Review this guide to a CPL filter for portrait photography before adding one to the kit.
Teams defining a shared visual reference can browse company photos to compare backgrounds, wardrobe, and expression. Use those references to set the intended mood, then document the modifier, camera settings, and room controls that produce it.
Adjusting Ratios for Brand Mood and Personality
A lighting ratio turns a visual impression into something you can measure. It describes the relationship between the brighter key side and the weaker fill side at the subject. Once that relationship is controlled, you can make a portrait feel conversational, authoritative, editorial, or neutral without relying on guesswork.
A 1:1 setup places the main and fill lights at equal brightness on the subject, producing very flat, shadowless illumination. A 2:1 ratio is often recommended as a strong general starting point for color portrait work, with the main light metered one stop brighter than the fill. This explanation of portrait lighting ratios connects the ratio to the practical meter reading.
Translate stops into contrast
The relationship is direct. A one-stop difference equals a 2:1 ratio, a two-stop difference equals 4:1, and a three-stop difference equals 8:1. These photography lighting notes provide the conversion photographers use to translate meter readings into contrast control.
| Stop Difference | Lighting Ratio | Visual Mood |
|---|---|---|
| Equal brightness | 1:1 | Very flat and shadowless |
| One stop | 2:1 | Natural and conversational |
| Two stops | 4:1 | More dramatic with added depth |
| Three stops | 8:1 | Strong, editorial contrast |
The table is a decision aid, not a commandment. A person's complexion, facial structure, wardrobe, and background all affect how the same measured ratio appears. A dark jacket against a dark wall may need separation even when the facial ratio is appropriate. A bright background may require less rim light because the tonal contrast already does the work.
Match contrast to the message
For a general corporate portrait, begin around 2:1 and assess the eyes, cheeks, and jaw. This usually leaves enough shadow to establish form while keeping the expression open. If the portrait should carry more authority, move toward 4:1, but inspect the under-eye area carefully. Business portrait lighting guidance describes 2:1 as natural and conversational and 4:1 as more dramatic and deeper, while placing most professional headshots within that range.
Ratios above that range can work for an editorial campaign or a deliberately forceful portrait, but they can also make a team directory feel fragmented. The question isn't whether dramatic light looks impressive in isolation. It's whether the contrast supports the brand and remains consistent across every person photographed.
Meter the mood: Set the key first, then decide how much of the shadow you want to keep. Don't brighten the fill simply because the monitor looks darker than expected.
Directing the Subject and Refining the Pose
A lighting diagram only works when the subject occupies the right relationship to it. A person who turns too far away from a 45-degree key can lose the intended cheek highlight. Someone who lifts the chin may remove the jaw shadow, while someone who drops it too far can create folds beneath the chin and a guarded expression.
Portrait lighting is commonly placed about 45 degrees to one side and slightly above the subject, creating gentle shadows that add depth while remaining flattering. This overview of portrait lighting positions explains why that angle works as a versatile default.
Give physical cues, not abstract instructions
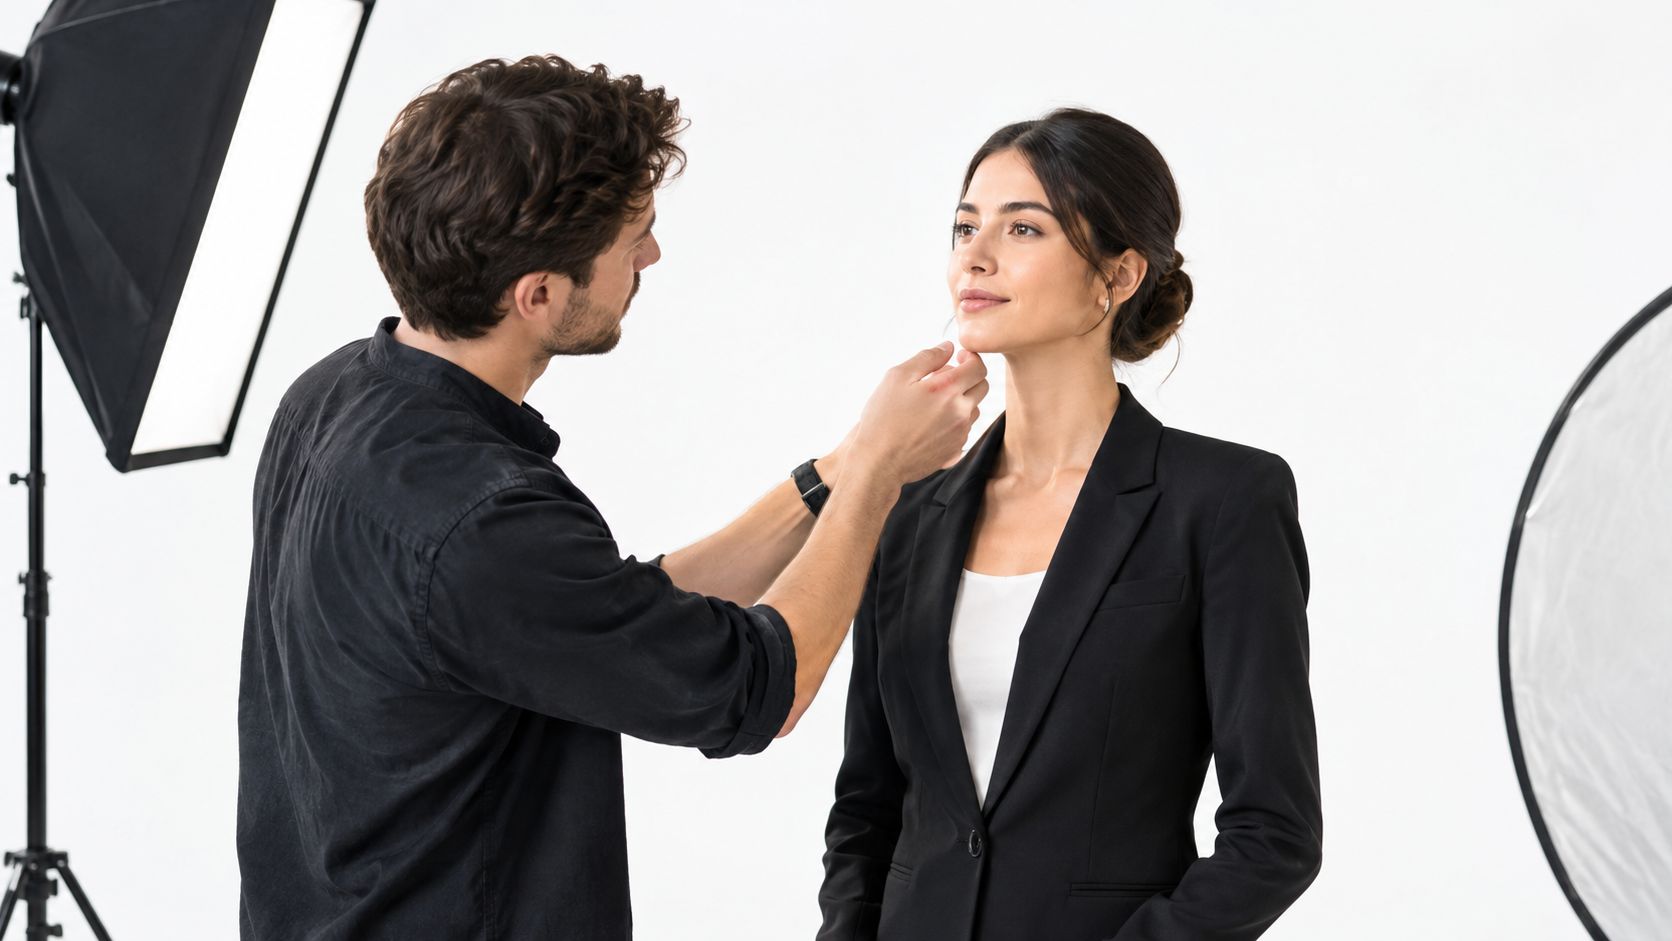
“Look confident” isn't a useful direction. Ask the subject to turn the shoulders slightly away from the camera, bring the face back toward the lens, and move the forehead subtly forward. These cues create a cleaner neck line and give the key light a more controlled surface to work across.
For a stronger jawline, ask for a small forward movement of the face rather than a dramatic lift of the chin. If the shadow under the chin becomes too heavy, raise the fill slightly or change the subject's head position by a small amount. Lighting and posing should be adjusted together, because a technically correct source can still produce an unflattering frame when the subject moves outside its pattern.
Relaxation is part of the lighting process
People often tense their jaw, mouth, shoulders, or hands when the camera appears. That tension changes the face more than a small technical adjustment. Keep talking while you refine the pose, and give the subject one correction at a time. A calm expression usually comes from a calm process, not from asking for a bigger smile.
Watch the transition between the lit cheek and the shadow side as the person moves. If the face turns too far into the key, the nose shadow may become prominent. If it turns too far away, the eyes can lose the catchlight and the face may look narrower or more guarded than intended.
A useful sequence is:
- Set the shoulders first: Establish the body angle before asking for facial expression.
- Move the forehead slightly forward: This helps define the jaw without forcing the chin upward.
- Return the eyes to the lens: Keep the face connected to the viewer even when the shoulders are angled.
- Review small variations: A relaxed neutral expression may communicate more confidence than a fixed smile.
Standardizing the Look Across Distributed Teams
Natural window light can look beautiful in one room and unusable in the next. The window may face a different direction, the weather may change, and the subject may arrive at a different time of day. Even when every photographer aims for “soft natural light,” one person may have a bright edge on the cheek while another has a flat, gray face.
For a distributed workforce, the answer is a lighting manifest, not a vague style reference. Recent executive portrait guidance identifies the need for a portable lighting kit and a repeatable manifest so remote-home portraits can match in-office sessions. This discussion of precision lighting for executive portraits frames consistency as an operational system rather than a matter of taste.
Document the recipe
A useful manifest should describe the decisions another photographer can reproduce:
- Key position: Record the side of camera, approximate angle, height relative to eye level, modifier, and distance.
- Fill behavior: State whether the fill is present, how it is measured relative to the key, and where the shadow should remain visible.
- Separation choice: Note when a rim or background light is required and when it should be omitted.
- Color environment: Specify the intended daylight-balanced range and whether windows or practical lamps are controlled.
- Subject relationship: Describe shoulder angle, face direction, crop, background tone, and acceptable catchlight placement.
Photograph the setup from the camera position and from the subject's position. Include a reference frame that shows the background, light stands, and subject placement. Another photographer doesn't need your exact room, but they do need to understand which visual relationships matter.
Use a portable kit, then calibrate locally
A portable kit might include a daylight-balanced LED or strobe, a large softbox or octabox, a weaker fill source or reflector, a compact rim light, stands, flags, and a light meter. The equipment can change between photographers, but the resulting light geometry should remain stable.
Local rooms still require judgment. A small home office may bounce light from a white wall, while a dark conference room absorbs it. Keep the key close enough for softness, control unwanted ambient sources, and test the shadow side before photographing the full team. Don't force the same power setting into every room. Preserve the same direction, softness, contrast, and skin-tone intent instead.
A centralized portrait program benefits from one person owning the visual standard and reviewing test frames before the full session. The photographer can then adjust for height, hair, glasses, and wardrobe without abandoning the recipe. Guidance on employee photography can help teams think beyond individual headshots and plan a coherent set of portraits.
The strongest hybrid-team workflow treats each portrait as part of one visual system. It doesn't demand identical rooms or identical equipment. It demands documented choices, controlled variables, and enough flexibility to make each subject look like themselves within the same brand language.
Jimmy Clemmons Photographer offers corporate portraits with deliberate lighting, clear subject direction, location planning, and professional editing designed to keep a team's images cohesive across different environments. If your organization needs business portrait lighting that works in the studio, office, and remote setting, visit Jimmy Clemmons Photographer to discuss a repeatable portrait workflow.