

You're trying to book a photographer, but the details are scattered across emails. Marketing wants a website hero, the project team wants documentation, and someone has just suggested a roof shot without checking access. You have reference images, but you don't yet have an agreed job.
Learning how to brief a photographer means turning those competing requests into decisions someone can act on. The useful document isn't the longest one. It's the one that settles what must be photographed, who can use each image, how the crew gets access, and what the finished files must communicate.
Write the Brief in Seven Steps
Start with requirements, not adjectives. A creative-brief guide puts objectives, audience, deliverables, responsibilities, budget, and schedule in the same document because creative direction alone doesn't define an assignment.
Write a measurable business objective. For a hypothetical leasing assignment, make the objective showing the rebuilt lobby to three prospective tenants, rather than making the building look premium. Put that outcome in the business-purpose field.
Name the audience and intended channels. Print, social posts, presentations, and partner websites need different framing, so identify placement before choosing compositions.
Build a prioritized shot list. Give each asset an ID, subject, orientation, framing, people requirement, and mandatory or optional flag. The photographer needs to know which view takes precedence when access time shrinks.
Attach references with annotations explaining camera height, contrast, color temperature, or negative space. Label them as directional references, not exact-copy requirements.
Define delivery and acceptance. Record file formats, color space, dimensions, naming, metadata, and retouching limits. Separate an aesthetic preference from something you can check in the delivered file.
Add the production schedule, including access confirmation, permit deadlines, weather alternatives, and proof-selection dates. Assign responsibility for preparing each location rather than assuming the photographer will clear it on arrival.
Name an approver and a change rule. New locations, concepts, and deliverables need written approval before they enter the assignment. A requirements-management report supports treating communication and controlled requirements as project work, not administrative extras.
The nine fields of a photography brief
These hypothetical entries show the level of specificity to copy and adapt.
| Field | Question it answers | Example entry |
|---|---|---|
| Business purpose | What must the images achieve? | Show the rebuilt lobby to three prospective tenants |
| Audience and channels | Who sees them, and where? | Leasing agents on a desktop site and professional social channels |
| Deliverables | How many images, in which formats? | 12 edited images, 4 horizontal for web banners |
| Shot list | Which frames are mandatory? | Lobby wide shot mandatory, roof view optional |
| Locations and access | Where can the camera go? | Roof only with building manager sign-off |
| Schedule | When are the shoot, proofs and delivery due? | Proofs and delivery within 10 business days of the shoot |
| Approver | Who signs off each stage? | One head of marketing, not three stakeholders |
| Usage rights | Which channels, and for how long? | Web and print for two years, one region |
| Budget | What does the fee cover? | Shoot, travel and basic editing; retouching billed extra |
For help distinguishing included work from additions, use this explanation of how to define project boundaries. Then read the document as the photographer would: any unanswered production question needs an owner before shooting begins.
Deliverable Sizes and Shot Counts That Work
High resolution isn't a delivery specification. A designer needs to know whether the file is intended for a full-width page, a mobile gallery, or a thumbnail. Those uses affect both capture and export.
A hypothetical commercial-property package could contain 12 edited images: four horizontal frames, four vertical frames, two square crops, and two details, following the example mix in this visual-content planning guide. That's a starting allocation, not a universal package.
Separate photographs from exports
A photograph and its derivatives aren't separate creative selections. Exporting a horizontal image at several sizes shouldn't accidentally inflate the agreed image count.
The real-estate image delivery guide gives example web sizes of 1600 × 1067 px, 800 × 533 px, and 400 × 267 px, all approximately 3:2. These are useful rendition examples, not automatic dimensions for every website.
Delivery outputs, sizes and quantities
| Output | Pixel size | Where it runs | Quantity |
|---|---|---|---|
| Full-resolution master | Native camera size | Archive and print files | All selected images |
| Large web rendition | 1600 × 1067 px | Listing or hero page | 4 horizontal |
| Intermediate web rendition | 800 × 533 px | Mobile gallery | 4 horizontal |
| Small web rendition | 400 × 267 px | Cards and thumbnails | Derived from horizontals |
| Vertical social crop | Set per platform | Social posts and stories | 4 vertical |
| Square crop | Set per platform | Profile and feed tiles | 2 square |
| Detail photograph | Set per platform | Editorial or spec sheet | 2 detail |
The quantities above belong to the hypothetical package. Confirm the actual website containers before approving exports, especially if a hero uses a much wider crop.
Request full-resolution masters separately from web derivatives. Agree on JPEG or TIFF delivery, the appropriate color profile, and whether raw files are included if your team intends to handle retouching.
Use a filename structure such as project_assetID_subject_orientation. Keep caption metadata tied to that ID, and specify whether perspective correction, window balancing, and object removal are included.
A practical photography shot list connects those outputs to priority views. If weather or tenant availability shortens production, capture the essential compositions before spending time on optional variations.
Rights, Releases and Who Can Use the Images
A shared architectural shoot can serve the owner, architect, contractor, consultants, suppliers, and marketing team. Paying toward the shoot doesn't automatically give every participant permission to publish every image.
The architectural photography commissioning guidance recommends identifying potential users, placements, and duration, including optional future rights. Usage belongs in the shot list, because advertising, editorial publication, and portfolio use may require different versions or permissions.
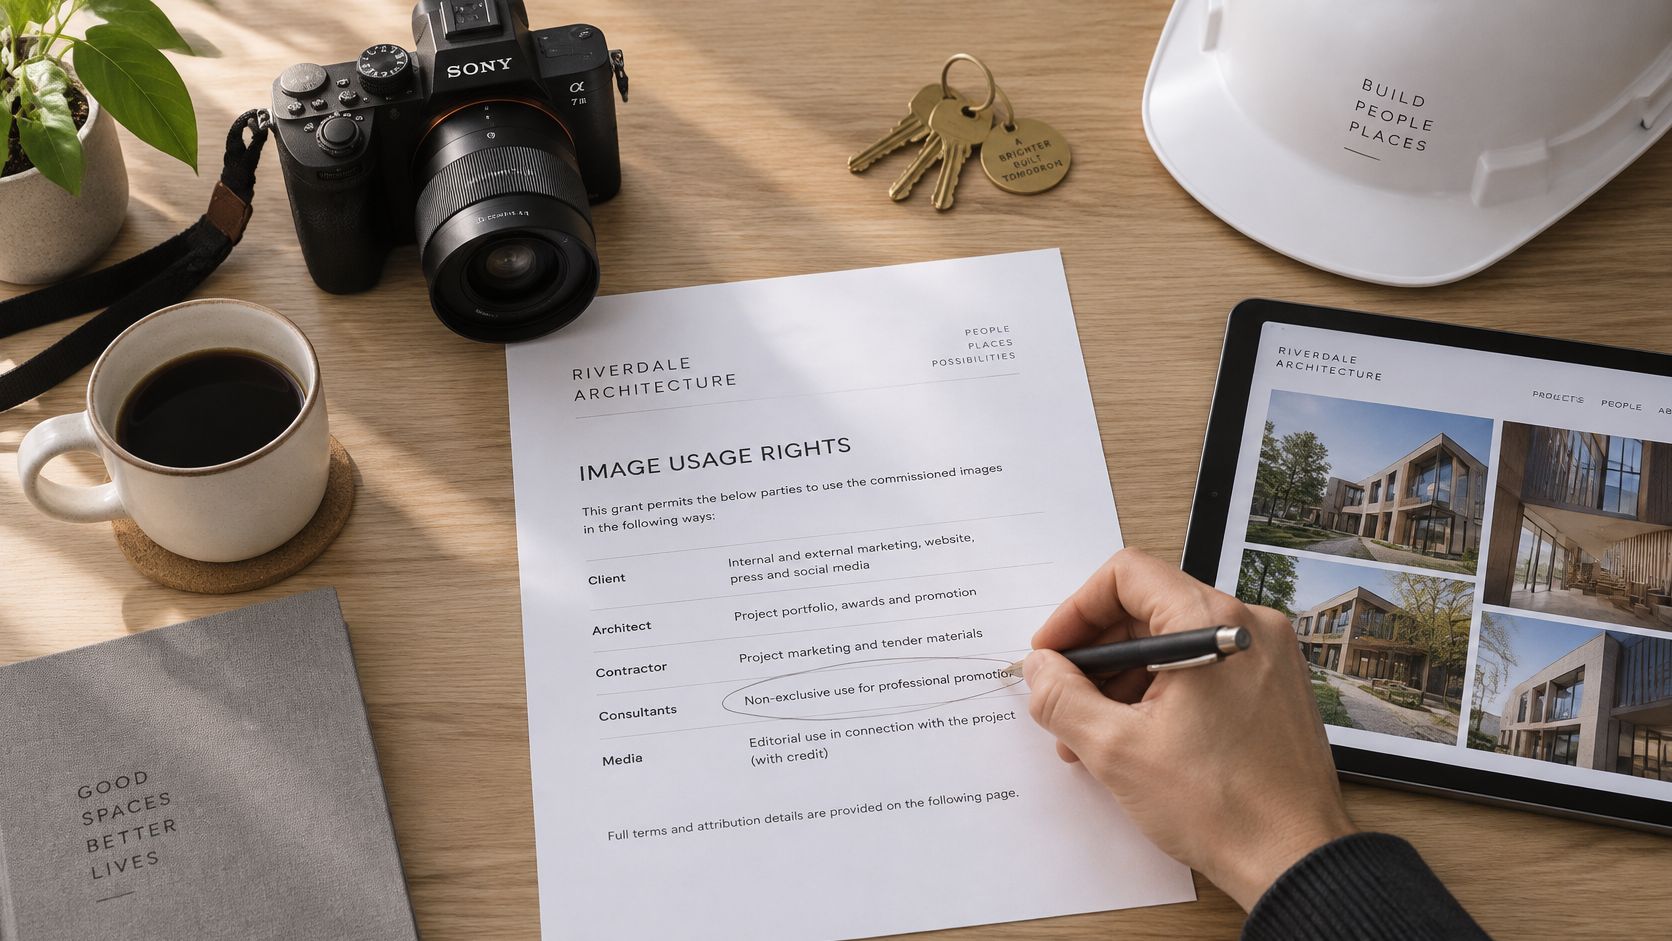
Agree on users before distributing files
Under the U.S. photography copyright guide, copyright generally belongs to the photographer when the photograph is created, unless an applicable arrangement changes ownership. A written license or assignment should establish the client's permitted uses.
Rights matrix for a shared architectural shoot
These are hypothetical negotiating examples, not standard terms or prices.
| Party | Medium | Territory | Term | Exclusivity |
|---|---|---|---|---|
| Property owner | Website and brochure | Sales region | 3 years | Non-exclusive |
| Architect | Portfolio and award entry | Worldwide | Unlimited | Non-exclusive |
| General contractor | Project case study | Single country | 2 years | Non-exclusive |
| Marketing team | Paid social and outdoor ads | Single country | 1 year | Exclusive in category |
| Editorial outlet | Feature article | One publication | One-time | Exclusive first use |
Resolve conflicts before approval. Category exclusivity needs a defined category and exceptions; editorial first-use rights need a publication trigger and an agreed end point.
Add columns or linked records for cropping permissions, editing restrictions, credit, portfolio use, and release responsibility. Against each asset ID, identify the permitted users and whether any required model or property release remains outstanding.
Distribution rule: A download folder isn't a license. Keep the permission record attached to the asset.
Use a photography usage-rights checklist when checking the agreement. For teams selecting a system to store approved files and permissions, the brand platform picks from Creators Toolbox offer a useful starting point.
The practical trade-off is between flexibility and cost. Secure the uses you expect, negotiate future options, and avoid asking for an undefined transfer of everything because it sounds easier.
Site Access and Camera Conditions to Plan For
A roof view is not ready to shoot until the route, working position, and equipment are approved. Put those conditions beside the asset ID so the photographer and site contact can check them before setup.
The construction photography access guide describes site orientation, sign-in or badging, escorts, and protective equipment. Many sites require safety training or an orientation set by the site operator. Under 29 CFR 1926.100, protective helmets are required where specified head-injury hazards exist.
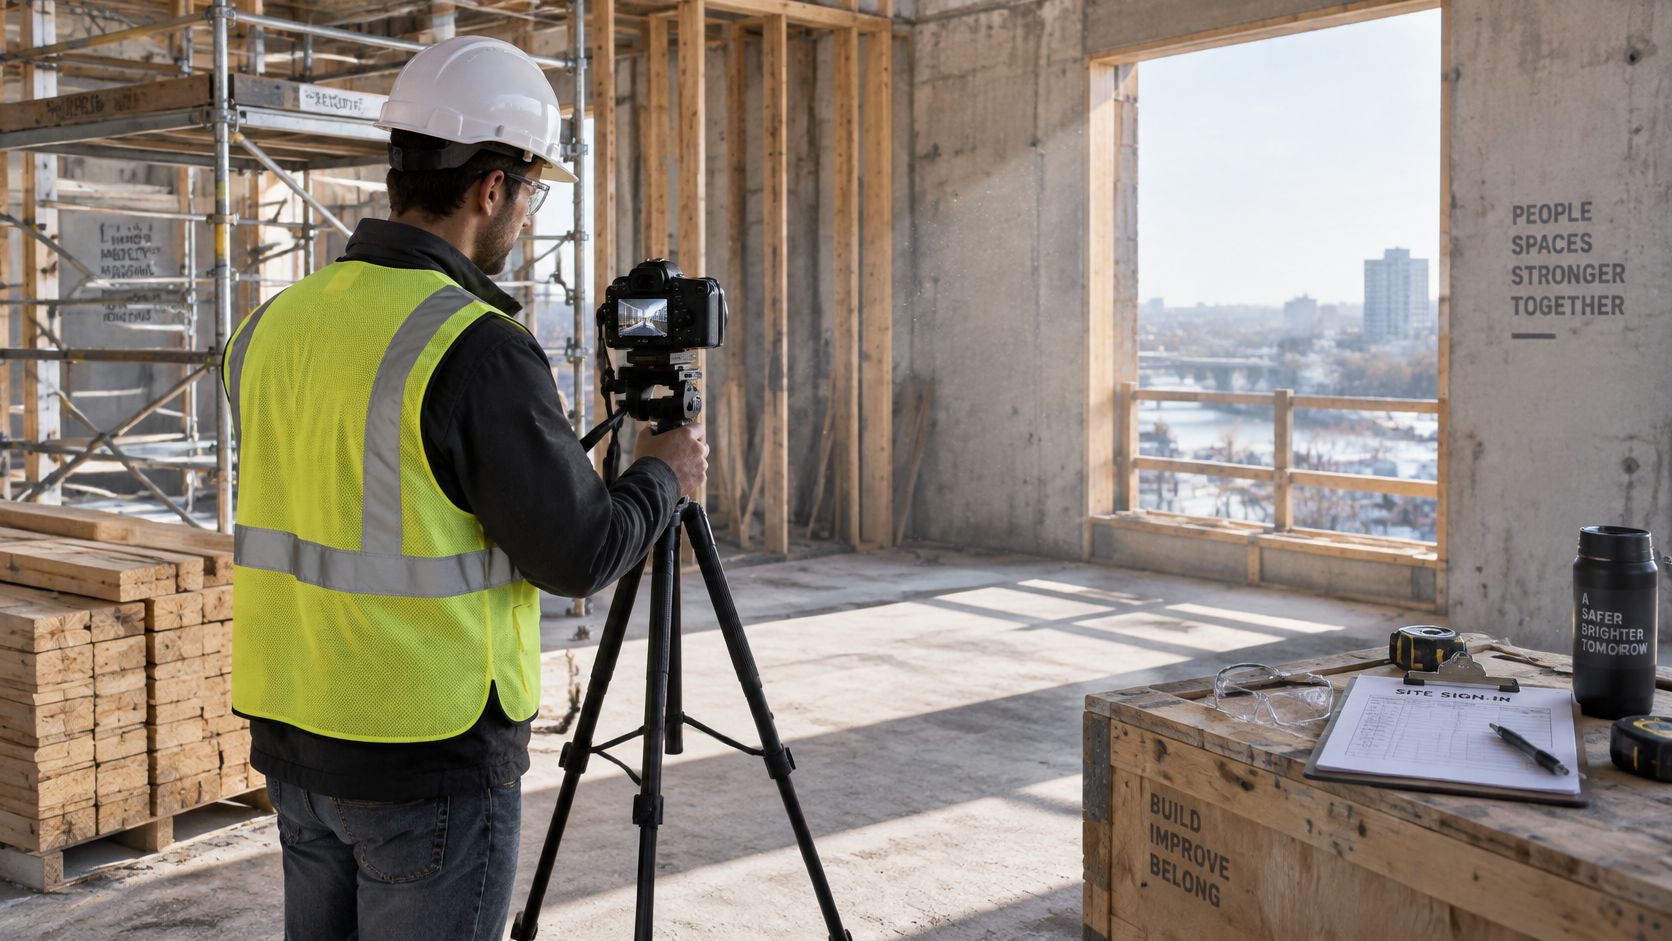
Give each location an access record
Confirm the site's actual rules. A generic checklist does not authorize entry.
- Protective equipment: Record whether the site requires a hard hat, safety glasses, high-visibility vest, or steel- or composite-toe boots.
- Authorized movement: List approved zones, restricted areas, escort arrangements, and the person who can authorize entry.
- Equipment access: Confirm tripod positions, lighting stands, power availability, loading routes, and restrictions in occupied areas.
- Readiness: Assign cleaning, furniture placement, temporary-sign removal, and coordination with tenants or trades.
Use a site preparation checklist to assign these tasks and record access conditions.
Record conditions without dictating every setting
Specify the visual result, such as sharp architectural detail or natural-looking people. The photographer can choose exposure settings after assessing movement, light levels, and equipment.
These starting ranges and light temperatures come from an architectural camera-settings guide. Treat them as planning references, not fixed exposure rules.
Shutter, ISO and light conditions to record
| Condition | Shutter speed | ISO | Light to record |
|---|---|---|---|
| Static exterior or interior on a tripod | 1/4 to 1/30 s | 100 to 200 | Daylight, about 5200 to 5500 K |
| Handheld with people or vehicles | 1/125 to 1/250 s | 100 to 200 | Daylight, about 5200 to 5500 K |
| Tungsten-lit interior | Set by test shot | 100 to 200 | Tungsten, about 3200 K |
| Fluorescent-lit interior | Set by test shot | 100 to 200 | Fluorescent, about 3800 to 4500 K |
The ISO ranges assume suitable light. Dim interiors or moving subjects may call for different settings.
Record mixed-light areas, reflective glazing, sun direction, and when lighting controls are available. A slow exposure can preserve static detail but blur people. Correcting warm lamps can make daylight look cooler, so state which visual priority matters most and leave the technical compromise to the photographer.
Briefing Mistakes That Stall a Shoot
Late scope changes are the most expensive mistake to prevent. Adding a rooftop frame shortly before production can require new access arrangements, a different light window, and more crew time. Treat the addition as a decision with consequences, not a casual favor.
A project communications report connects effective communication with better schedule and budget outcomes. On a photography assignment, that means replacing ambiguous requests with instructions the crew can verify.
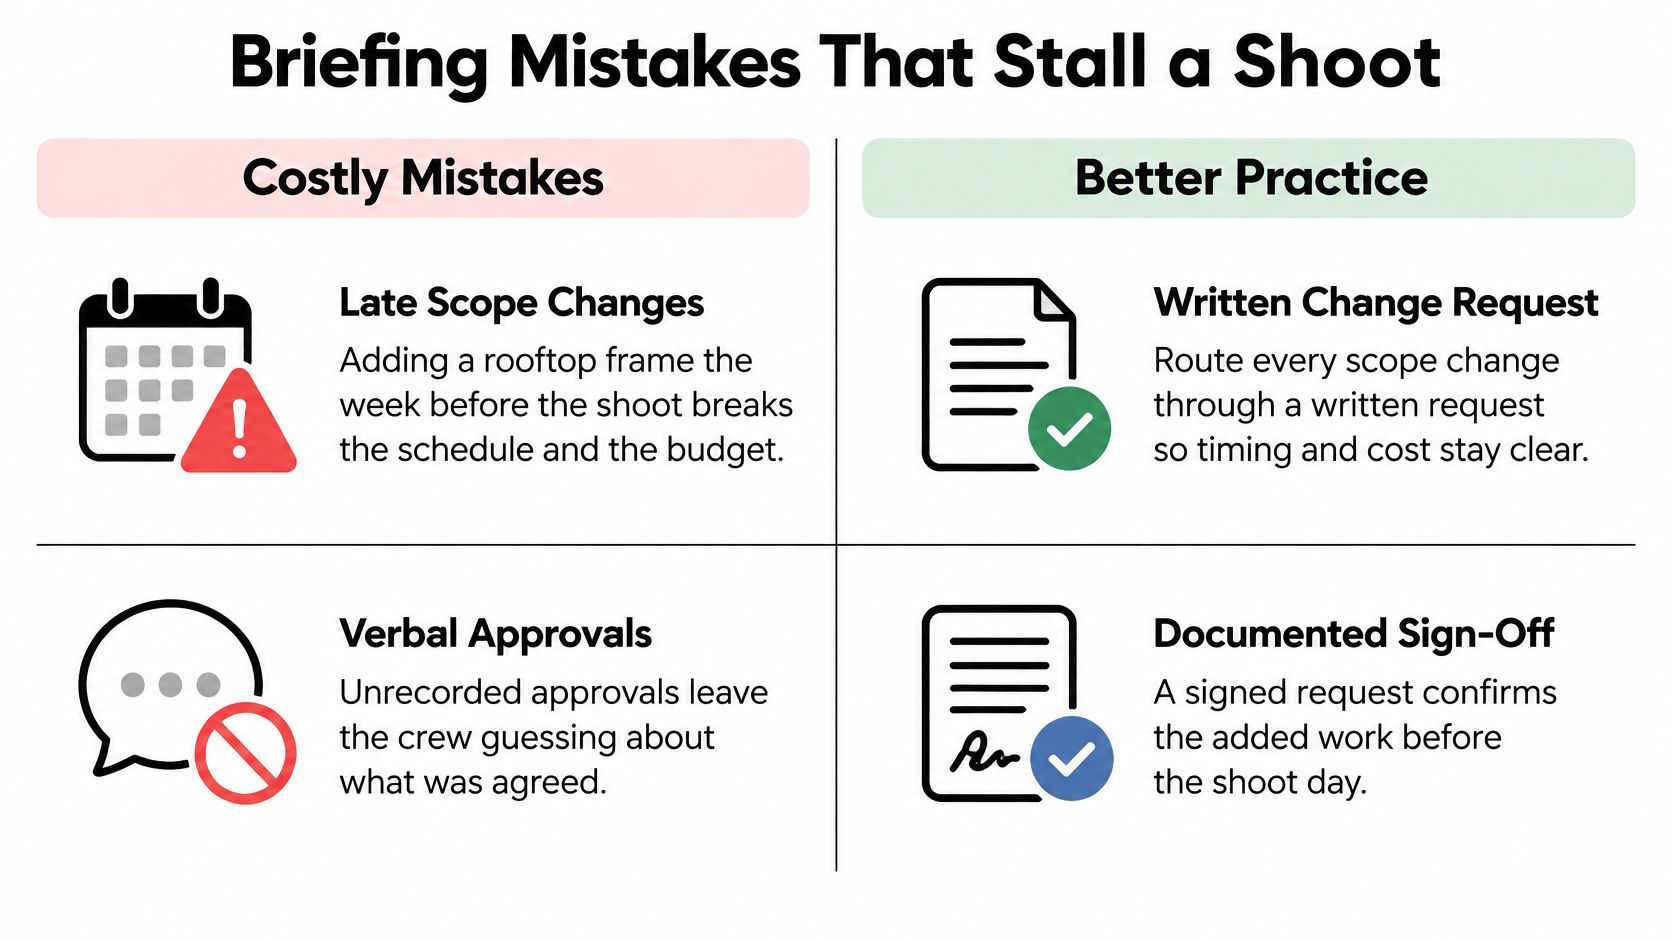
Replace preferences with checks
| Weak instruction | Stronger wording |
|---|---|
| Add a roof photograph while you're there. | Price and approve roof access, capture time, and delivery changes before adding the frame. |
| Make it look premium. | Correct verticals, deliver approved aspect ratios, and keep distracting glare off the reception desk. |
| Match this photograph. | Use this reference for camera height only, not lighting or subject arrangement. |
| Send feedback to the team. | The named approver returns consolidated comments by the agreed deadline. |
| Shoot the roof if it's sunny. | Use the approved ground-level exterior as the fallback if roof conditions are unsuitable. |
| We agreed to it on the call. | Record the decision and obtain documented sign-off. |
Don't confuse an acceptance test with a creative prescription. Asking for legible signage is useful. Prescribing a camera position that makes the signage unreadable isn't.
A good instruction leaves room for photographic judgment while making the required outcome unmistakable.
Contingencies also need limits. If the fallback view doesn't meet the business purpose, the right answer may be rescheduling rather than delivering an attractive but unusable substitute.
Keep feedback about the agreed result. A new concept introduced during proof review is additional creative work, not automatically a correction.
Captions, Alt Text and Accessible Use
A finished image needs enough context to remain useful after it leaves the photographer's workstation. Add caption, communication purpose, and alt-text notes to each shot-list row, alongside orientation and intended placement.
The architectural commissioning guide provides a foundation for planning views, timing, and delivery. Extend that production thinking to what the publisher needs to explain the image accessibly.
Document what the viewer should understand
A caption identifies the subject and location. An alt-text note records the information a person should receive when they can't see the photograph; it shouldn't merely repeat a filename or list visual keywords.
| Shot-list field | Example entry |
|---|---|
| Subject and location | Rebuilt reception lobby, main entrance |
| Communication purpose | Show the entrance route and reception position |
| Alt-text direction | Lobby viewed from the entrance, with reception on the left and a clear route ahead |
| Text-overlay area | Clear upper-right area, away from directional signage |
| Mobile crop protection | Keep reception and the entrance route visible |
| Decorative status | Informative on the visitor-information page |
Capture the context the page needs. A wide view can establish place, a closer composition can explain a feature, and a detail can support a caption about material or workmanship.
Decorative status depends on use, not subject. A texture photograph used only as a background should normally have an empty text alternative in web markup. The same photograph may need a meaningful description when it illustrates a material specification.
Accessibility check: Describe the information the image contributes to this page, not every object inside the frame.
Keep the context attached
Match filenames and embedded caption metadata to the shot-list ID. Supply subject notes and relevant people's roles without inventing identities or assuming the uploader knows the project.
Assign final alt-text responsibility to the publishing team, using the agreed communication notes rather than starting from scratch. The photographer can document what's visible; the page editor must confirm why it matters in that placement.
Check desktop and mobile previews before publication. If a responsive crop removes the feature described in the alt text, change the crop, the selected photograph, or the description so they agree.
Send the Brief and Get Written Sign-Off
Send the brief for written approval before booking the shoot date. A calendar reservation shouldn't be the first point at which the photographer discovers an unresolved access condition or an advertising license that wasn't included in the estimate.
Send a controlled document with a version date, not a collection of screenshots and forwarded messages. Include the shot list, rights matrix, access plan, delivery requirements, proof deadline, and named approver.
Ask for a production response
The photographer's reply should do more than acknowledge receipt. Ask for:
- An estimate tied to scope: Capture, travel, editing, additional retouching, and licensed use should be understandable.
- A risk assessment: The reply should identify uncertain access, occupied-space restrictions, weather exposure, and difficult lighting.
- A delivery confirmation: File specifications, selection procedure, deadlines, and rights terms should match the proposed assignment.
- Outstanding decisions: Each unresolved item needs an owner and a deadline for answering it.
Set a response deadline that allows questions before commitments become expensive. A useful reply explains the proposed approach in the photographer's own words, making misunderstandings easier to spot.
Approve the same job on both sides
Compare the response with the business objective. If the essential deliverables won't show what the intended audience needs to see, resolve that mismatch before signing.
Any added location or output should return through the written change process. Keep the approved brief, permission records, and access instructions together so the crew and client work from the same version.
The strongest sign-off isn't agreement on price alone. It's agreement on what will be made, under what conditions, and what the client can do with it afterward.
Our current focus is architectural photography and corporate brand content, with professional editing among our specialties. Visit Jimmy Clemmons Photographer to discuss your project's purpose, priority views, intended uses, and delivery needs before setting the shoot plan.