
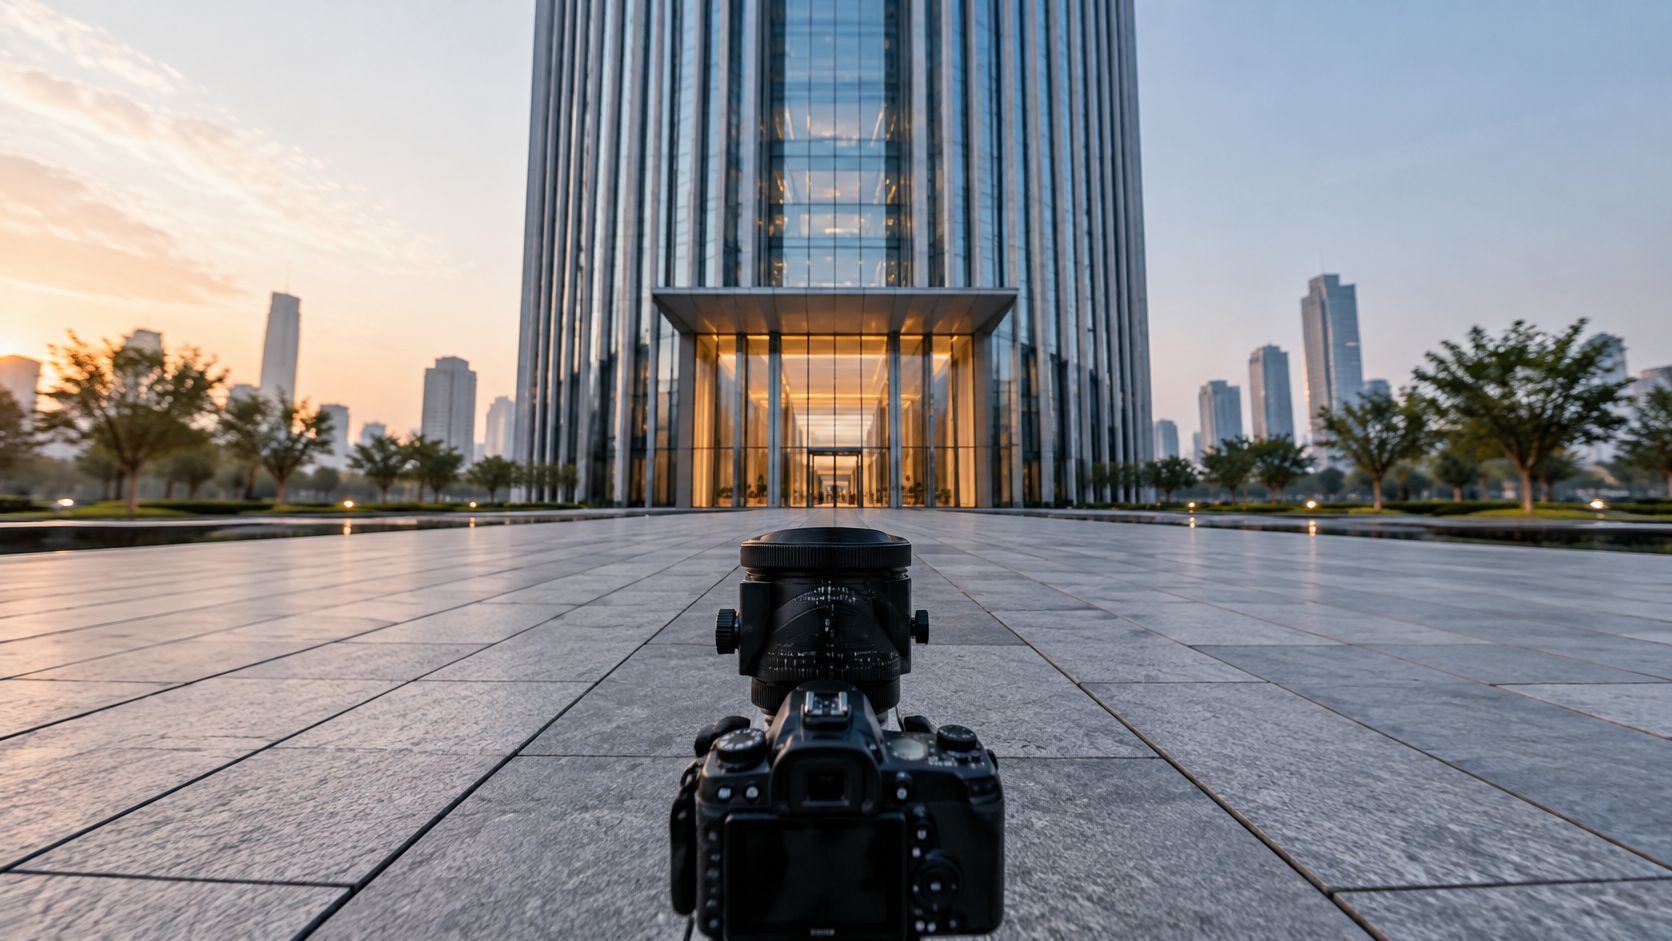
You're standing across the street from a tall office building, trying to fit the roof into the photograph. You tip the camera upward, and suddenly the walls seem to lean toward each other. Straightening them later might rescue the composition, but what happens to the windows near the edges, the available crop, and the detail needed for a large printed page?
Tilt shift lens architecture gives you separate controls for framing and focus before you make that compromise. The useful question isn't whether a building looks straight. It's which capture method will preserve the geometry and detail your final images need.
Shift and Tilt at a Glance
At the base of that office block, the first mistake is reaching for tilt because the camera has been tilted upward. Tilting the camera and applying lens tilt are different actions. To include the roof while keeping the camera level, you normally need shift.
The names describe mechanical movements, not interchangeable correction tools. Shift translates the lens without tipping it; tilt changes its angle relative to the sensor. The distinction between these movements is described in this technical explanation of perspective-control optics.
Shift versus tilt at a glance
| Movement | What It Moves | What It Fixes | Typical Use | Main Risk |
|---|---|---|---|---|
| Shift | Lens moves parallel to the sensor | Converging vertical lines | Tall facades and interior walls | Corner darkening near the movement limit |
| Tilt | Lens angles relative to the sensor | Plane of sharp focus across depth | Receding floors, shop fronts, long tables | Sharpness falling off in unexpected bands |
| Shift and tilt together | Lens shifts and angles at once | Straight lines and deep focus in one frame | Interiors with tall walls and deep rooms | Uneven corners that need checking at final composition |
Read the table by identifying the problem first. A facade that appears to taper upward presents a geometry problem; a foreground floor that's soft while the distant wall is sharp presents a focus problem. Turning both controls without separating those problems makes troubleshooting unnecessarily difficult.
Choose the movement that answers the problem
Use shift alone when the facade needs upright verticals and ordinary focusing already gives the required sharpness. Leave tilt at its neutral setting rather than assuming every architectural photograph benefits from it.
Use tilt alone when a receding plane, such as a row of windows or a tabletop, needs deliberate focus placement and the existing framing is suitable. Combine the movements for an interior where a tall wall affects composition and a deep room creates a separate focusing challenge.
Practical rule: Shift controls geometry. Tilt controls focus.
Neither movement replaces choosing a sensible camera position. Before adjusting the lens, decide whether the viewpoint shows the building's proportions clearly, whether foreground objects obstruct important details, and whether the composition suits the intended page or screen.
How Shift Keeps Building Lines Straight
Think of a large projected picture behind a small rectangular window. You could select different parts of that picture while keeping the window flat. In the lens, the sensor is the window, but the optical projection moves relative to the stationary sensor, not the other way around.
A perspective-control lens projects an oversized image circle, allowing the sensor to record an off-center portion while the camera stays parallel to the facade. This photography guide to tilt-shift movements explains how that arrangement permits reframing without tipping the camera upward and introducing converging verticals.
Frame the roof without tipping the camera
Say you're photographing a street-facing building whose entrance and roofline both matter. Start with the lens centered and tilt neutral. Establish the camera position before using shift to finish the framing.
- Level the camera on its tripod. Use the electronic level or a spirit level, then check the image against reliable architectural edges.
- Shift upward until the roofline enters. Watch the bottom of the frame too, so you don't lose the entrance or required foreground.
- Inspect both sides. Confirm that vertical edges remain parallel and that the camera hasn't rolled sideways.
- Stop before coverage fails. Dark corners or cut-off edges indicate that you're approaching or exceeding usable coverage, producing vignetting.
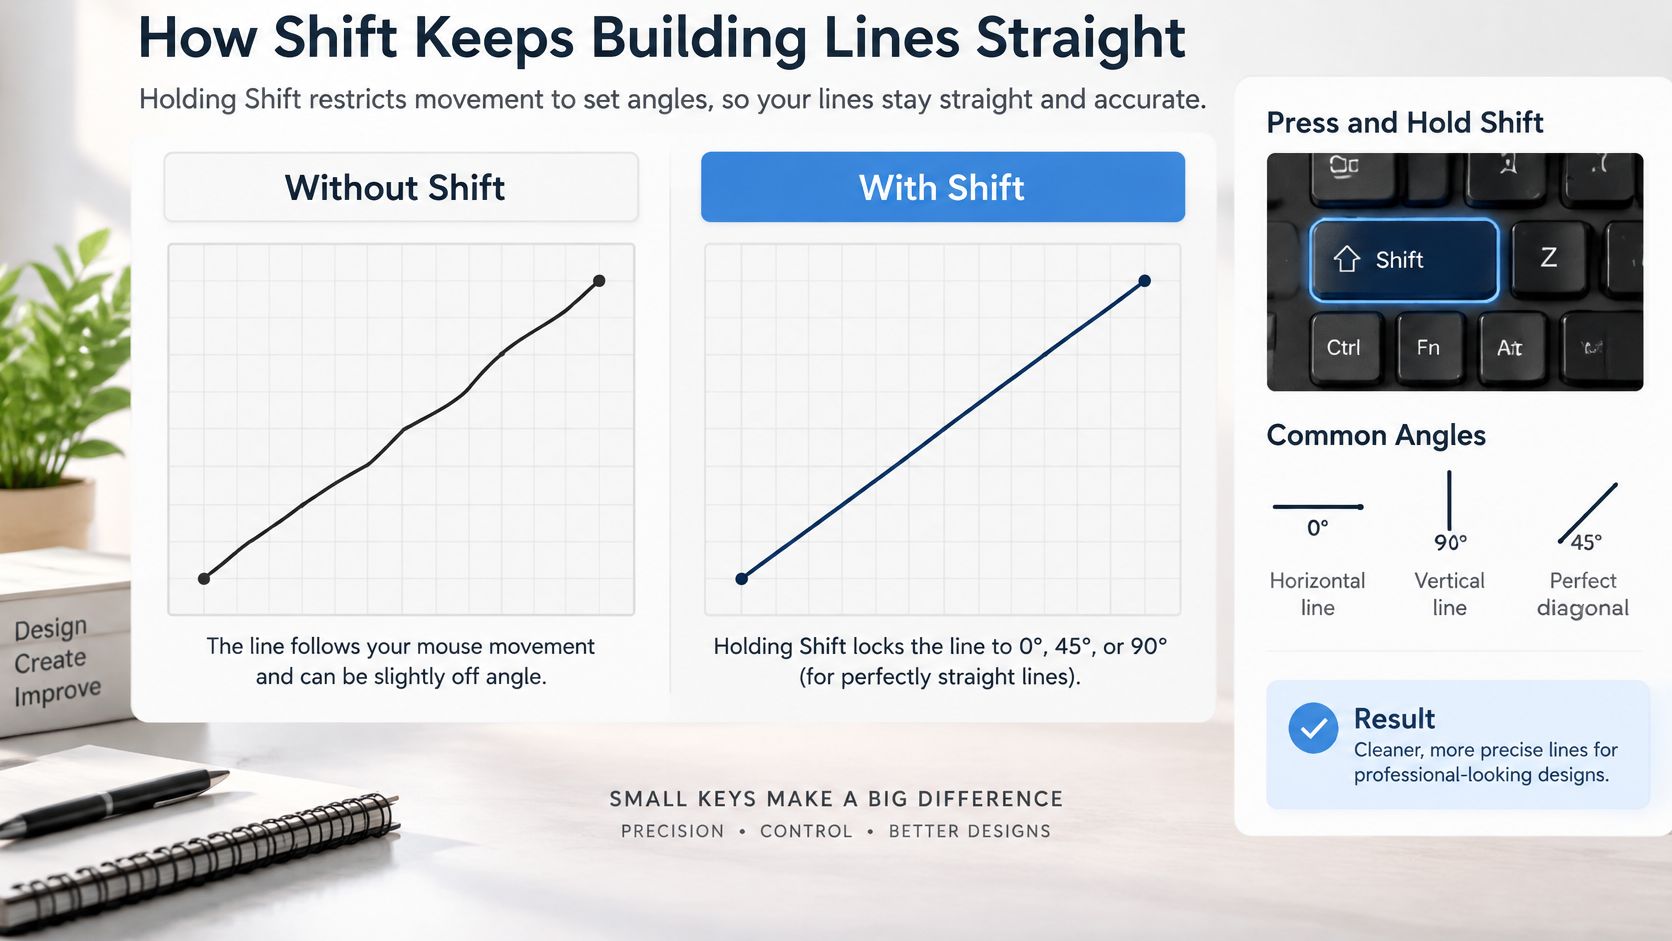
The visual below uses a digital straight-line analogy, rather than showing the physical lens mechanism.
Separate convergence from curved lines
Shift doesn't automatically remove barrel or pincushion distortion. Convergence makes otherwise straight building edges approach each other; optical distortion can make an individual edge bow. These need different checks, and this guide to lens distortion correction helps distinguish the editing task from the camera-alignment task.
Don't force the movement farther if the roof still won't fit. Step back where access permits, reconsider camera height, choose a wider view, or plan a stitched capture. Shift provides framing flexibility, not unlimited coverage.
For property-listing delivery, MLS-ready photo editing workflows offer useful context for planning the editing stage after capture. Keep that stage separate from deciding whether the original viewpoint preserves the architecture accurately.
The expected result is an upright-looking building that fills the intended composition without requiring a keystone correction. You'll still need to evaluate exposure, optical distortion, and the final crop.
How Tilt Moves the Plane of Focus
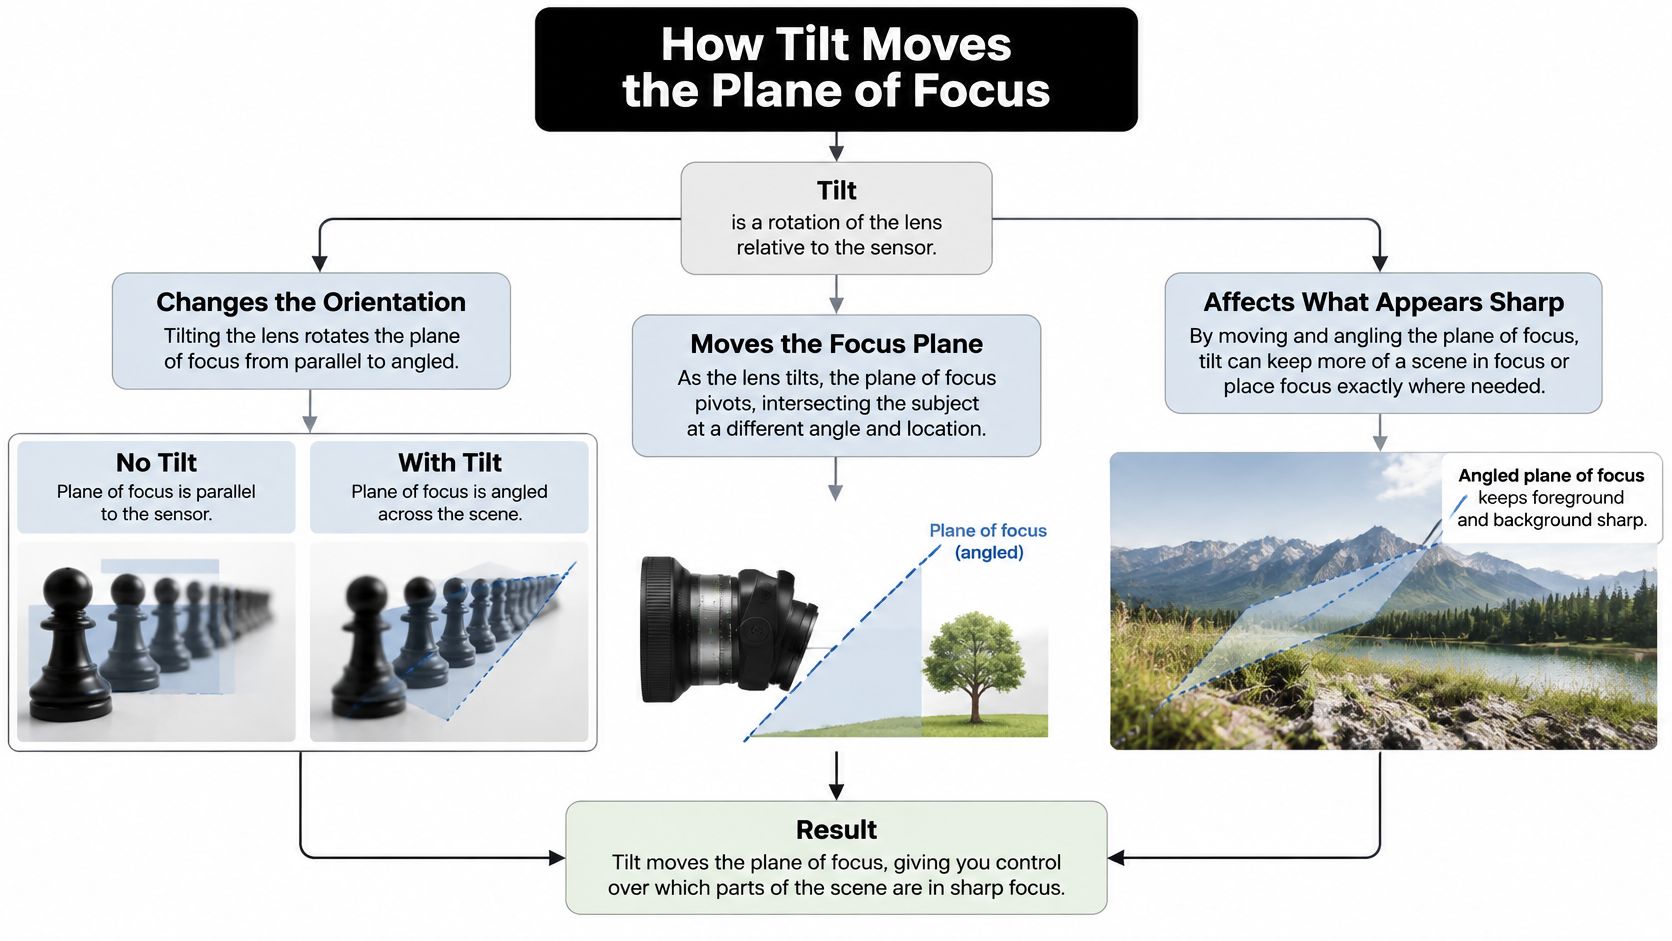
Lay a sheet of paper on a desk and look along it from a low viewpoint. Its near edge and far edge sit at different distances from the camera. Think of tilt as a way to angle the plane of sharp focus toward that sheet, rather than leaving the focus plane parallel to the sensor.
The Scheimpflug principle describes the geometry: when the extended lens plane, image plane, and subject plane meet along a common line, an oblique subject plane can remain sharply focused. Tilt-shift architecture grew from large-format view cameras with independently adjustable lens and film standards, as this explanation of view-camera movements and focus geometry describes.
The diagram illustrates the relationship between those planes.
Align focus with a real surface
For an architectural example, consider a tiled floor extending from the foreground toward a distant doorway. You're trying to place sharp focus along the floor, not just select a farther focusing distance. A rotating movement mechanism lets you orient the adjustment to suit a horizontal, vertical, or diagonal subject plane.
- Set the tilt direction. Align the movement with the dominant surface you want sharp.
- Focus around the middle of that plane. Apply a small tilt adjustment, refocus, and compare near and far details using magnified live view.
- Stop down only as far as needed. Choose the aperture after establishing useful focus-plane alignment.
- Check near and far edges at the chosen aperture. Also inspect details standing above or below the selected plane.
Tilt and focusing interact, so expect to alternate between them. If the foreground improves while the far end deteriorates, don't keep increasing tilt blindly. Reduce the adjustment and reassess both focus and movement direction.
A sharp plane isn't a sharp room
A floor, ceiling, chair back, and projecting light fixture don't all occupy the same plane. Aligning focus with the floor can leave other important objects outside acceptable sharpness. Understanding depth of field helps you judge the surrounding zone rather than treating tilt as unlimited front-to-back focus.
This video provides another way to visualize the adjustment.
More tilt isn't automatically more sharpness. The useful setting is the one that matches the intended subject plane.
For architectural work, tilt is often best left unused until a specific focus problem justifies it. It won't straighten converging wall edges, which is why combined movements require separate decisions about geometry and focus.
Lens Specs That Limit How Far You Can Move
A movement specification tells you what the mechanism permits, not whether every setting produces an acceptable architectural file. You need to understand both coverage and usable optical quality.
The reference below distinguishes the sensor's basic coverage requirement from the capabilities of particular lens designs. Unstated historical specifications are marked as such rather than estimated.
Image circle and movement limits by lens design
| Lens or Sensor | Image Circle | Tilt Range | Shift Range | Design Notes |
|---|---|---|---|---|
| Full-frame 35mm sensor, no movement | Approximately 43.3 mm minimum, according to this technical coverage guide | None | None | Circle only just covers the sensor |
| Modern 24mm full-frame tilt-shift lens | 67.2 mm | ±8.5° | ±12 mm | 16 elements in 11 groups, independent tilt/shift rotation through ±90°, specified in the lens technical documentation |
| Early SLR perspective-control 35mm f/3.5 (1962) | Not stated in the cited history | Shift-only design | Not stated in the cited history | 6 elements in 6 groups, documented in this perspective-control lens history |
| Early SLR perspective-control 35mm f/2.8 (1968) | Not stated in the cited history | Shift-only design | Not stated in the cited history | 7 groups and 8 elements, documented in the same historical account |
Read coverage and construction together
The sensor baseline explains why extra image-circle diameter matters. With no movement, the projection only needs to cover the sensor's diagonal; once you shift, the sensor samples farther from the optical center. Extra coverage creates room for that displacement.
Don't treat the additional diameter as a direct shift allowance. The sensor is rectangular, the projection is circular, and the farthest corner must remain within the usable field. Combined movements also need evaluation in their actual orientation.
The modern design's element count reflects the optical work involved, including correcting distortion and coma when the optical axis is displaced. More elements alone don't establish superiority, and the simpler historical designs aren't interchangeable substitutes for a current lens with documented movement limits.
Test the setting you'll actually use
A centered test frame won't reveal every weakness of a shifted composition. Use an architectural photography lens assessment that considers focal length, coverage, movement, and the required output together.
- Record the required movement. Note its direction as well as the scale reading.
- Compare it with the rated range. Allow room to adjust the composition rather than planning every frame at the stop.
- Inspect displaced edges. Magnify window frames and high-contrast joints for softness and chromatic aberration.
- Check the final exposure. Evaluate illumination after positioning the lens, when coverage across the sensor is no longer symmetric.
Acceptance test: A lens can reach a movement mechanically and still produce edges you shouldn't deliver.
Judge those edges at the intended output size. A flaw that's inconsequential in a small listing image may be unacceptable beside fine facade detail on an editorial page.
Choosing Shift, Tilt or Both on Real Buildings
Shift isn't a substitute for software correction. It's an image-integrity decision about which parts of the scene you capture directly and which parts you later stretch, discard, or reconstruct through stitching. The distinction between optical selection and image transformation is grounded in this technical chapter on special optics.
Software remains useful. The mistake is committing to it before considering the crop, edge detail, and architectural features that must survive delivery.
A tall facade from the street
Consider a facade where the roof, entrance, and paving all need to appear. Compare a centered, level frame with a shifted frame and a stitched shift sequence. The centered capture establishes what fits without movement; the shifted capture tests whether the building fits cleanly in a single image.
A stitched sequence becomes useful when the composition needs more coverage or detail than that single frame provides. Keep exposure and focus consistent across the sequence, retain overlap, and inspect the assembled result rather than assuming a successful merge means accurate geometry.
For a leasing brochure, leave room for the designer's crop and text placement. For design review drawings, prioritize readable junctions and proportions, while making clear that a perspective photograph isn't a measured elevation.
A deep interior with a tall wall
In a room with a high feature wall, establish the desired wall framing with shift. Then assess whether the floor or another dominant receding surface benefits from tilt. Don't assume that improving the floor will also improve ceiling fixtures or furniture.
Treat those features as separate acceptance points. If no tilt setting keeps all required objects acceptably sharp, use an aperture and focus strategy appropriate to the whole scene, or consider a carefully planned focus blend where the subject permits it.
A long facade with repeated windows
Repeated mullions make stitching faults conspicuous. Inspect every seam for doubled frames, broken horizontal joints, and abrupt changes in apparent spacing. Nearby railings and planting deserve particular attention because changing the optical position can introduce alignment difficulties.
An editorial spread may put a seam or a critical window close to the page gutter. A marketing crop may remove the outer bays entirely. Request the intended layout before deciding where coverage and alignment matter most.
- Use software correction for modest adjustments when there's sufficient crop room and stretched edge detail won't compromise the output.
- Capture optically when facade edges, window alignment, and crop flexibility are central to the commission.
- Plan a stitched sequence when additional coverage serves the deliverable and the scene allows reliable alignment.
Don't choose the most elaborate method by default. Choose the simplest capture that preserves the required geometry, detail, and layout options.
Decide Your Movement Before You Set Up the Shot
The most useful preparation happens before you extend the tripod. Identify what the photograph must communicate, then choose the movement that supports it. A sweeping exterior and a refined interior may both highlight form, light, and detail, but they don't necessarily need the same capture method.
Use this checklist during scouting or while reviewing the shot list with the commissioning team.
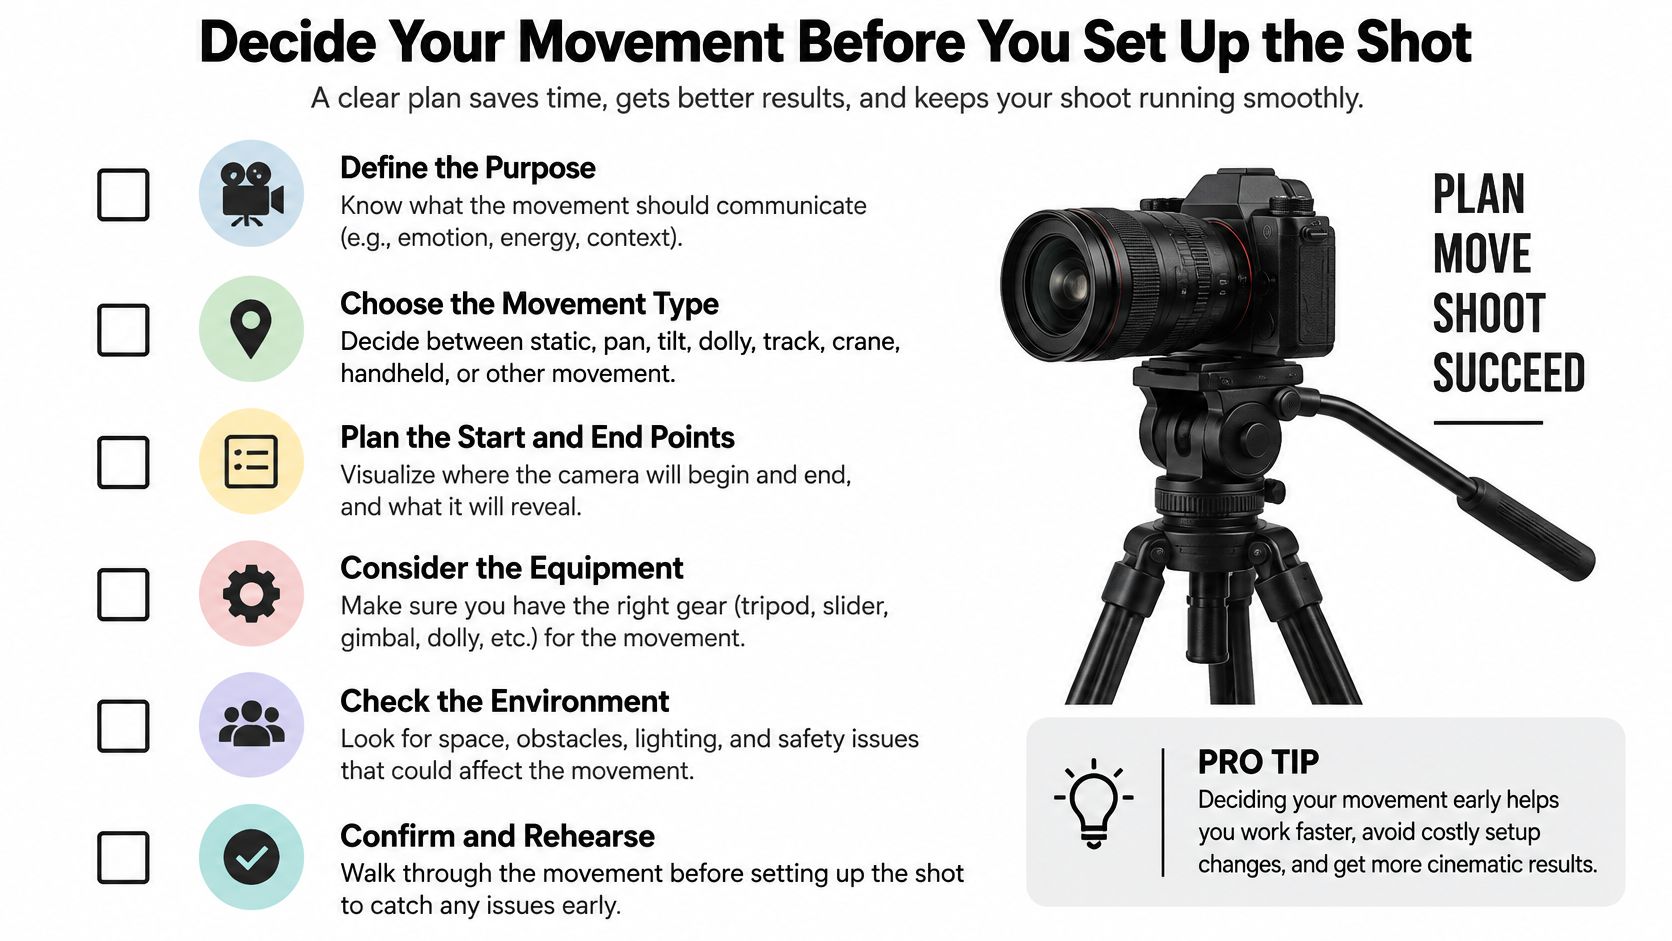
Make the capture decision explicit
- Identify the lines that must stay straight. Name the wall edges, structural columns, door frames, or facade joints that define the composition.
- Identify the plane that must be sharp. Distinguish a single receding surface from objects distributed throughout a room.
- Choose shift, tilt, or both. Give each movement a specific job, and leave unnecessary controls neutral.
- Confirm coverage. Match the required direction and extent of movement to the lens's usable image circle.
- Choose the capture method. Decide whether optical framing, modest software correction, or a stitched sequence best preserves the intended image.
- Match the decision to delivery. Confirm whether the files support design review drawings, leasing material, editorial pages, or marketing images, including likely crops.
Write that decision beside each priority view. A note such as “upright facade, retain entrance, allow brochure crop” is more actionable than “wide exterior.” For an interior, identify the feature surface and the secondary details that must remain legible.
When the building and deadline are fixed, coordinate scouting, lighting, and editing with the lens choice. That gives everyone a shared capture plan before access time begins, rather than leaving fundamental geometry decisions until the camera is already in position.
We offer architectural photography of sweeping exteriors and refined interiors that highlights form, light, and detail. Visit Jimmy Clemmons Photographer to discuss your building, intended deliverables, and how location scouting, lighting design, and professional editing can support the right perspective and focus decisions before the shoot.