

A finished project often looks better in person than it does in the first round of photos. The upholstery has depth. The plaster has softness. Daylight moves across the floor exactly the way you intended. Then the phone comes out, the room bows at the edges, the windows blow out, and the image feels flatter than the actual space ever did.
That gap is why the search for the best camera for interior design photography usually starts in frustration. What most designers want isn't a gadget. They want a reliable way to translate proportion, materials, and mood into images that feel editorial rather than incidental.
A good interior photograph doesn't just prove a room exists. It explains why the room works. To do that, the camera has to be part of a larger system that controls geometry, exposure, lens rendering, light, and workflow. If your photos still feel more like records than portfolio pieces, this look at why iPhone photos can cost a firm clients is a useful reality check.
From iPhone Snapshots to Magazine Spreads
A designer finishes a residential project with layered neutrals, custom millwork, and carefully balanced lighting. On site, the room feels calm and expensive. In the first set of casual photos, the walls appear to lean, the windows turn into white rectangles, and the carefully selected finishes all collapse into one muddy tone.
That's a normal outcome, not a failure of taste.
Phones are excellent for scouting, progress updates, and quick social content. They struggle when a room asks for controlled perspective, broad tonal latitude, and faithful rendering of texture. Interiors are full of visual conflicts. Bright windows sit beside dim corners. Narrow spaces tempt you to shoot too wide. Reflective surfaces expose every careless angle.
The move from snapshot to magazine-style image happens when the process becomes deliberate. The camera body matters, but not by itself. The true shift comes from using a system that lets you decide where the verticals sit, how the highlights hold, how much of the room enters the frame, and which details deserve emphasis.
Professional interior photography starts when you stop asking, “How do I fit everything in?” and start asking, “What does this room need to say?”
That's also why the best answer isn't always one brand or one model. For one firm, the right choice is a camera kit that handles regular project documentation with higher polish. For another, the right choice is hiring a photographer for final portfolio imagery and using a lighter in-house setup for progress work.
The camera is just the visible part of the decision. The fundamental question is whether your workflow can honor the design intent.
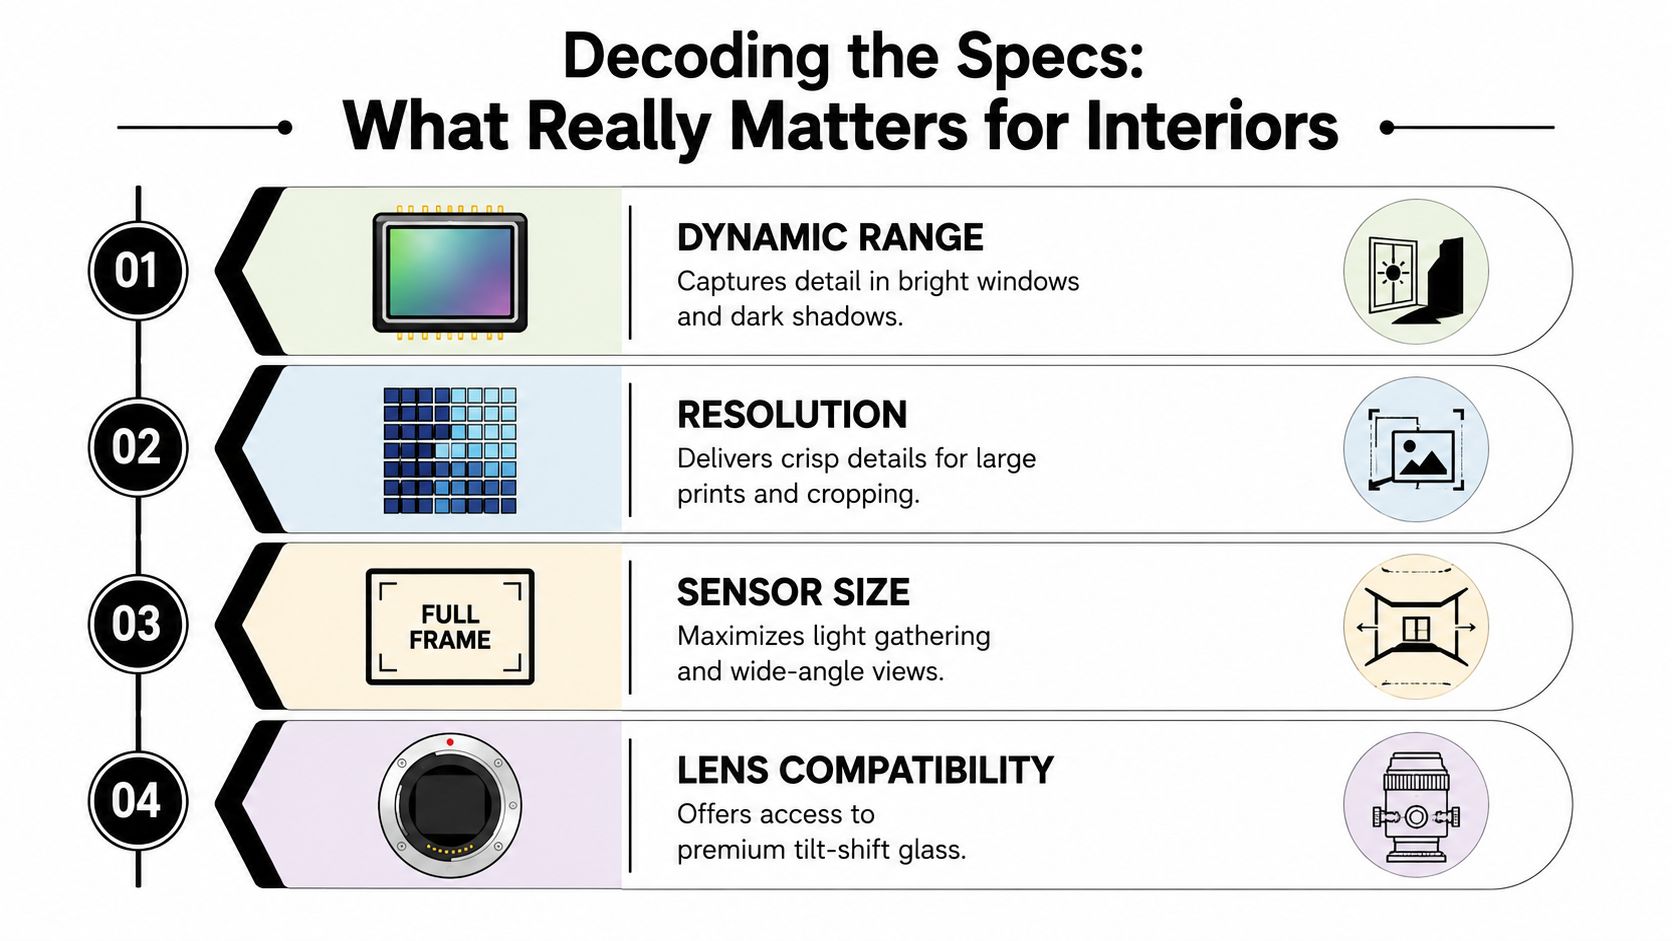
Decoding the Specs What Really Matters for Interiors
Spec sheets reward the wrong instincts for this genre. Interior work asks for control, tonal headroom, and files that hold together under careful editing. Burst rate and action autofocus rarely affect the final frame in a dining room, hotel suite, or residential kitchen.
Four specs shape the result more than the rest. Dynamic range, resolution, sensor size, and lens compatibility. Get those right, and the camera fits into a system that can produce publishable images instead of just sharper snapshots.
Dynamic range is the first test
Interiors routinely contain a bright exterior, a shaded corner, and a reflective surface in the same composition. A camera with limited dynamic range forces hard compromises early. You either let the windows blow out, or you lift the shadows until the file starts to look brittle and noisy.
Guidance from Matterport on camera selection prioritizes resolution and dynamic range over burst speed, and points to cameras with strong highlight and shadow recovery as better suited to detailed interior scenes (Matterport's camera selection guidance).
In practice, dynamic range determines how much freedom you have before and after the exposure. It gives you cleaner bracketed files, smoother tonal transitions on painted walls, and more believable window detail. That matters even if you plan to light the space or blend exposures later.
Resolution buys flexibility later
Resolution matters after capture as much as during it. Interior images often get reused across a website hero banner, a print feature, a portrait crop for social, and a tighter editorial detail. Extra pixels give you room to reframe without sacrificing texture in stone, millwork, textiles, and hardware.
That benefit is easy to underestimate until a designer asks for one file to serve three layouts.
The trade-off is file size, storage, and processing time. Higher-resolution bodies are useful when the work will be cropped, printed large, or delivered to publications. They are less important for casual progress documentation. If the camera is part of an in-house system, the question of buying versus hiring becomes practical. A firm may not need a very high-resolution body for weekly site updates if final portfolio images will still be commissioned.
Sensor size affects the whole feel
A full-frame sensor usually gives interiors a smoother starting point. Files tend to tolerate shadow recovery better, tonal transitions look less abrupt, and the common focal lengths for room views behave the way working photographers expect them to.
Smaller formats can still do good work. They just ask for more care around noise, lens equivalence, and available wide-angle options. For teams building a camera kit from scratch, full-frame is often the simpler path because it supports the broader workflow more comfortably, especially in dim spaces and mixed light.
A practical way to weigh the body:
- Prioritize dynamic range for rooms with windows, contrasty daylight, or deep shadow areas.
- Prioritize resolution if the files need to survive cropping, print use, and multi-format marketing.
- Prioritize full-frame if you want cleaner low-light performance and a more forgiving editing file.
- Treat burst speed as secondary unless the same camera also covers events, people, or other fast-moving subjects.
Lens compatibility matters before you buy the body
The body gets the attention. The mount determines your options for years.
Interior photographers eventually need access to reliable wide-to-normal focal lengths, and some workflows benefit from perspective-control lenses. Before buying a camera, check what the system offers in the focal lengths you will use, and whether those lenses are available new, used, or rented. The body should fit that lens plan, not the other way around.
Practical rule: Buy into a lens mount, not just a camera body.
If you are still sorting out focal lengths, this guide to the best lens for interior design photography will help you match the body to the kind of room views and detail shots you need to produce.
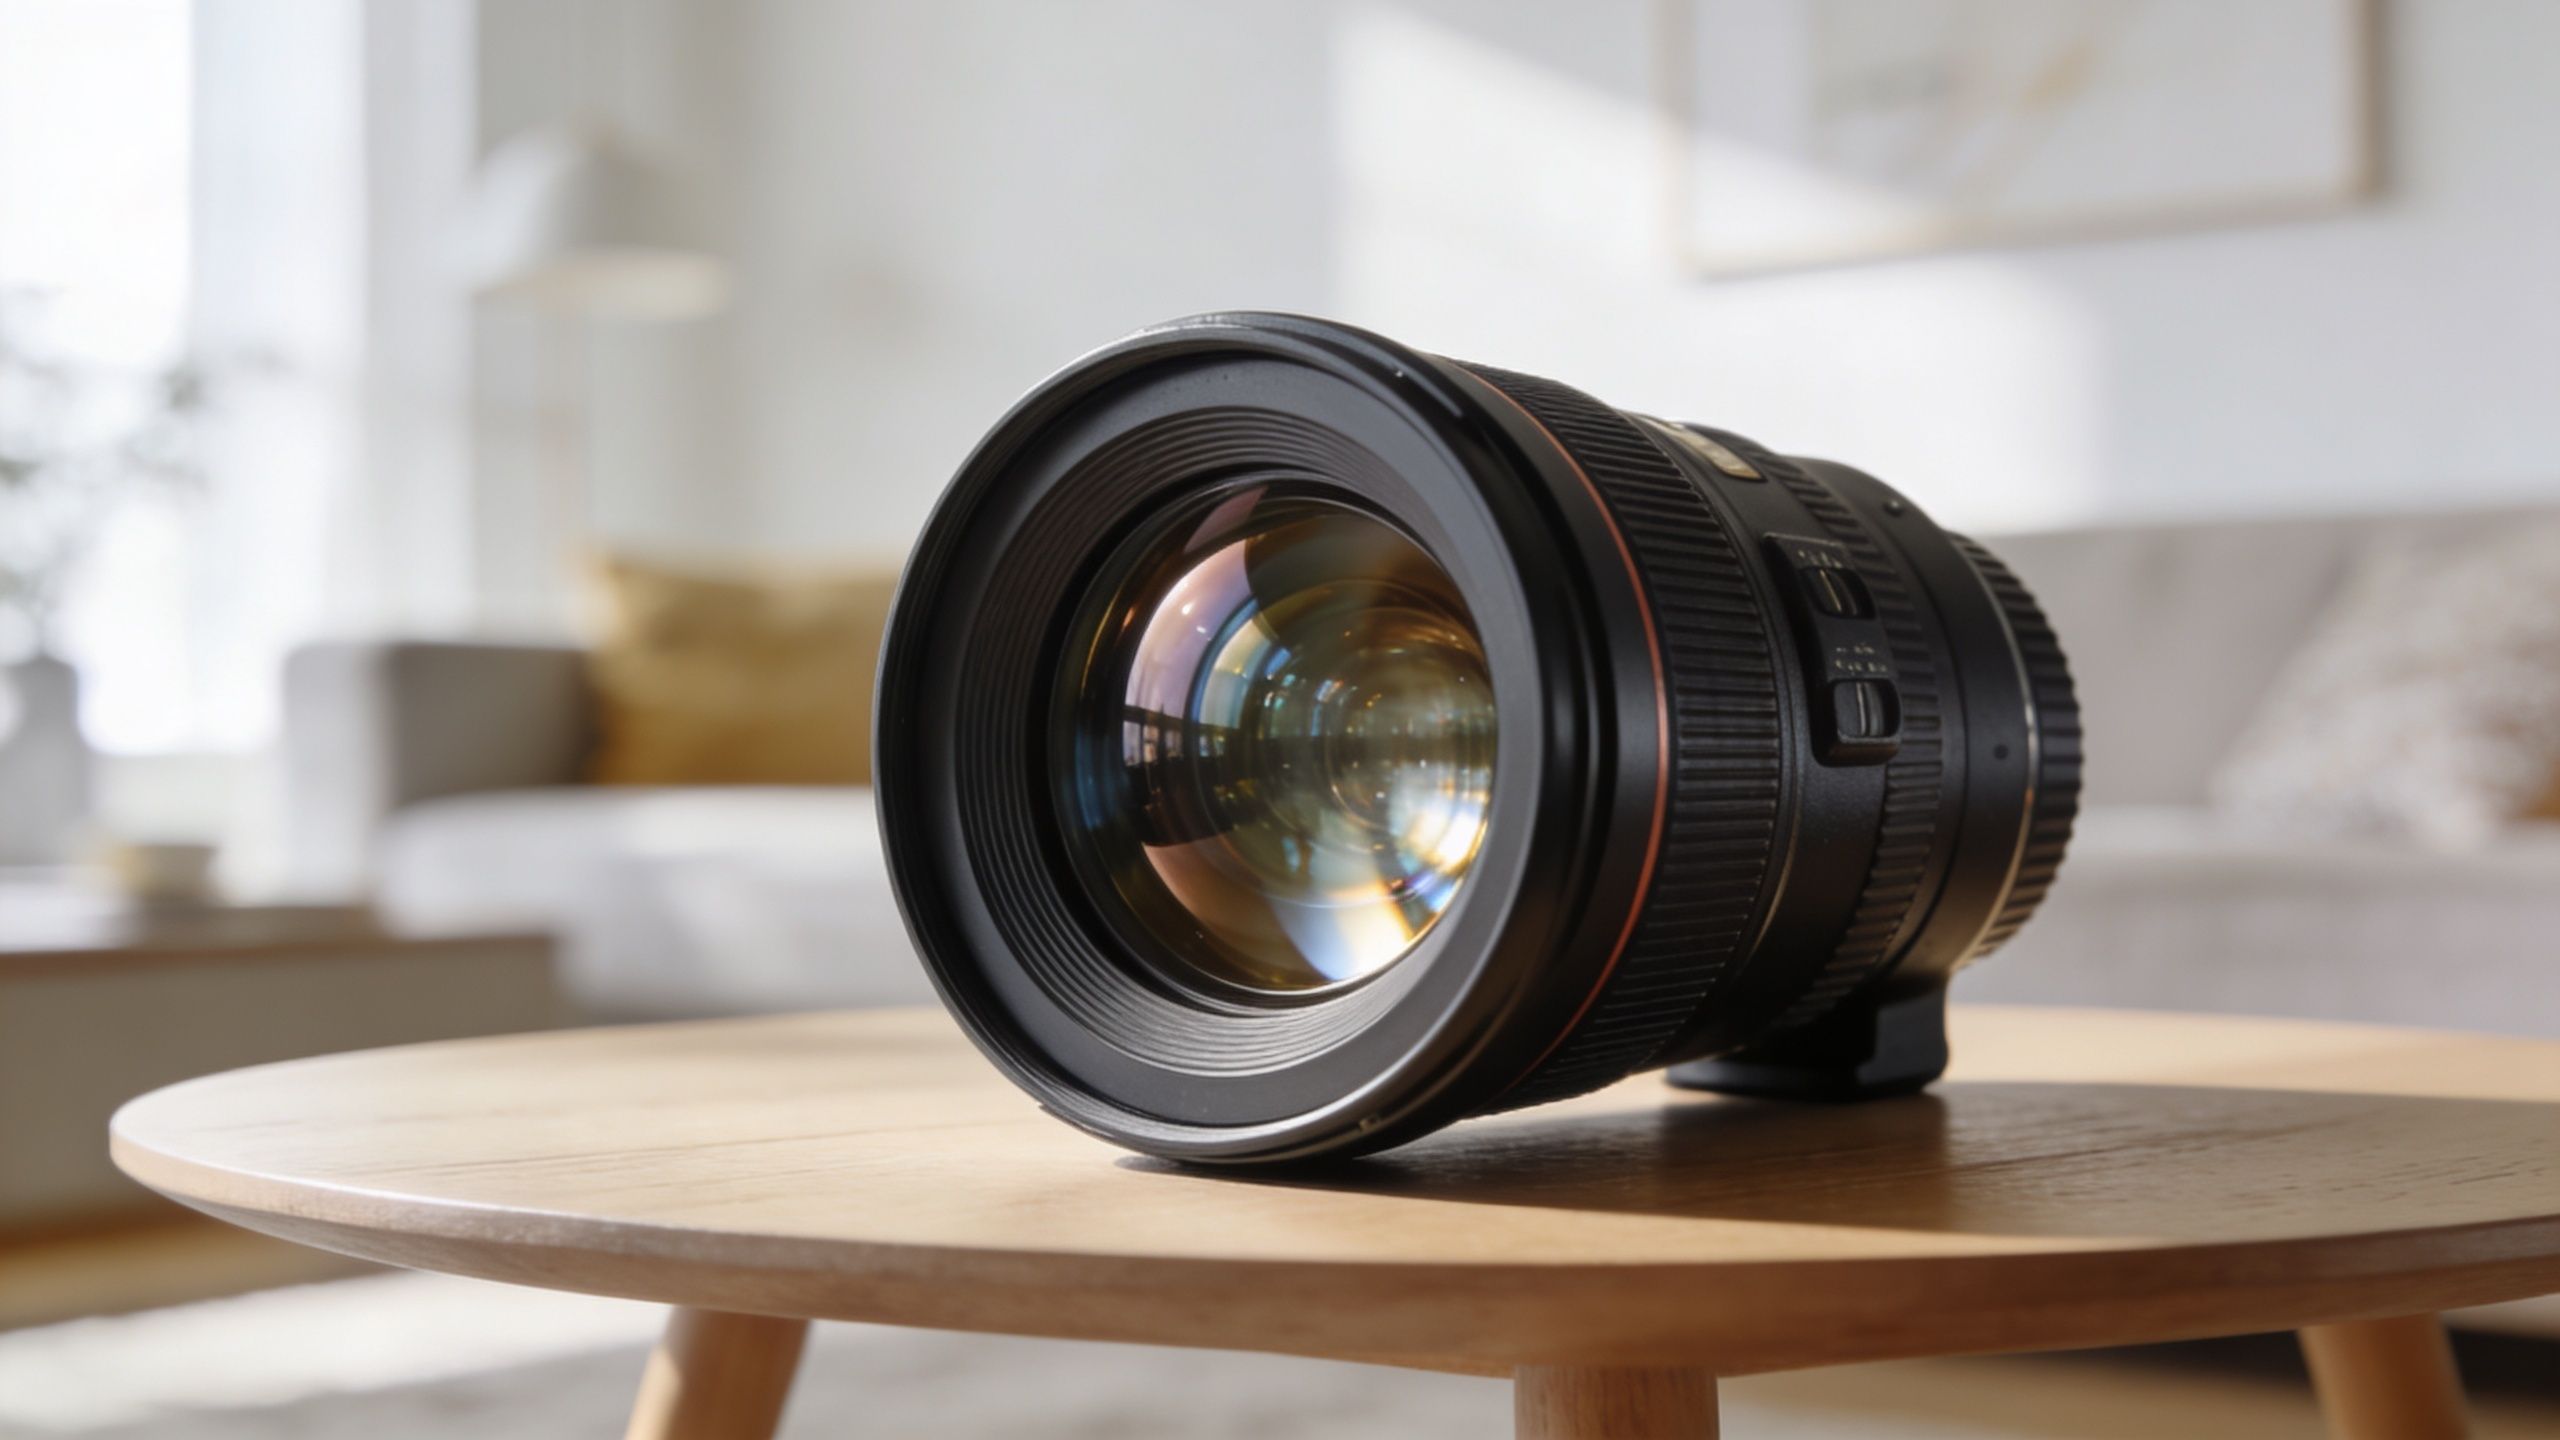
Beyond the Body Why Lenses Define the Shot
A mediocre body with an excellent lens will usually produce more useful interior images than the reverse. That's because the lens determines perspective, edge rendering, distortion behavior, and the overall honesty of the room.
Interior photography lives or dies on geometry. If the lens stretches a room unnaturally or makes cabinetry near the frame edges feel swollen, the image may look dramatic, but it won't feel trustworthy.
Why moderate wide lenses work
A strong interiors workflow often begins with a 35mm lens and a 24-70mm zoom. Guidance from working interior photographers treats the zoom as the most versatile option and warns against going wider than 24mm because distortion becomes obvious and the room starts to look unnatural (interiors lens guidance from Erin Kestenbaum).
That advice holds up in practice. Most spaces don't need to look bigger. They need to look believable.
Here's how those focal lengths tend to behave:
- 24-70mm zoom gives you room-wide coverage, composition flexibility, and quick transitions from overview frames to tighter vignettes.
- 35mm prime often feels natural for general room views because it shows enough space without making the architecture feel elastic.
- 50mm lens is useful for details, styling moments, and tighter compositions where you want selectivity rather than breadth.
If you're comparing options, this guide to the best lens for interior design photography gives a practical breakdown of how those choices affect the finished image.
Zooms, primes, and the tilt-shift question
Zooms are the workhorse choice because they let you solve compositions quickly in real rooms with furniture, walls, and limited shooting positions. Primes can be optically beautiful, but they require more movement and more discipline on site.
Then there's the lens that separates polished professional work from almost-there work. The tilt-shift lens.
A tilt-shift lens lets the photographer correct perspective in-camera and keep vertical lines straight without tilting the body in ways that make walls appear to fall backward. That matters in kitchens, baths, hospitality interiors, and any composition with obvious cabinetry, door frames, or tall millwork.
Straight verticals aren't a stylistic preference. They're part of making architecture read correctly.
You can correct perspective in post, and photographers do. But the more aggressively you fix distortion later, the more you crop away and the more you stress the edges of the frame. A good lens keeps those corrections controlled from the beginning.
The Essential Workflow Tripods Tethering and Light
The best camera for interior design photography won't deliver much on its own if the workflow is loose. Interior work is slower and more methodical than expected. That's a strength, not a limitation.
A controlled process lets you refine the composition before the file ever reaches post-production.
Tripod first
A tripod is not optional for serious interior work. It locks in composition, allows lower ISO capture, supports longer exposures, and makes exposure blending possible when a single frame won't hold the room naturally.
It also changes how you see. Once the camera is fixed, small decisions become visible. A chair leg tangent. A lamp shade intersecting a window mullion. A countertop line that sits a little too high in frame.
A tripod helps with three things at once:
- Sharpness because the camera stays still during longer exposures.
- Consistency because multiple frames can align cleanly.
- Discipline because composition gets refined before capture instead of guessed at afterward.
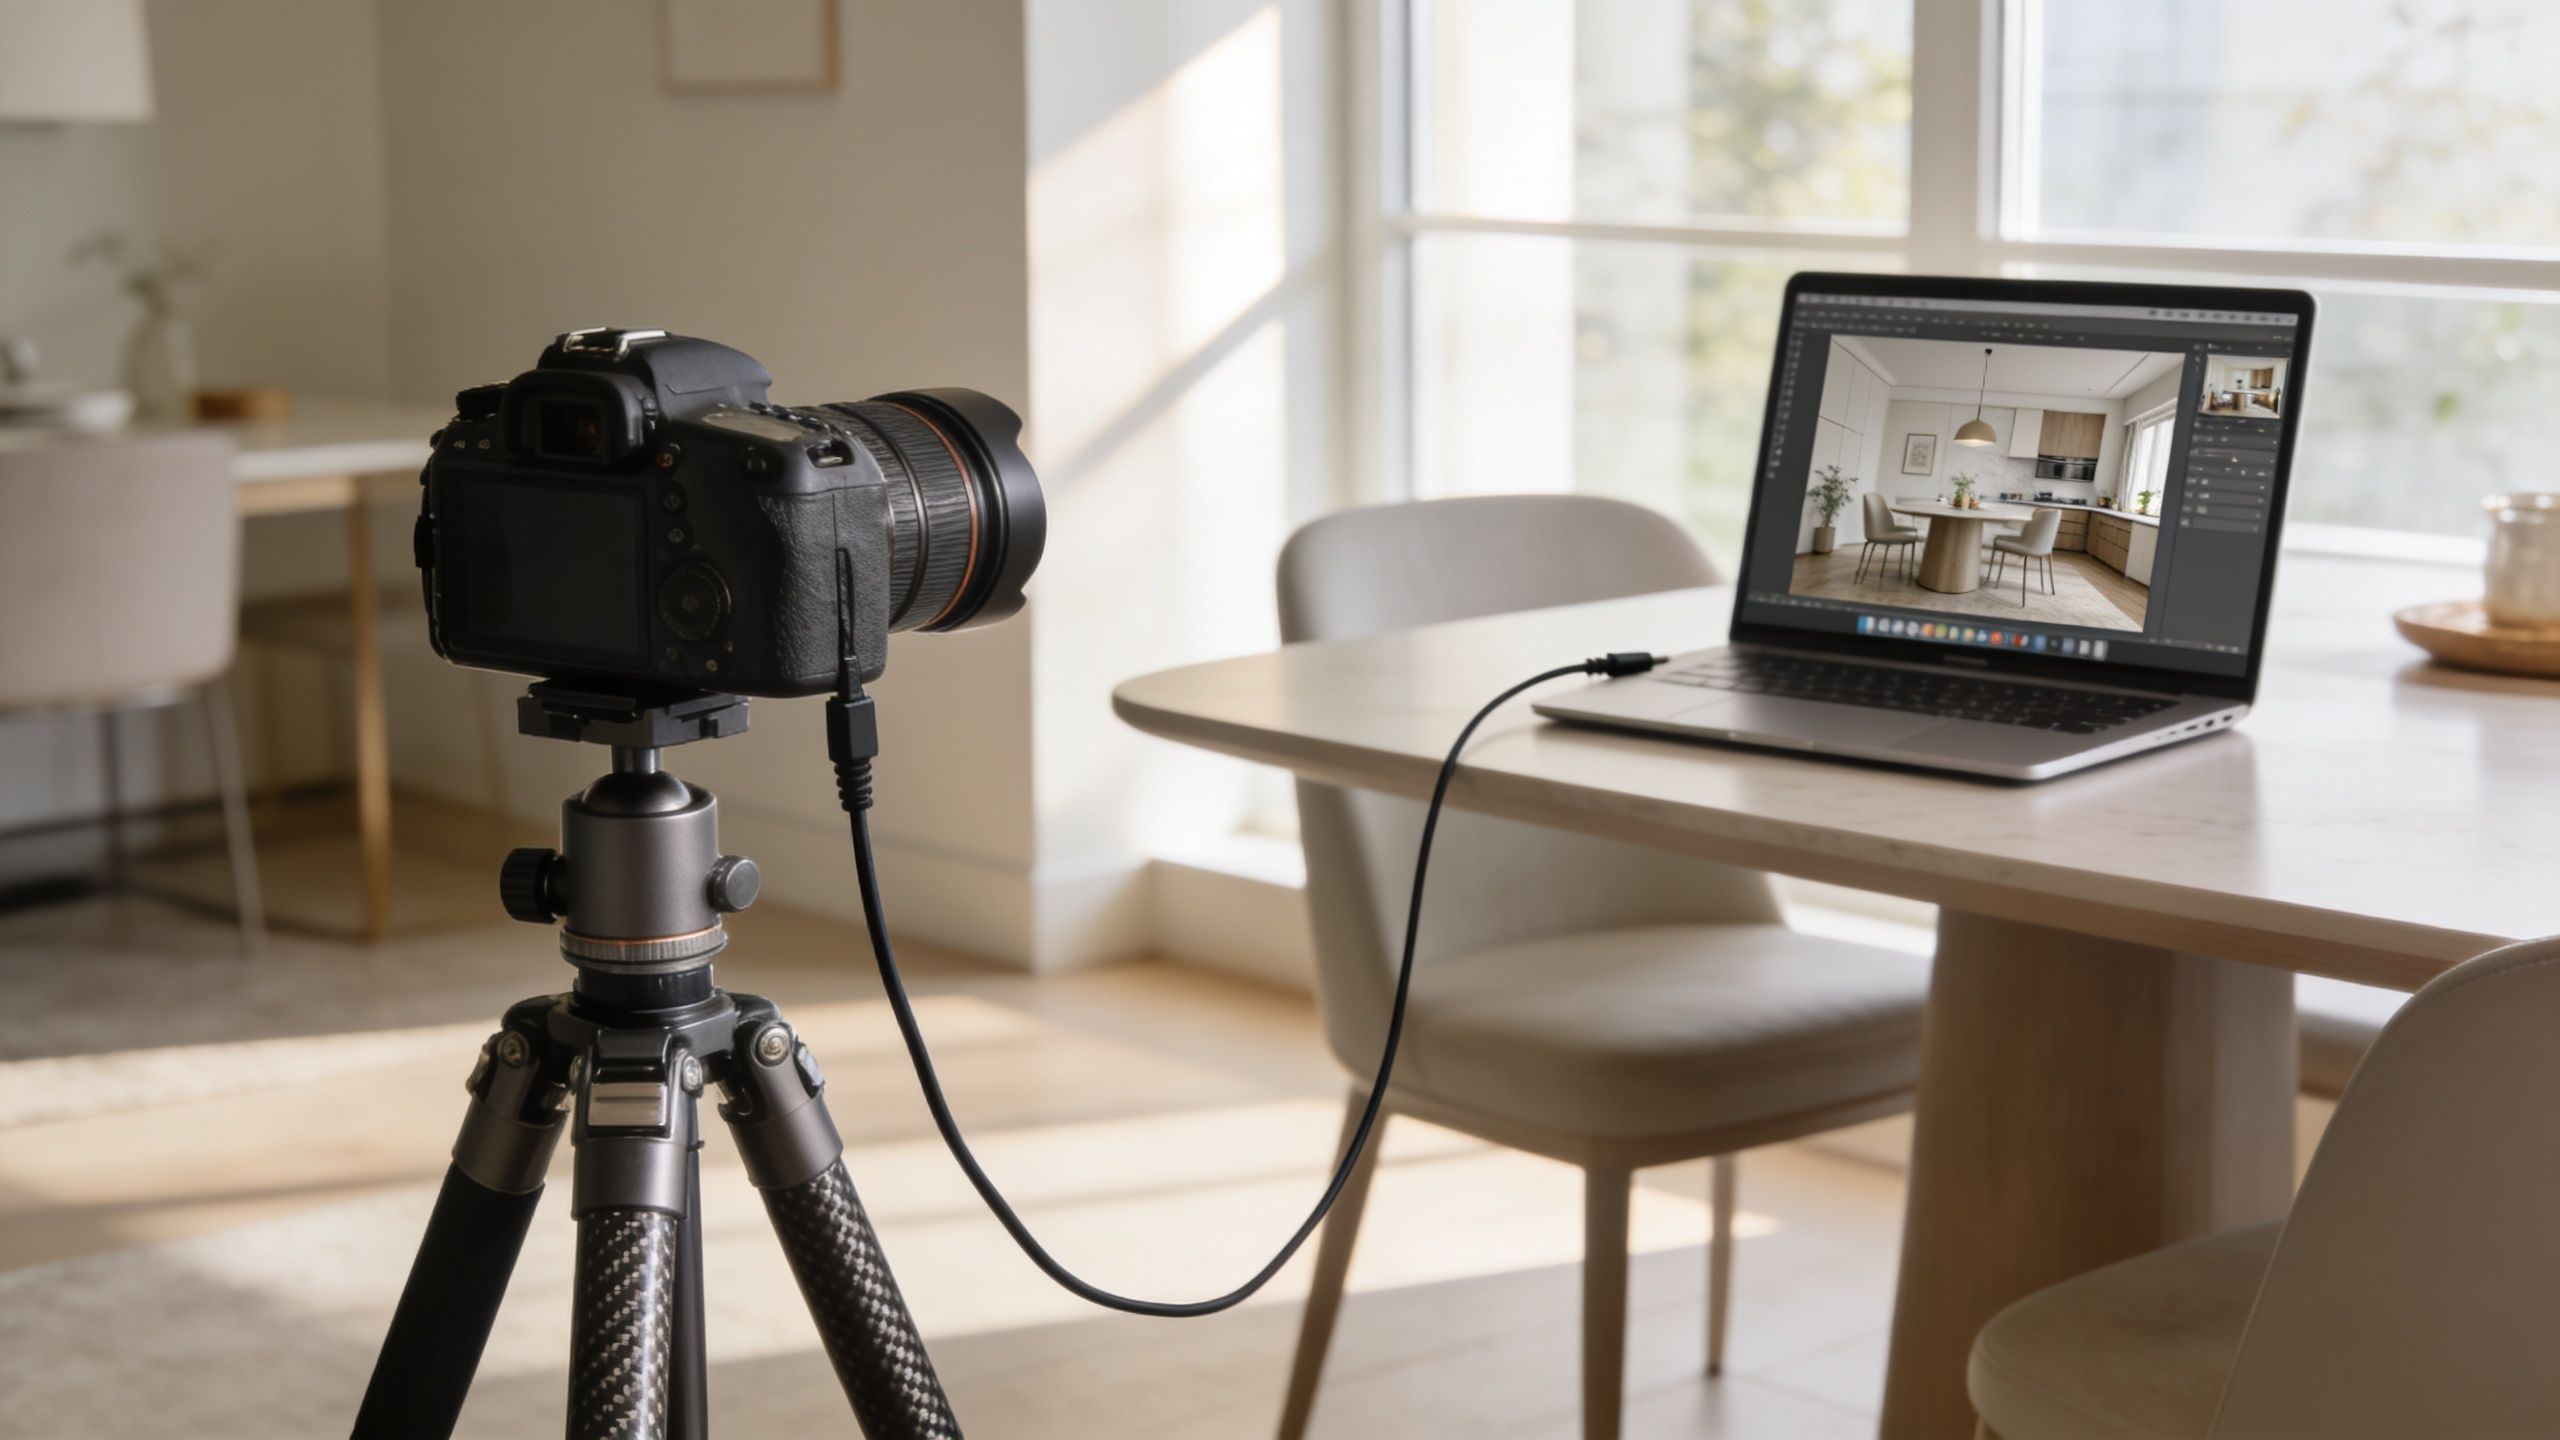
Tethering changes the collaboration
Tethered shooting connects the camera to a laptop so the image can be reviewed at useful size. That matters when the client, stylist, designer, and photographer are all judging the same frame.
On the back of a camera, many issues hide. On a larger screen, they don't. You can evaluate how the drapery hangs, whether a reflection is distracting, or if a dark corner needs support before moving on.
Interior photography becomes collaborative rather than reactive at this stage. Firms that want more control over the visual narrative often benefit from seeing the frame in real time.
A quick look at the process helps make that tangible:
Light is where design intent shows up
Natural light can carry a room beautifully, but it rarely solves every problem on its own. One corner may need lift. A pendant may need balancing. A textured wall may need direction to show depth rather than read flat.
That doesn't always mean heavy artificial lighting. Often it means subtle intervention. One controlled light, used carefully, can support the architecture without making the room feel staged.
For firms building their own workflow, lighting for interior photography is worth studying before buying more gear. In many shoots, lighting technique improves the image more than a body upgrade does.
A polished interior image usually comes from small corrections made early, not heroic fixes made later.
Camera Recommendations for Every Budget
Budget matters, but fit matters more. A design firm shooting weekly site progress has different needs from a studio preparing a finished project for awards, press, and large print use. The right camera is the one that supports the full system around it and gets used consistently.
A practical way to sort the options is by three tiers: a competent starter system, a professional workhorse, and a high-resolution flagship setup.
2026 Interior Photography Camera Comparison
| Tier | Example Camera Class | Sensor Size | Typical Resolution | Key Advantage |
|---|---|---|---|---|
| Serious Starter | APS-C or older full-frame interchangeable-lens camera | APS-C or full-frame | Suitable for general project documentation | Lower barrier to entry while learning composition, tripod workflow, and lens discipline |
| Professional Workhorse | High-resolution full-frame mirrorless | Full-frame | Around 45MP class | Strong balance of detail, cropping flexibility, and modern lens support |
| Aspirational Kit | Top-end high-resolution full-frame mirrorless | Full-frame | Up to 61 megapixels in current recommendations | Maximum file flexibility for publication-ready work and detailed material rendering |
Serious starter
For occasional project coverage, a capable APS-C body or an older full-frame camera is often enough. At this level, the body matters less than whether it gives you manual control, reliable tripod shooting, and access to a good wide lens.
That trade-off is worth stating plainly. A lower-cost body paired with a good lens usually produces better interior images than an expensive body paired with mediocre glass.
Discipline matters more than prestige here. Use a moderate wide-angle lens. Keep the camera height deliberate. Resist the urge to go ultra-wide just because the room feels tight. The wider the lens, the easier it is to distort the proportions that the designer worked hard to resolve.
This tier also reveals whether buying gear solves the problem. If nobody on the team has time to style, compose, bracket exposures, and edit with consistency, even a good camera can end up as an underused purchase.
Professional workhorse
This is the tier I recommend most often for firms building a serious in-house photography setup. A high-resolution full-frame mirrorless body gives enough detail for portfolio use, enough cropping room for multiple formats, and a current lens ecosystem that will still make sense a few years from now.
The usual candidates are familiar: Sony A7R V, Canon EOS R5, and Nikon Z7 II. All three are capable of producing polished interior work in experienced hands. The differences are real, but they are usually smaller than the internet makes them sound.
A few trade-offs do matter:
- Sony A7R V suits detail-heavy interiors where maximum resolution and cropping latitude are useful.
- Canon EOS R5 is a balanced choice for firms already using Canon lenses or planning to build around the RF system.
- Nikon Z7 II still makes sense for photographers who prefer Nikon handling and want a high-resolution file without changing systems.
For interior work, system fit usually beats spec chasing. Lens availability, color preferences, tethering behavior, menu logic, battery performance on long shoots, and how the files sit in your editing workflow will shape the day more than a small difference on a specification sheet.
This is also the point where the camera body stops being the main purchase. Add a tilt-shift or well-corrected wide zoom, a solid tripod, color-managed editing, storage, and backup. The investment grows quickly, but so does the consistency.
Aspirational kit
At the top end, the conversation shifts from getting a good image to getting maximum file flexibility. High-resolution full-frame bodies in mature systems are useful when the images need to hold up in close editorial review, large-format reproduction, or demanding retouching.
That does not mean every firm should buy one.
For some teams, a flagship body is justified because photography is frequent, the visual standard is high, and someone in-house can run the full process well. For others, the smarter approach is a smaller internal kit for documentation and a specialist for finished portfolio shoots. That split often costs less than building a top-tier system and expecting occasional users to produce publication-ready work.
One practical option, if the goal is commissioned architectural imagery rather than building an in-house department, is working with a studio such as Jimmy Clemmons Photographer, which offers architectural and interior photography along with lighting design, on-set direction, and editing as part of the production workflow.
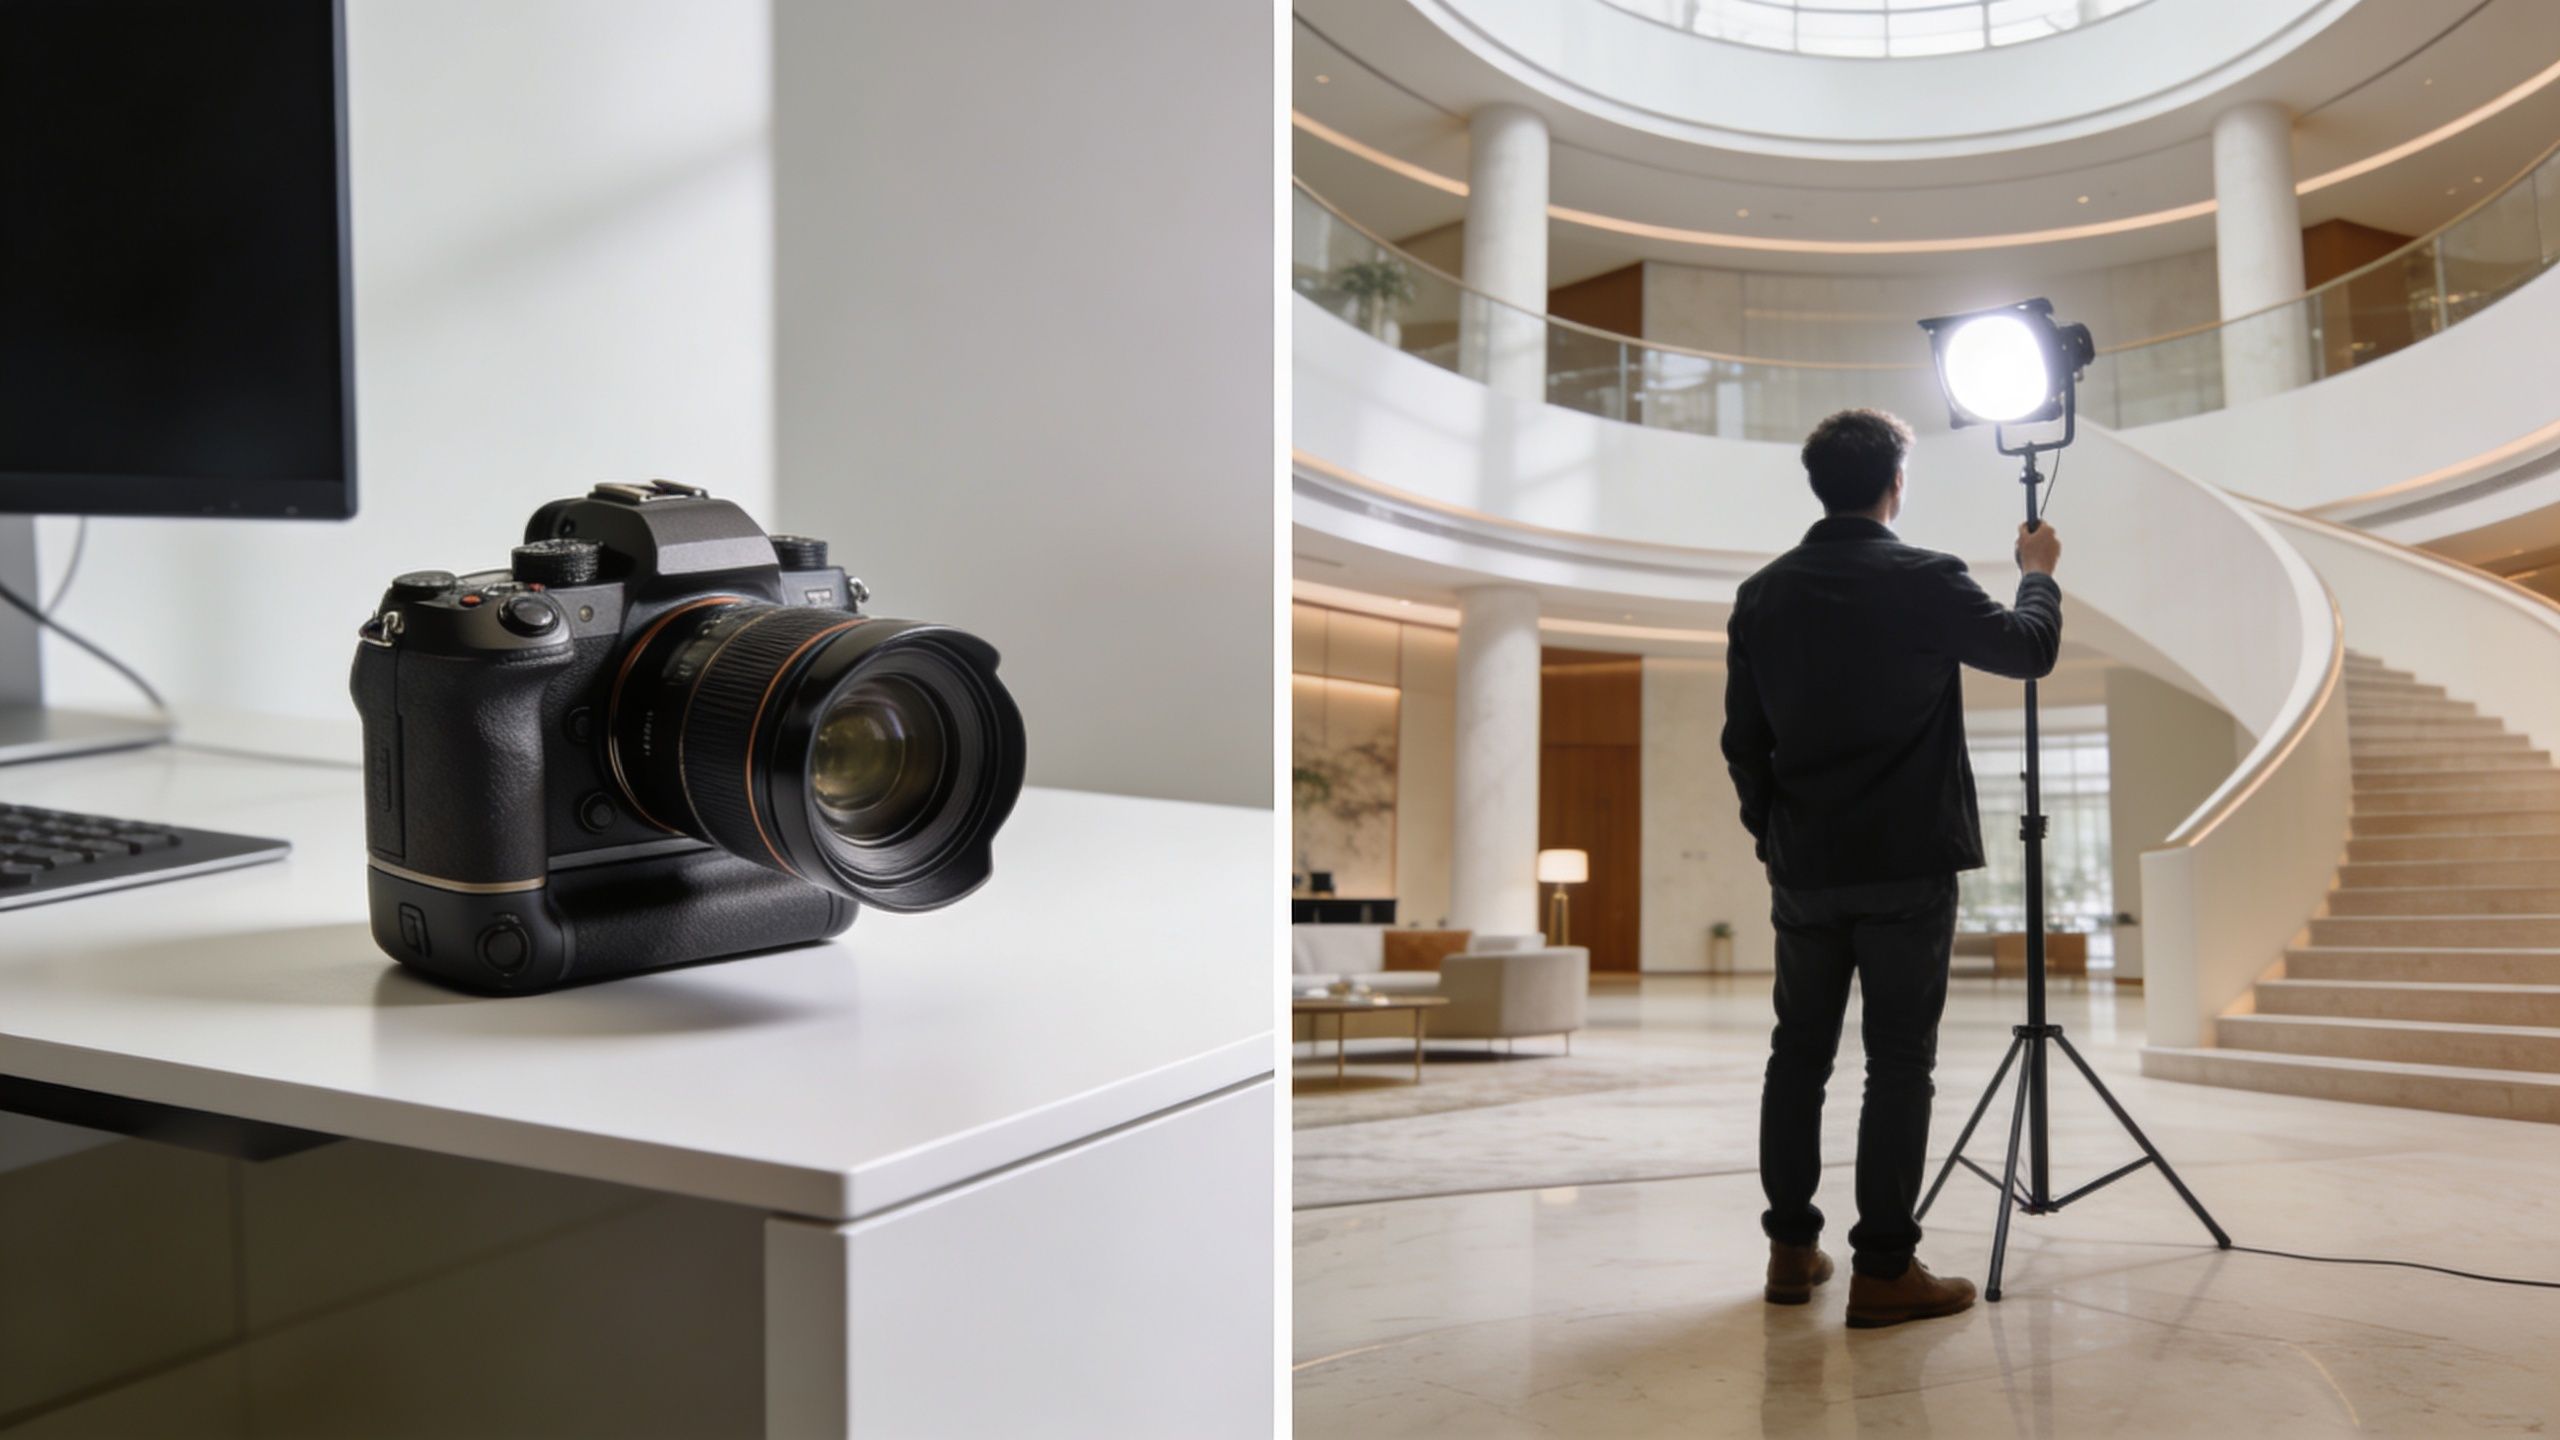
The Ultimate Decision Buying Gear vs Hiring a Professional
This is usually the fundamental question behind the gear search. Not “What camera should we get?” but “Should we even be buying this?”
A camera system is never just a camera system. It becomes lenses, tripod, lighting, storage, tethering tools, editing software, color management, training time, and the staff hours required to use it well. The purchase is easy. The consistency is harder.
When buying makes sense
Buying is sensible when photography is frequent, the quality bar is moderate to high, and someone on the team has both the interest and the time to build the skill set.
That often applies when a firm needs:
- Regular project documentation for internal archives, progress updates, and client communications
- Ongoing marketing content for social channels, case studies, and proposals
- Control over scheduling because waiting for an outside photographer doesn't fit the pace of the work
An in-house kit can absolutely raise the floor. It helps teams produce cleaner, more intentional imagery than phones or casual snapshots.
When hiring is the smarter move
Hiring a specialist makes more sense when the images carry brand weight. Portfolio launches, editorial pitches, hospitality marketing, award submissions, and investor-facing campaigns need more than technical adequacy.
They need judgment.
A professional photographer brings a way of seeing that most firms don't have time to develop internally. They notice when a composition needs a half-step left, when mixed color temperatures are hurting the scene, when a reflective finish needs flagging, and when the room is better photographed later in the day.
Hiring isn't just outsourcing the shutter press. It's hiring problem-solving, styling awareness, lighting control, and post-production judgment.
A simple decision filter
If you're trying to decide, ask three questions:
How often will we use the system well?
If the answer is only for occasional finished projects, hiring may be more efficient.What level of image quality does our brand require? If the work is competing for editorial attention or premium clients, execution matters more than ownership.
Who will own the workflow after purchase?
If no one will reliably handle capture, file management, editing, and delivery, the investment may not pay off.
For many firms, the strongest model is hybrid. Use an internal setup for process and documentation. Bring in a specialist for the final storytelling.
Conclusion Capturing the Soul of a Space
The best camera for interior design photography isn't the newest body or the most expensive one. It's the camera system that lets you render space truthfully, control perspective, preserve material detail, and work with enough discipline to support the design rather than flatten it.
That system usually starts with a high-quality camera body, but it doesn't end there. Lens choice shapes the room. A tripod stabilizes the process. Tethering improves collaboration. Lighting reveals intent. Editing finishes what careful capture began.
That's why the hire-versus-buy decision matters as much as the spec sheet. One path builds internal capability. The other brings in a specialist's eye when the images need to perform at a higher level.
Either approach can work if the goal stays clear. You're not just photographing a room. You're translating a three-dimensional experience into a two-dimensional image that still feels like the space your client walked into.
When the process is thoughtful, the photograph does more than document the project. It communicates its purpose, atmosphere, and point of view.
If your firm needs interior and architectural images that feel deliberate, polished, and aligned with the design story, Jimmy Clemmons Photographer offers architectural imagery, lighting design, on-set direction, and professional editing for projects that need more than simple documentation.