
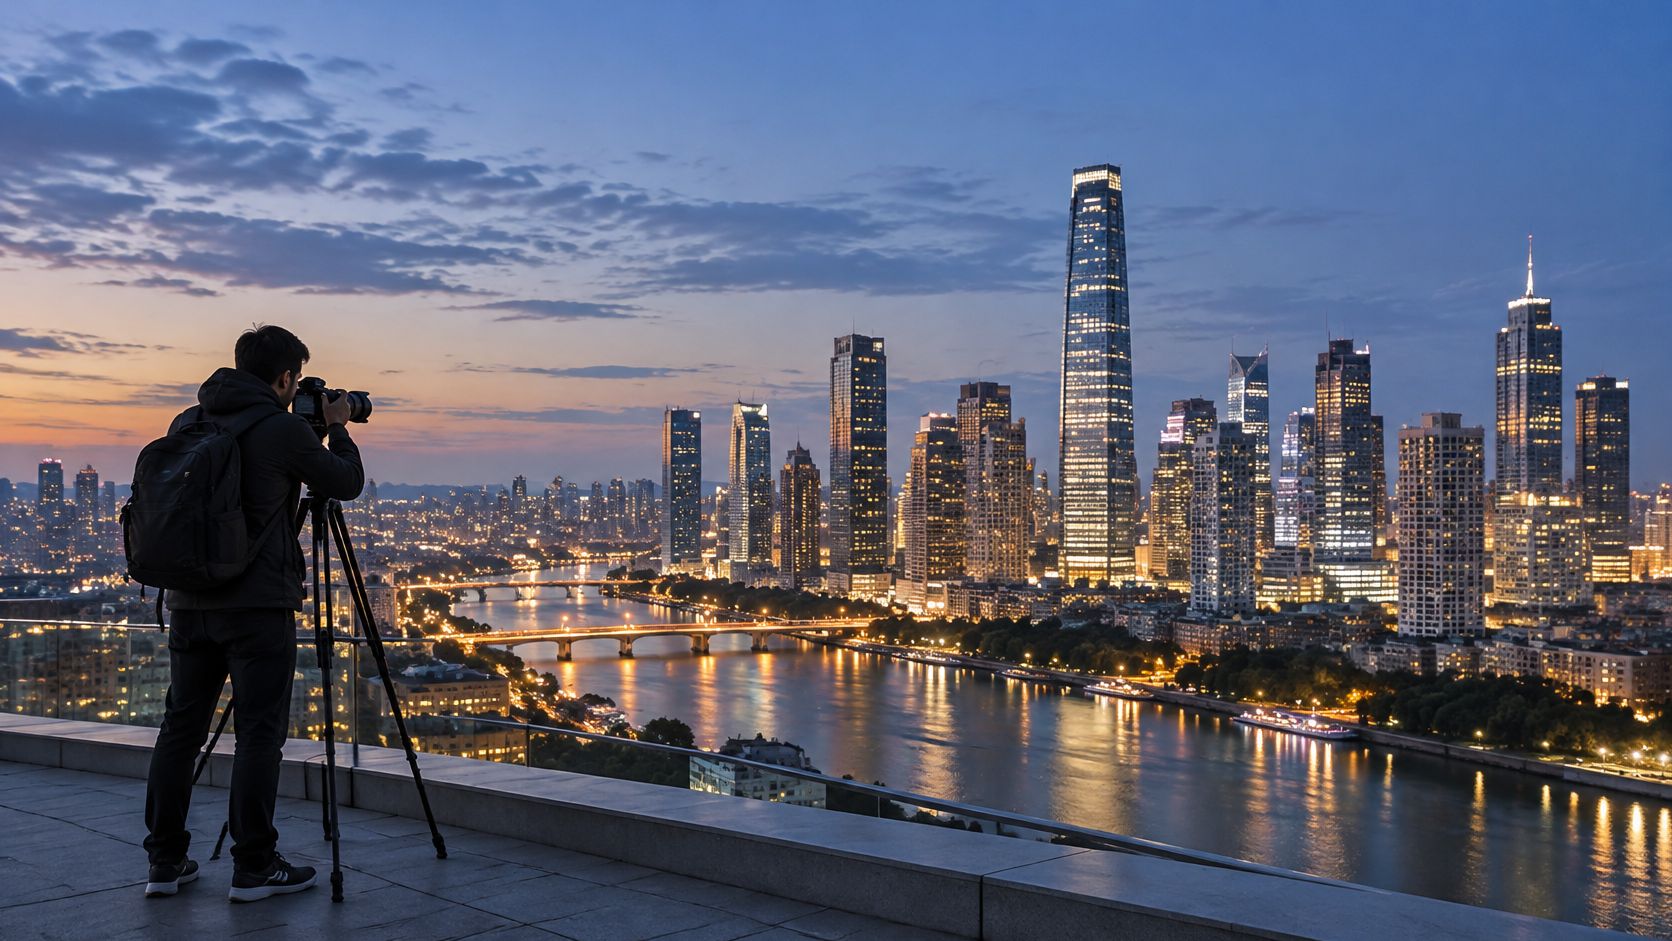
You've found a promising viewpoint, the skyline is beginning to glow, and your camera is ready. But a striking frame isn't automatically a useful record: a tilted tower, clipped windows or an edited sky can change what the image says about a place. Good skyline photography balances visual impact with accuracy, so architects, developers and municipalities can read the finished image as evidence as well as an attractive view.
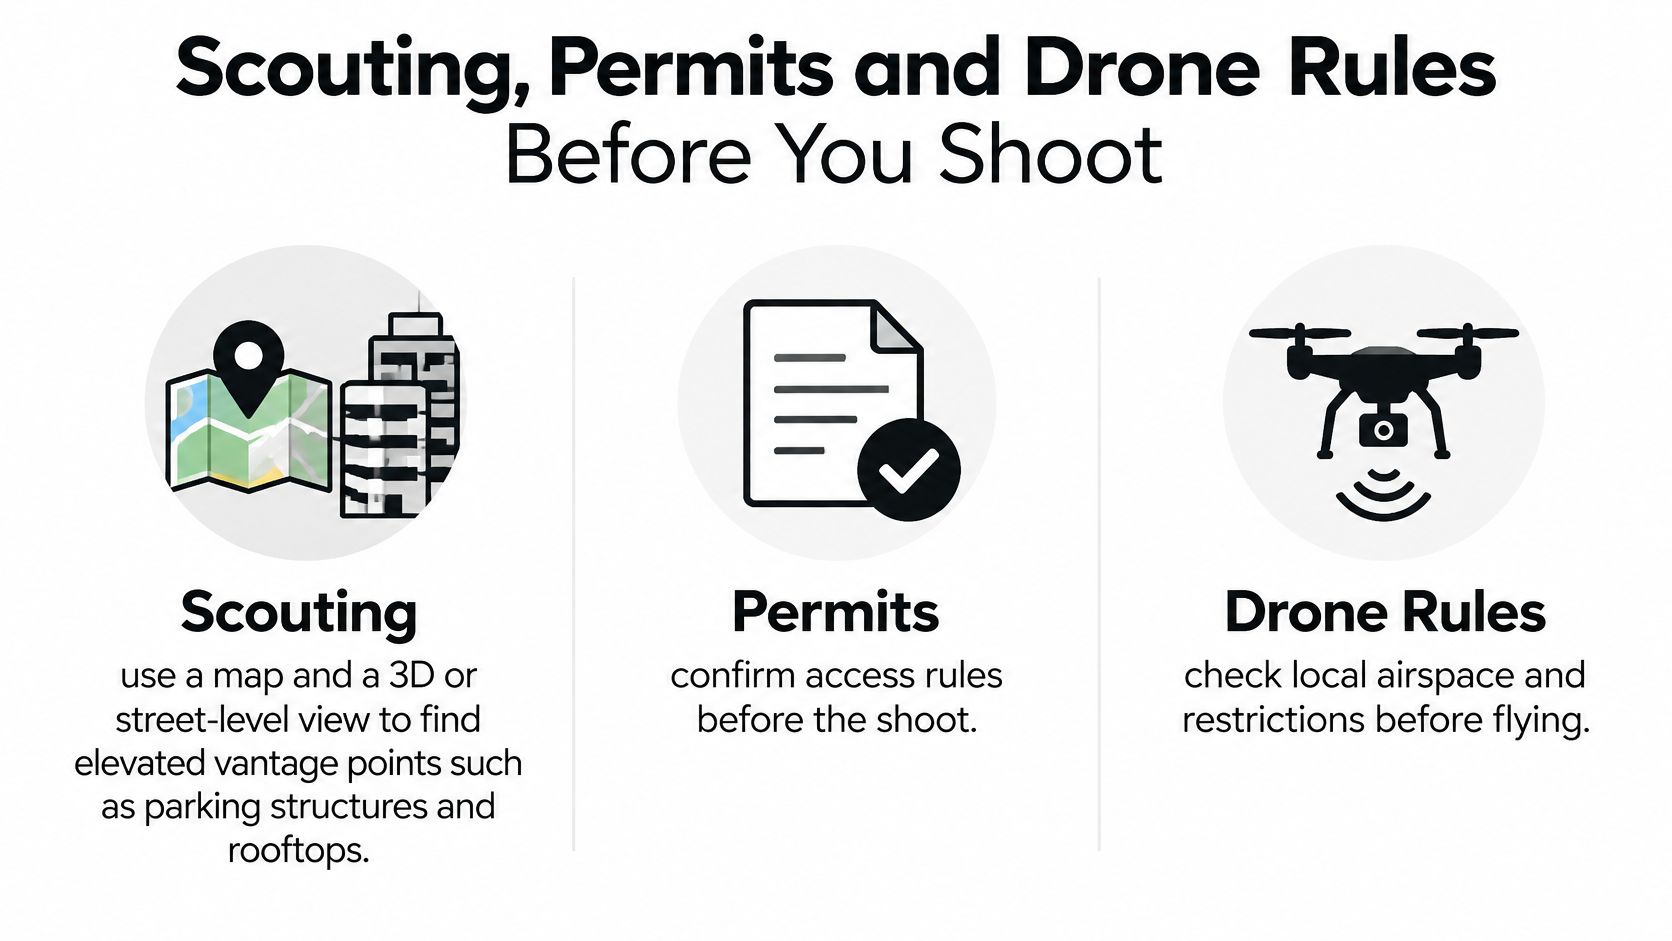
Scouting, Permits and Drone Rules Before You Shoot
Most skyline shoots fall apart before the camera comes out. A blocked view, unclear access or an unusable flight plan can leave you with no workable position when the light is right, so scout the location and confirm the rules before planning your shot.
Scout the view, not just the address
Start with a map, then inspect likely spots using a 3D or street-level view. Look for high public vantage points such as parking structures, rooftops with legal access, pedestrian bridges, and hillsides across a river. The aim is to see how buildings overlap from the actual camera position, not just to find somewhere that looks close on a map.
Check the sun and moon positions for your exact shoot date, and note when the city's lights usually come on. Blue hour lasts only about 20 to 30 minutes, so the view needs to work before the sky loses its color. Choose a backup viewpoint that faces the skyline from a different angle, in case construction, crowds, weather or access closes off your first choice.
Confirm whether the spot is public or get written permission from the property owner. Then check whether local rules require permits for a tripod, commercial photography or work near a closed road. A public sidewalk and a privately managed rooftop can have very different rules, even if both offer the same view.
For a local example of aerial imagery, see Atlanta aerial photography. Treat any aerial viewpoint as a separate planning problem, with access and flight restrictions to confirm before booking or traveling.
Check the flight plan and conditions
In the United States, commercial drone work generally falls under the FAA's Small UAS framework. The commercial drone photography guidance says operators must hold an FAA Remote Pilot Certificate; the standard altitude limit is generally 400 feet above ground level or within 400 feet of a structure's uppermost limit, and flights must follow visual meteorological conditions. Those constraints affect both the position you can use and whether a proposed shot is feasible.
Keep a compact pre-shoot checklist:
- Viewpoint: Confirm access and write down the permission details.
- Blue hour: Log the planned time for the location and date.
- Backup: Choose a second viewpoint with workable access.
- Permissions: Check permits, local restrictions and drone status.
- Conditions: Recheck weather and visibility before leaving.
Settings and Timing for Each Skyline Light
| Light condition | Aperture | ISO | Shutter speed | White balance |
|---|---|---|---|---|
| Full daylight | f/8 to f/11 | 100 | 1/250 second or faster | Manual daylight |
| Golden hour | f/8 to f/11 | 100 | 1/60 to 1/125 second | Manual daylight |
| Blue hour | f/8 to f/11 | 100 | 1 to 8 seconds | Manual, checked on screen |
| Bright night city | f/8 | 100 to 200 | 1 second or less | Manual, checked on screen |
| Dark skyline, long exposure | f/8 to f/11 | 100 | Up to about 14 seconds | Manual, checked on screen |
These are starting points, not exposure guarantees. Use a tripod when shutter speeds become too slow to handhold, and adjust the shutter after checking the image and histogram. The National Park Service guide to light measurement describes the change between bright urban scenes, where measured exposures may be one second or less, and dark areas that can require exposures of up to about 14 seconds.
Hold the camera steady and the color consistent
For architectural skyline work, a moderate aperture usually serves you better than opening the lens as wide as possible. f/8 to f/11 helps keep tower edges crisp and gives you useful depth of field when the frame includes foreground structures as well as distant buildings. A wide aperture gathers more light, but it can make edge sharpness and depth of field harder to manage.
Set white balance manually before shooting, then leave it fixed across the sequence. Automatic white balance may shift as the sky darkens and building lights grow stronger, making neighboring frames look like they were taken under different conditions.
The skyline changes quickly from daylight to full night, so expect to adjust your shutter as ambient light falls. When a scene contains bright signage and deep shadows, bracket exposures rather than trying to force every tone into one frame. Keep aperture, focus and white balance the same across the sequence, and vary shutter speed only for the intended exposure blend.
Before you move on, check three things on the screen and histogram: lit windows and signs retain detail, the sky still holds color, and every frame in the sequence uses the intended settings.
Composing Skylines with Lines, Height and Foreground
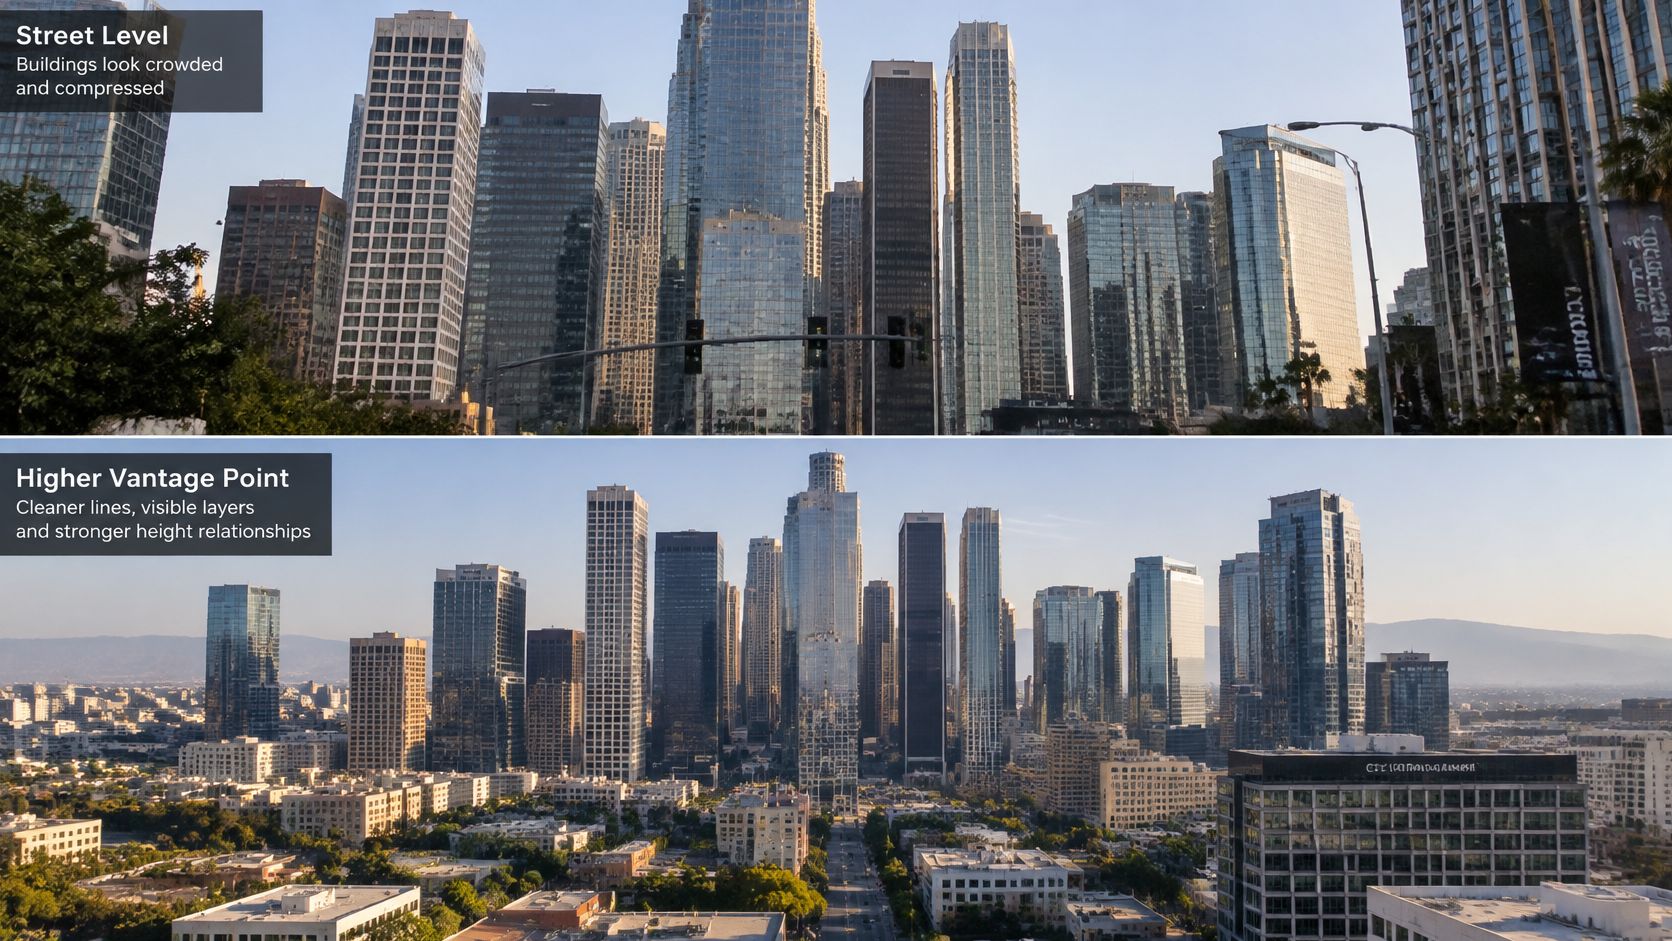
At street level, towers can crowd together into a wall of buildings, with vertical edges leaning inward if the camera points up. A higher viewpoint changes the reading of the scene: buildings separate into layers, and their arrangement becomes easier to understand as a skyline rather than a row of facades.
Choose the viewpoint to shape the story
If you can safely and legally gain height, try a position roughly 30 to 60 feet above the river or street as a practical composition test. From there, the gaps between buildings may become visible, and the skyline's outline can read more clearly. Height isn't automatically better, though: a low view can convey the experience of standing among buildings, while a higher one can make the city's structure easier to assess.
Build depth with a foreground anchor such as a bridge railing, dock or park path. Placed low in the frame, it gives the viewer a point of entry and helps distinguish near, middle and far distances. A river, avenue or rail line can also direct attention toward a prominent tower; these leading lines in photography work best when the line leads naturally into the skyline rather than stopping at an unrelated edge.
For a more graphic composition, frame the bright skyline between two dark structures. The darker edges create contrast, but check that they don't conceal the buildings or make the district look narrower than it is.
Match the lens to the view
A 24 to 35 mm equivalent suits a broad city view when you want to include context, foreground and sky. A 70 to 200 mm lens compresses distance, making separate rows of buildings appear more tightly stacked. That compression can produce a clean, layered picture, but it also changes the apparent spacing between structures.
A shift lens can keep building lines parallel without tilting the camera upward. With the camera level, shifting the lens upward changes the framing while keeping the sensor parallel to the facade; the resulting geometry is more natural than the converging verticals caused by an upward camera tilt.
Composition check: Before settling on a frame, ask what the edges leave out. Cropping away surrounding blocks can make a district appear taller, denser or emptier than it is.
Take one test frame from the chosen spot and inspect the tower edges. If they converge or lean, level the camera and reframe before making the full sequence.
How to Shoot Panoramas, Brackets and Long Exposures
| Projection | Best for | Watch for |
|---|---|---|
| Perspective | Flat skyline with one dominant central tower | Edges bending at the sides of wide frames |
| Cylindrical | View that wraps around the camera | Vertical lines curving toward the top and bottom |
| Spherical | 360-degree output | Heavy distortion where the frame meets the horizon |
Choose the projection before shooting because the panorama's shape affects how the software assembles the frames. The photo-stitching guidance recommends Perspective for a relatively flat skyline with a dominant central subject, Cylindrical when the view wraps around the camera, and Spherical for 360-degree output.
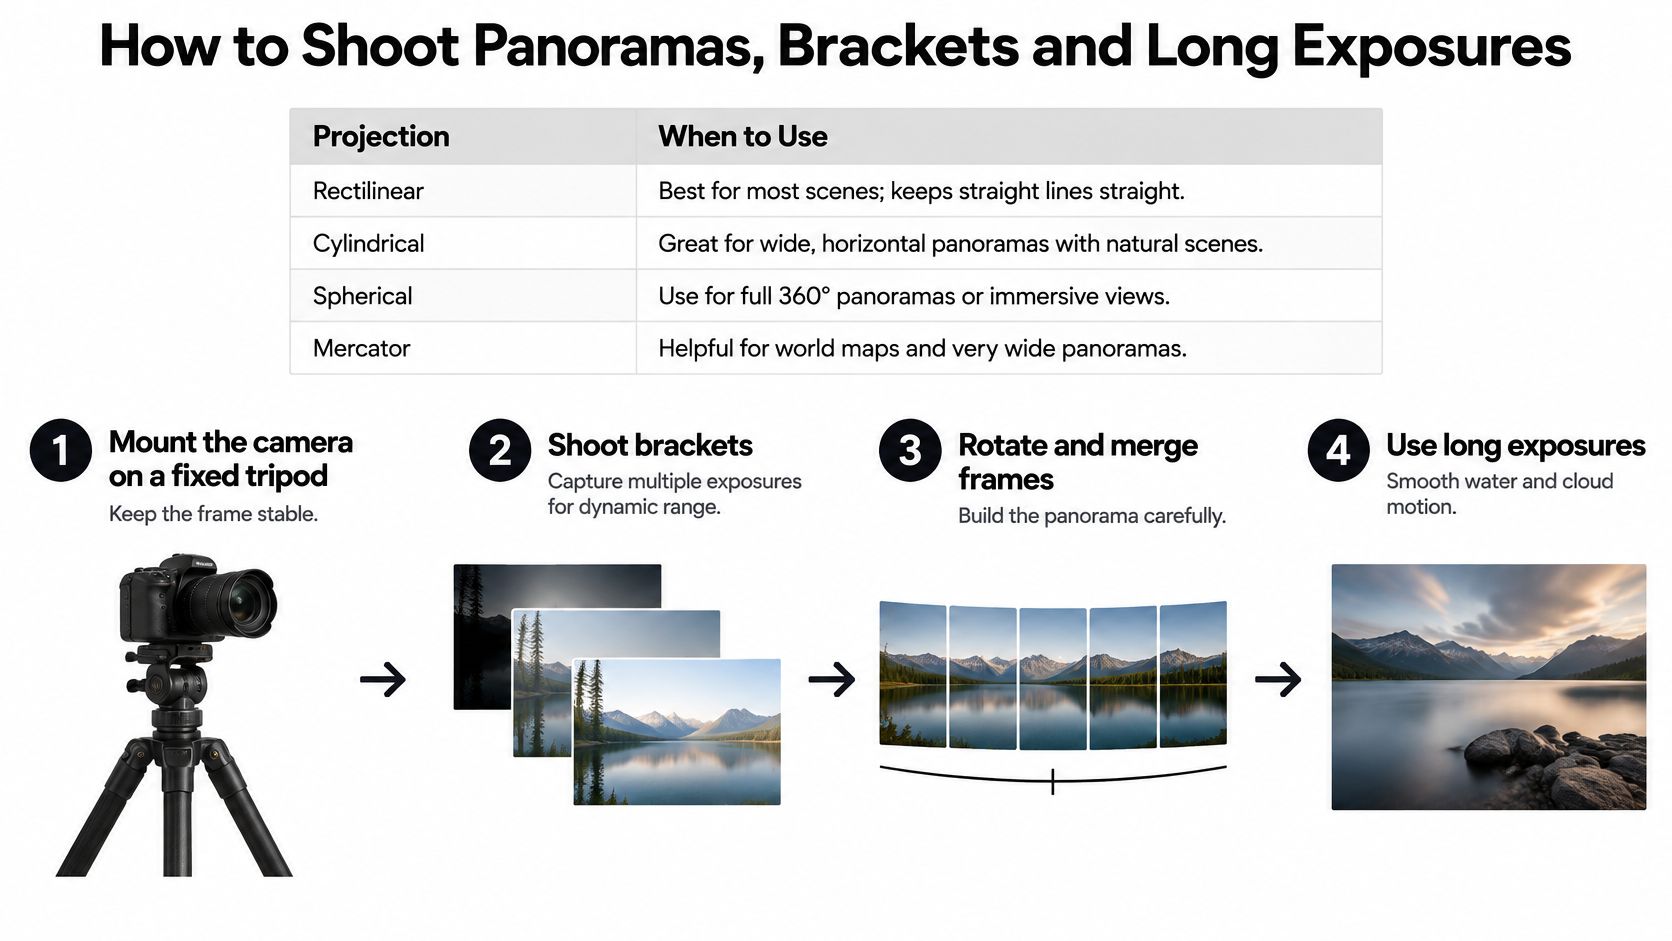
Mount and level the camera. Fix it to a tripod and check level in both directions. A camera tilted more than a few degrees can confuse automatic panorama assembly, especially when the frame contains tall towers.
Lock the settings. Set manual focus, exposure and white balance before capturing the first frame. Automatic exposure changes can create bands in sky gradients and inconsistent brightness across building lights.
Rotate and overlap. Turn around the lens's optical center rather than swinging the tripod around its base, and overlap adjacent frames by about 25 to 40 percent. The shared detail helps stitching software align the images without relying on a small, ambiguous patch of sky.
Bracket high-contrast scenes. When a single exposure can't preserve both bright windows and darker building surfaces, capture three exposures separated by one stop: one biased toward highlights, one toward shadows and one intermediate frame. Keep the camera fixed so the images can be blended cleanly.
Control long exposures. Use a remote release or timer, switch off image stabilization when the camera is firmly mounted, and let the first frame settle before you shoot. That reduces the chance of vibration softening the frame.
Inspect every seam. Check tower edges, window grids, the horizon and bright lights before delivery. These crisp features reveal alignment errors more readily than broad areas of sky.
Don't change exposure between panorama frames unless you're deliberately making separate bracketed sets. A tilted horizon can disrupt assembly, while exposure differences can create visible bands in skies, building illumination and reflections. A finished sequence should show a continuous horizon, no visible seams and consistent window brightness from frame to frame.
Editing and Delivering Three Versions of Each Skyline
The assumption that a brighter image is always better can lead to an attractive file that misrepresents the scene. An aggressive edit can change apparent window illumination, sky brightness, signage or building geometry, details that matter when a client needs the picture for architectural reference, property marketing or a record of a place.
Begin with a documentary master that receives minimal intervention, then make a separate presentation image. Smartphone and editing tools can merge frames, brighten shadows, suppress highlights, alter color or replace skies. Those operations can change what a skyline communicates, so disclose material edits in the file metadata and caption when they affect the content.
Edit in an order you can repeat
Correct lens distortion and perspective first. Then merge panorama frames or exposure brackets, balance highlights and shadows without wiping out window detail, and set color to a consistent white balance. Retouch dust, signage errors or passing objects only when the assignment allows it, and keep a record of changes.
A consistent photo editing workflow makes it easier to preserve a clean master while producing a more polished presentation file. Keep the original raw files as well, so the final image can be checked against the capture when accuracy matters.
| Version | Best use | Color space | File and size |
|---|---|---|---|
| Documentary master | Planning files, architects, municipal records | Wide-gamut RGB | 16-bit TIFF, full resolution, minimal edits |
| Presentation image | Proposals, brochures, print | Wide-gamut RGB, converted for print | TIFF or high-quality JPEG, retouched and edit-noted |
| Web image | Website, social media, portfolio | sRGB | High-quality JPEG, sized for the destination |
| Composite or AI-assisted image | Marketing where content was changed | sRGB | PNG or JPEG, labeled as composite in caption and metadata |
A composite or AI-assisted image shouldn't be presented as a straight capture. Label it in both the caption and metadata, and identify the version clearly in its filename. If you're billing for location work, a guide to itemizing travel on photography invoices can help keep travel charges distinct from the image deliverables.
Before delivery, confirm that each filename identifies its version, add a short note describing edits, and retain the original raw file. A labeled set gives clients a polished option without obscuring which file is the documentary record.
Plan Your Commissioned Skyline Shoot Next
The decision to commission a skyline shoot starts with what the images need to prove, not just how they should look. Put the purpose, permitted use and delivery expectations in writing before confirming a booking; a planning record, a marketing image and an editorial photograph may require different treatments.
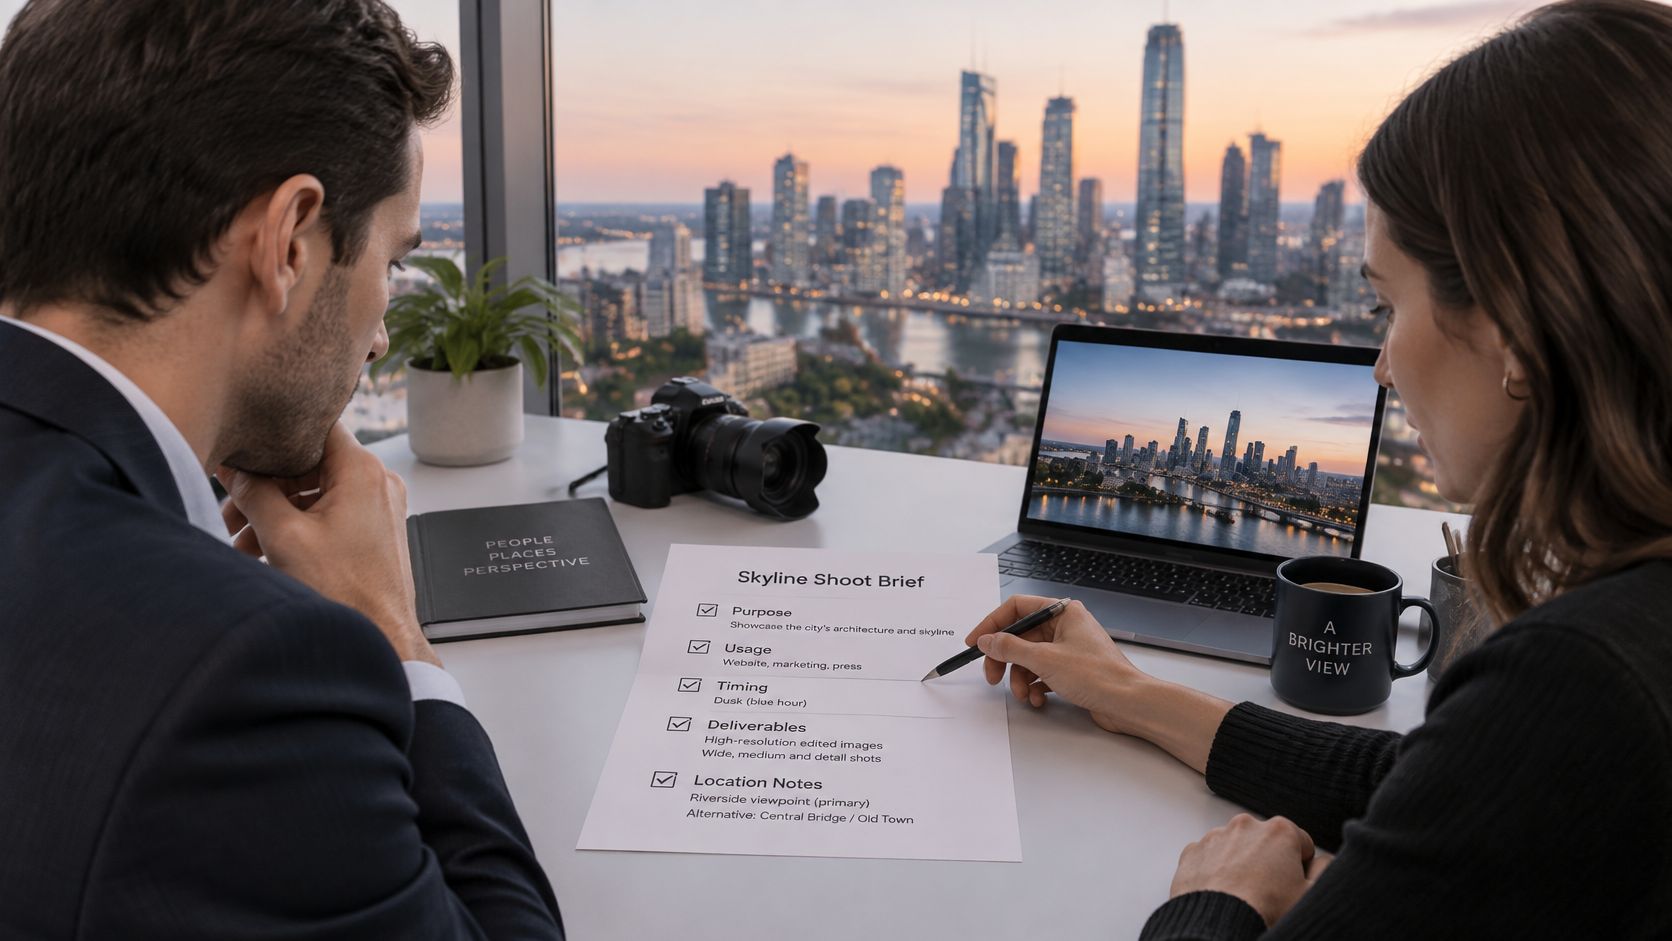
Start with a brief that answers the practical questions:
- Purpose: Is the shoot for architectural documentation, marketing or editorial use?
- Usage rights: How long can the client use each file, and in which locations and media?
- Deliverables: Which versions are included, what formats are needed, and is a labeled composite required?
- Schedule: Which blue-hour window and permit dates matter, what is the backup date for weather, and when is the edited set due?
- Access and responsibility: Who secures site access, confirms insurance for high-level or drone work, and handles permit paperwork?
Those answers shape the location, shooting method and edit. A presentation image designed for a brochure may need more refinement than a documentary file intended for planning, but both should come from a workflow that keeps the content and changes understandable.
A cohesive shoot also needs clear ownership. One photographer or team should coordinate scouting, lighting, on-set direction and editing so the frames work together as a consistent set rather than a collection of mismatched views. Architectural photography can provide sweeping exteriors and refined interiors that highlight form, light and detail, while professional editing helps the delivered files stay polished and purposeful.
The current focus at Jimmy Clemmons Photographer is Architectural Photography and Corporate Brand Content. When you're comparing proposals, ask how the photographer will manage the location, preserve useful architectural detail and label edited versions, then make sure the answers appear in the written scope.
Use this video as another prompt for discussing a commissioned shoot:
Today, send the brief, site address and target date, then request a scouting plan and delivery schedule before confirming a booking.
Jimmy Clemmons Photographer offers architectural imagery and corporate brand content, supported by location scouting, on-set direction and professional editing. If you need skyline photographs that balance visual impact with a clear, repeatable record of the built environment, visit Jimmy Clemmons Photographer to discuss your project.