

Great architectural photography is about more than just taking a picture of a building. It's about telling the story of the space—capturing the architect's vision, the flow of a room, and the soul of the structure itself. My job is to translate a three-dimensional experience into a two-dimensional image that makes you feel something.
The Foundation of Exceptional Architectural Photography
I've seen it time and time again: incredible design that falls flat because of poor photography. Stunning architectural imagery isn't just a nice-to-have; it's a critical business asset that speaks volumes about your work before a potential client ever reads a word. It’s the silent handshake that communicates quality, precision, and intent.
A truly great architectural photo does more than just show what a space looks like. It builds a narrative. Through careful composition and lighting, I can make a property feel intentional and valuable. Every vertical line is perfectly straight, every reflection is considered, and every pool of light feels deliberate. That level of visual discipline is a direct reflection of the meticulous work you, the architect or designer, poured into the project.
Why Professional Imagery Matters
In the world of architecture and design, your first impression is almost always digital. An iPhone photo with wonky, distorted lines and harsh shadows can make a multi-million dollar project look cheap. On the flip side, professional, thoughtfully created images elevate the work, building instant credibility and showcasing the design in its best possible light.
The numbers don't lie. Listings with high-quality professional photos get 61% more online views and have been shown to sell up to 50% faster. The impact gets even bigger when you bring in modern tools; properties shot with drones sell an incredible 68% faster, and including video can generate 403% more inquiries. You can explore more data on the impact of quality visuals to see just how powerful this is.
The core purpose of architectural photography is to provide an accurate, aesthetically pleasing representation of a building. It showcases the structure at its absolute best, highlighting the design's important details, features, and subtleties.
Before any shoot, a thorough pre-production phase is non-negotiable. This is where we align on the vision and map out the entire process to ensure a smooth, efficient day on site. It’s the groundwork that makes the final images possible.
Here’s a quick look at the essential planning stages we work through together.
Essential Pre-Production Checklist
| Planning Stage | Key Objective | Actionable Steps |
|---|---|---|
| Client Brief & Discovery | Understand the story and goals | Review design plans, discuss key features, define the target audience, and establish the "hero" shot list. |
| Scouting the Location | Analyze light and logistics | Visit the site (physically or virtually) to map out compositions, track the sun's path, and identify potential challenges. |
| Shot List & Schedule | Create a detailed game plan | Finalize a comprehensive shot list with specific angles, and create a timed schedule based on lighting conditions. |
This checklist isn't just about being organized; it's about making sure that every single shot we capture serves a purpose and contributes to the overall narrative of the project.
Translating Vision into Value
Think about it: you spend months or even years perfecting a design. My role is to distill all of that hard work and vision into a collection of images that tell that story in an instant. This is a far cry from just showing up and pointing a camera. It’s a deep, collaborative process.
- Finding the Story: What’s the single most important thing about this project? Is it the way morning light floods the atrium? The seamless connection between the kitchen and the outdoor patio? We find that hook and build the shoot around it.
- Controlling the Environment: This is where the magic happens. We meticulously style, declutter, and sometimes add our own lighting to ensure the architecture remains the star of the show.
- Technical Perfection: I use specialized gear like tilt-shift lenses to keep every vertical line perfectly straight and bracket multiple exposures to capture the full range of detail, from the brightest highlights to the deepest shadows.
This commitment to quality delivers a real return. It means faster sales, more inquiries from the right clients, and a much better chance of getting your work featured in top design publications. When you invest in professional photography, you're not just buying pictures—you're investing in a powerful tool that builds your brand. If you’re curious about how we got here, you can learn more about the evolution of architectural photography in our related article.
Planning Your Shoot for Flawless Execution
Stunning architectural photos are never a matter of luck; they’re the product of intense, front-loaded planning. This is where the real work begins, long before a camera ever comes out of the bag. It's about getting to the heart of a project, understanding its purpose, and defining what success looks like for the client. Every decision we make in pre-production directly translates to a smoother, more successful shoot day.
It all starts with the client brief. I need to know more than just what to shoot—I need to understand the why. Are these images for an award submission that needs to impress a jury? Or are they for a sales brochure meant to move a new property? Maybe they’re for an editorial feature with a specific narrative in mind. The answer dictates everything from my creative approach to the final editing style.
Scouting a Location with a Professional Eye
With the goals defined, my next step is always to scout the location. Whether I do this in person or through a detailed virtual walkthrough, the objective is the same: to see the space through my lens before the shoot is even scheduled. I’m watching how the sun moves across the property throughout the day, which helps me map out exactly when to capture certain elevations or interiors in their best light.
This is also my chance to spot and solve problems ahead of time.
- Reflections: I’m always looking for potential issues with windows, glass railings, or high-gloss floors. I’ll make a note of where distracting reflections might appear and plan to use a circular polarizer or find a better angle on the day.
- Obstacles & Traffic: If it's a commercial space, when are the quietest times to shoot? Are there fixed elements like fire alarms or bulky furniture that I’ll need to frame out of the shot or plan to retouch in post?
- Logistics: Where’s the best spot to set up my gear? Do I have access to power for my laptop if I’m shooting tethered?
Getting ahead of these details prevents on-set headaches and wasted time. It turns the shoot day into the smooth execution of a plan, not a frantic scramble to solve problems. And for clients, making sure the space is photo-ready is a critical first step. If you’re getting a site prepared, our guide on how to prepare your project site for a professional photoshoot has some great pointers.
Creating the Definitive Shot List
All this prep work—the client brief, the scouting—culminates in a detailed shot list. This isn’t just a simple to-do list; it’s our roadmap for the entire shoot. It’s what keeps us on track and ensures every must-have hero shot and detail vignette is captured with intention.
I look at a shot list as a contract of expectations. It perfectly aligns the client’s vision with my execution plan, guaranteeing every key architectural feature and design moment makes it into the final gallery.
This strategic thinking is how professional imagery moves the needle for a business. It’s about creating visuals that drive real results.
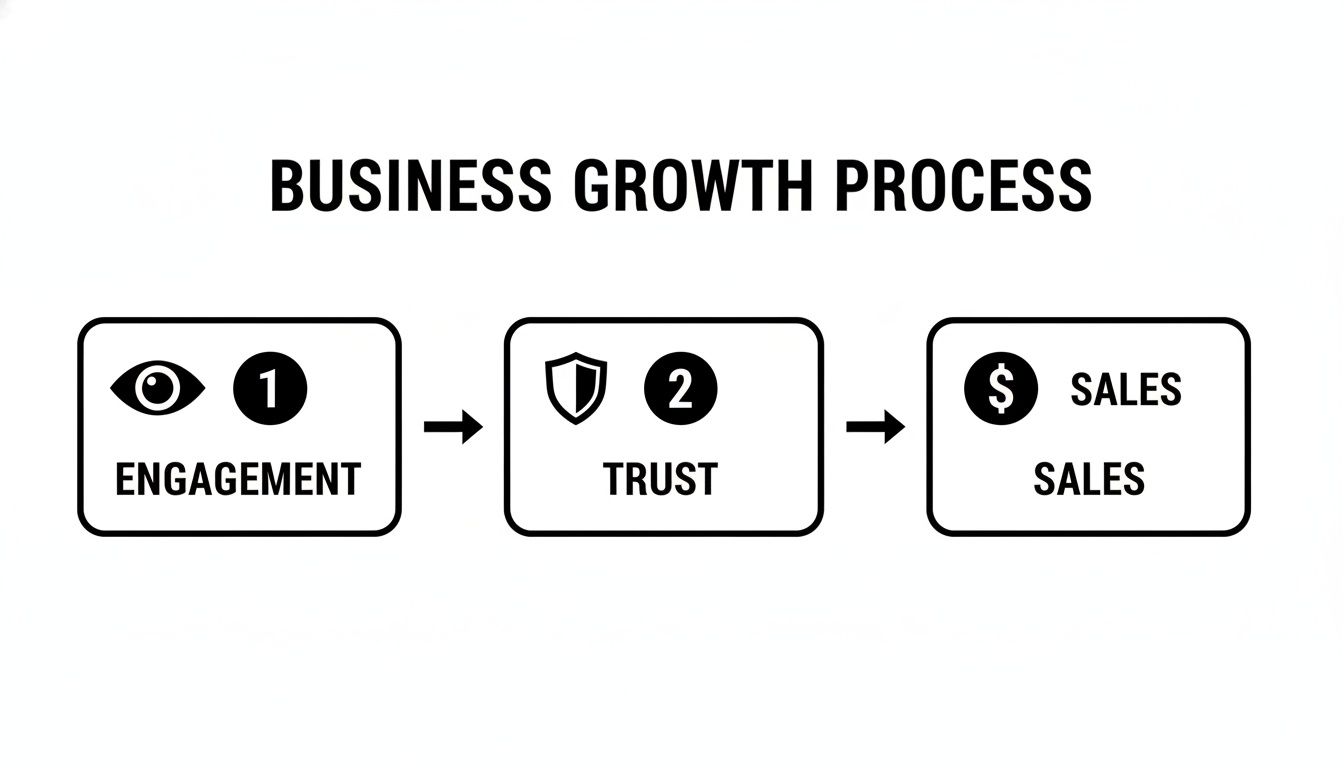
As you can see, the process is clear: powerful images grab attention, build credibility for the brand, and ultimately help turn that interest into measurable growth.
For instance, a shot list for a new hotel project I worked on looked something like this:
- Exterior Twilight: The money shot. A "blue hour" capture of the main entrance, with all the interior and landscape lights glowing.
- Lobby: A sweeping wide shot to establish the grand scale, followed by a detail shot of the custom millwork at the reception desk.
- Guest Suite: A one-point perspective of the bedroom looking out toward the view, plus a tight shot of the bathroom’s stone and tile palette.
- Restaurant: One atmospheric shot during evening service to capture the vibe, and another clean, architectural shot during the day to show the design.
This is the level of detail that ensures the story of the space is told completely. By meticulously planning every shot, we lay the foundation for a flawless shoot and create images that truly stand out.
My Go-To Gear and On-Site Settings
People always ask about my gear, but the truth is, it’s not about having the most expensive camera. It’s about having the right tools for the job. In architectural and interior photography, everything comes down to precision, and my kit is built entirely around maintaining control.
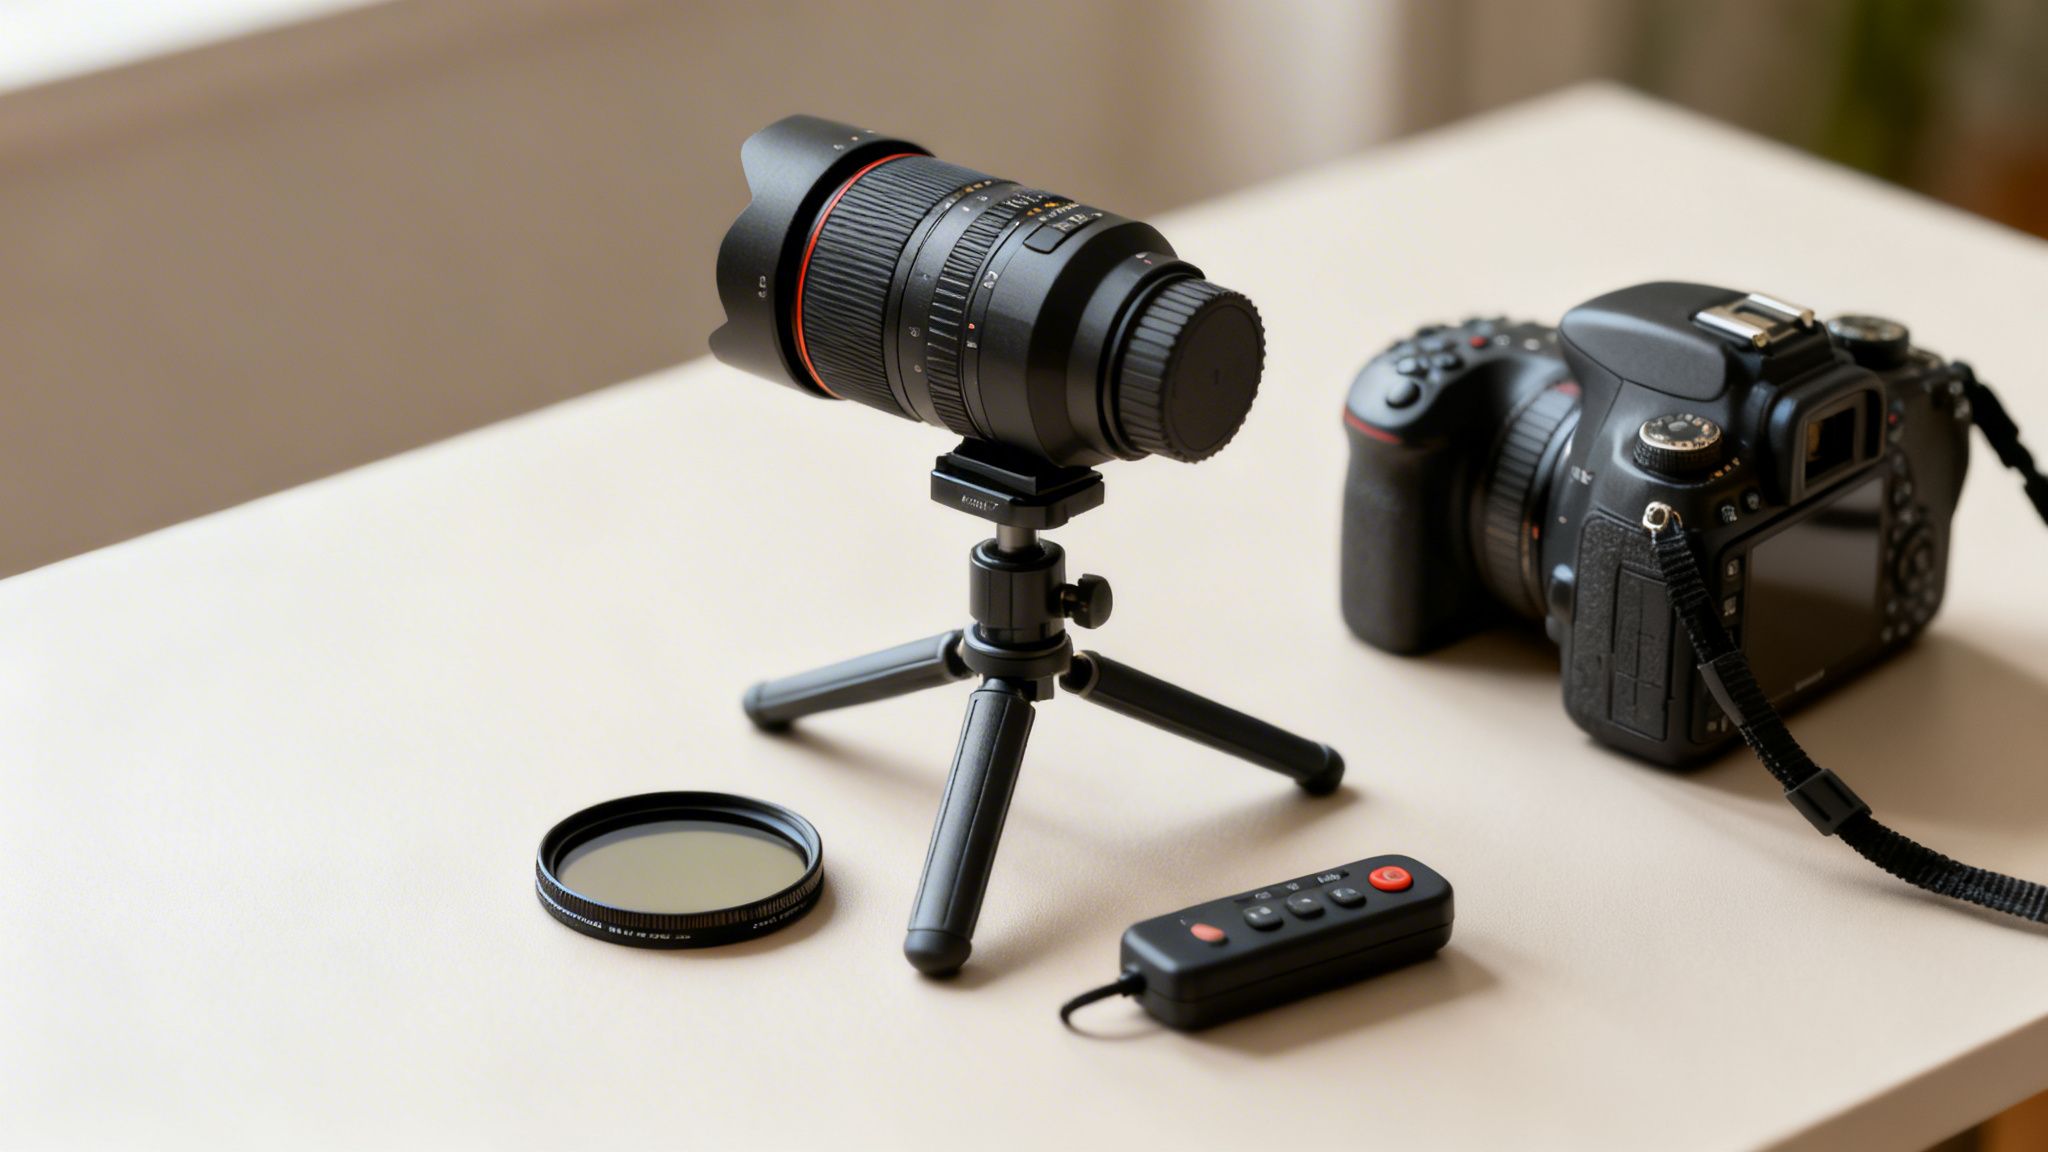
Aside from my camera body, the most critical piece of equipment I own is a tilt-shift lens. This is how I get those perfectly straight vertical lines, every time. If you’ve ever tried to photograph a tall building with a standard lens, you’ve seen how the lines seem to lean backward, an effect called keystoning. A tilt-shift lets me correct that distortion right in the camera, ensuring the architecture is represented cleanly and accurately.
The next non-negotiable is a rock-solid tripod. Much of my work involves long exposures or blending multiple frames in post-production, and any hint of camera shake will ruin an image. A sturdy tripod keeps every shot tack-sharp. It also forces me to be more deliberate and thoughtful with my compositions, which is never a bad thing.
Foundational Camera Settings
While every shoot is different, I have a trusted set of starting points that form the technical backbone of my work. These aren't rigid rules, but they’re a foundation I build on as I get a feel for the light and space on location.
I always begin a shoot in full manual mode. This gives me complete control over the exposure triangle—aperture, ISO, and shutter speed—which is essential for creating the precise, intentional images that architectural photography demands.
For nearly all my exterior and interior shots, I start my aperture somewhere between f/8 and f/11. This range gives me a deep depth of field, so everything from the furniture in the foreground to the view out the window stays sharp. The goal is to represent the entire space with clarity.
Essential Tools and Techniques
Beyond the camera and lens, a few other pieces of gear have become indispensable on my shoots. These are the problem-solvers that help me manage difficult lighting and streamline my workflow on site.
- Circular Polarizer: This filter is an absolute lifesaver for controlling reflections. When I'm shooting through glass or capturing glossy floors, a polarizer cuts the glare and lets the true colors and textures of the materials come through.
- Remote Shutter or Self-Timer: Even on a heavy tripod, just pressing the shutter button can introduce a tiny vibration. A remote trigger or a simple 2-second timer completely removes that risk, guaranteeing the sharpest possible shot.
- Tethered Shooting: On almost every project, I shoot tethered to a laptop. This lets me, my assistant, and the client see the images on a large screen the moment they’re taken. It’s the best way to confirm focus, check the lighting, and fine-tune compositions in real time, which helps us avoid any costly reshoots.
Getting comfortable with this gear is what allows me to stop thinking about the technical side and focus on the creative vision. These tools aren't just for capturing a space; they let me translate the architect's and designer's intent into a final image that feels as meticulously crafted as the project itself.
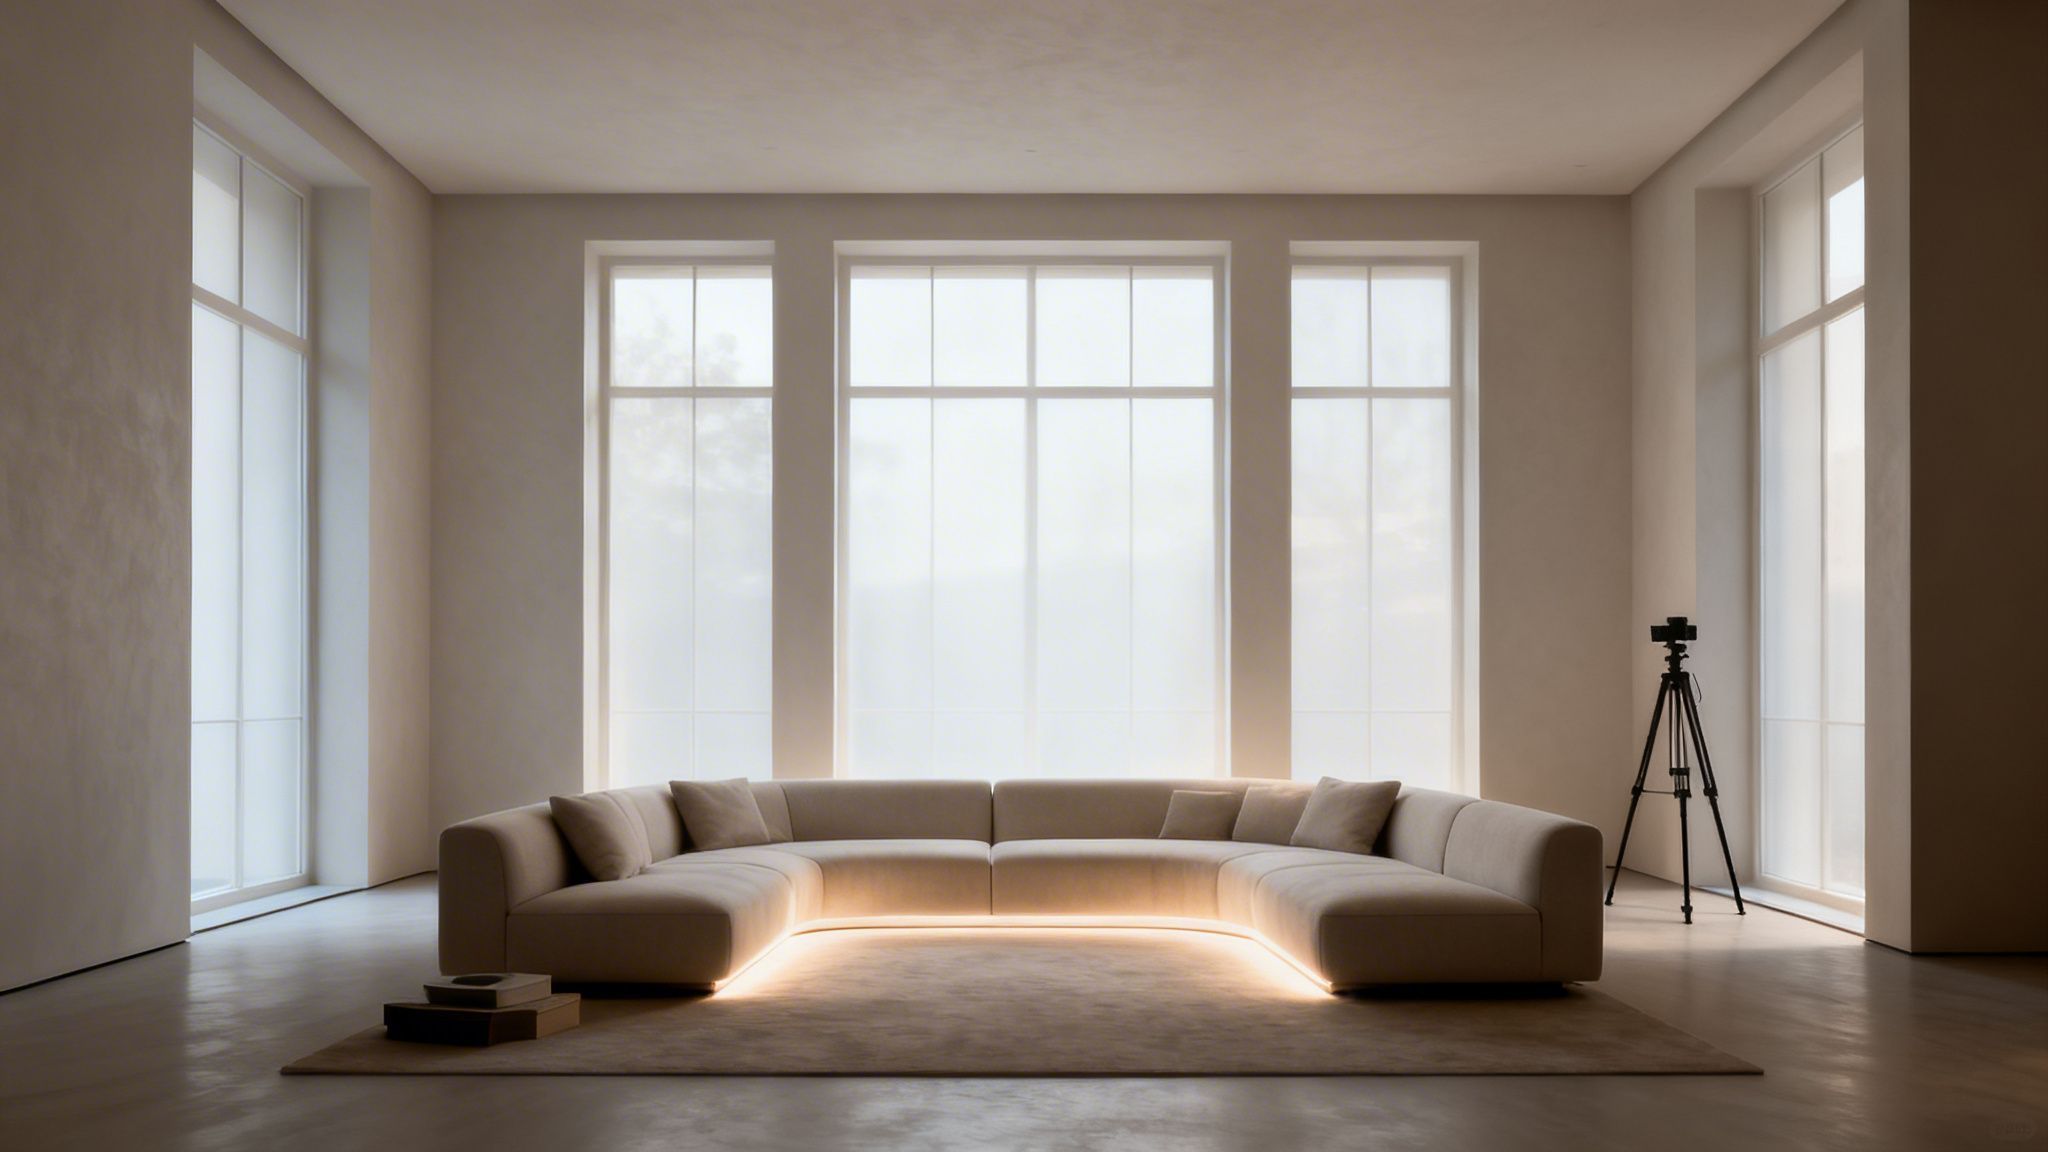
Mastering On-Location Composition and Lighting
Once all the planning is done and we’re on site, the real work begins. This is where the technical side of photography meets the art of interpretation—transforming a physical space into a compelling image. For me, architectural photography isn’t just about documenting what’s there; it’s about shaping how it’s seen through deliberate composition and light.
When I'm shooting exteriors, my entire schedule revolves around the sun. Chasing the perfect light is the single most important part of creating dramatic, flattering images that let a building’s design speak for itself.
Interiors, on the other hand, are a different kind of puzzle. The challenge here is to create a balanced, natural-looking scene that feels both authentic and elevated. It’s always a delicate dance between the ambient light pouring in and the artificial sources I bring with me.
Exterior vs. Interior Lighting Approaches
While the end goal is always a stunning image, how we light exteriors and interiors involves completely different mindsets and tools. For exteriors, we are largely at the mercy of the sun, while for interiors, we have almost total control.
Here’s a quick breakdown of how I approach each one:
| Technique | Exterior Photography Focus | Interior Photography Focus |
|---|---|---|
| Primary Light Source | The sun (natural light) | Off-camera strobes and ambient window light |
| Key Goal | Capture the building in its best natural light to highlight form and texture. | Balance bright windows with darker areas for a clean, natural feel. |
| Timing | Crucial. Shoots are scheduled around sunrise, sunset, and twilight. | Flexible. Time of day matters for window light, but strobes provide control. |
| Common Challenge | Harsh midday sun, unpredictable weather. | Mixed color temperatures from room lights, deep shadows. |
| My Go-To Method | Time-of-day planning. I work with the sun’s position. | Light painting. I build the light in layers using multiple exposures. |
Ultimately, both approaches are about problem-solving. It's about looking at a scene, identifying the challenges, and using the right techniques to craft the light intentionally.
Harnessing Light For Building Exteriors
The absolute best light happens during the “golden hour”—that first hour after sunrise and the last before sunset. This low, soft light wraps beautifully around structures, revealing texture and casting long shadows that create a real sense of depth.
Just as powerful is the “blue hour,” the period right after sunset when the sky turns a deep, rich blue. An illuminated building against that backdrop is the quintessential "hero shot." It creates a stunning contrast that feels both dramatic and peaceful.
Don't ever underestimate a cloudy day. While sunny skies are great, an overcast sky acts like a massive softbox. It minimizes harsh shadows and lets the building's form and materials show through with incredible clarity.
Beyond timing, my eye is always scanning for compositional elements that guide the viewer.
- Leading Lines: I’ll use walkways, roads, or landscaping to draw the eye toward the structure.
- Symmetry and Patterns: Finding balance in a facade gives the image a sense of intention and order.
- Framing: I often use trees, nearby structures, or archways to create a natural frame around my subject.
These aren't just rules; they're the tools I use to bring a sense of deliberate structure and purpose to every exterior shot.
Crafting Light for Refined Interiors
As soon as I step inside, my process changes completely. The main goal is to balance the bright light from the windows with the darker corners of the room, all while keeping the final image looking perfectly natural. My very first move is always to turn off every single overhead light. The artificial lights in a room almost always cast an unflattering yellow or orange hue and create messy, competing shadows.
Instead, I build the light myself using a technique called light painting. With off-camera strobes, I "paint" light onto specific surfaces, one small area at a time. I might capture one frame just for the ambient light coming through the windows, then another with a pop of light on a far wall, and a third to subtly lift the shadows on a piece of furniture. In post-production, I blend these frames together to create one perfectly and naturally lit image. For a deeper dive, you can explore our guide on choosing the best light for a site shoot.
This meticulous process is about so much more than just hitting a button. It’s about building the light in careful layers to shape the mood and guide the eye through the space.
The Art of Styling and Staging
Before I even set up a single light, I style the room. This is really a process of intentional reduction—clearing away the clutter so the design can breathe. I’ll straighten every pillow, hide every cord, and tuck away any personal items that might distract from the architectural story we’re trying to tell.
Once the space is clean, I might add a few simple props to give it a sense of life without feeling overly staged. A thoughtfully placed book, a simple vase, or a folded throw blanket can add just the right touch of texture and humanity. Every object in my frame has to earn its place.
This attention to detail is a huge part of the value professional photography brings. It's no surprise that the global photographic services market is projected to hit $66.8 billion by 2035, with much of that growth coming from methods that showcase architectural design with precision.
Where the Final Image Is Forged: Post-Production
Getting the shot on location is really only half the battle. The other half happens back in the studio, in the digital darkroom, where I turn carefully captured RAW files into the polished, powerful images that truly represent a project. This is where the technical work and the artistic vision finally merge. It’s how we take a great capture and make it truly unforgettable.The process almost always starts by weaving together multiple bracketed shots. On any given shoot, I'm dealing with extreme dynamic range—think brilliant daylight pouring through a window next to deep, moody shadows in a corner. By blending several exposures together with High Dynamic Range (HDR) techniques or manually in Adobe Photoshop, I can create a single, perfectly exposed image. Every detail becomes clear, from the clouds in the sky to the texture of a rug in a dimly lit hallway.
Refining the Foundation
With a solid base image ready, the real refinement can begin. Every lens has its own unique character, and a common quirk is some level of distortion. My very first move is always lens distortion correction. This ensures every line that’s straight in the real world is rendered perfectly straight in the photo. For professional architectural work, this isn't optional; it's fundamental.
From there, I dial in the verticals and horizontals. Even when using a tilt-shift lens on-site, tiny adjustments are often necessary to get things perfect. I scrutinize every line to make sure the image feels solid and geometrically true to the space. It’s a subtle but critical step that immediately separates a professional shot from an amateur one.
Your post-production workflow is as much a part of your signature style as your shooting technique. It’s where you develop a consistent look and feel that clients can recognize and trust, turning great raw files into polished, brand-defining assets.
After the structural work is locked in, I turn to color and tone. This means fine-tuning the white balance for clean, true-to-life colors and adjusting contrast to create a sense of depth and dimension. It's a delicate dance—the goal is always to enhance the mood of the space without ever making it feel artificial or overcooked.
The Art of Meticulous Retouching
This is where an obsessive attention to detail truly makes a difference. A perfect architectural photo needs to be completely free of distractions, allowing the design to speak for itself. My next task is to comb through the image and meticulously remove anything that pulls focus.
This often involves:
- Cleaning up blemishes: Scuff marks on walls, dust on floors, or fingerprints on glass are all carefully cloned out.
- Hiding distractions: Things like obtrusive power outlets, light switches, fire alarms, or stray cables are often removed to create a cleaner, more intentional composition.
- Sky replacements: If an exterior was shot on a dull, overcast day, I might composite a more dynamic sky from my personal library to bring life and drama to the scene.
The point isn't to create a false reality. It’s about presenting the architect's or designer's vision in its most pure, unadulterated form. By cleaning up these small imperfections, the viewer’s eye is free to appreciate the lines, forms, and textures of the space exactly as intended.
Preparing and Delivering the Final Gallery
The last step is getting the images ready for the client. This means exporting the final files in the right format and resolution for how they'll be used. A high-resolution TIFF file is ideal for a large-format print in a magazine, while a smaller, optimized JPEG is what’s needed for a fast-loading website.
Delivering a polished and organized gallery is just as much a part of the professional experience as the shoot itself. This commitment to quality at every single stage is what gets work noticed. Prestigious honors like the Architectural Photography Awards draw global attention, and winning can lead to commissions from top-tier firms. And the proof is in the numbers—market stats show that professional photos get 61% more views. You can see some of the world's most inspiring work by learning about top architectural photography awards.
By mastering post-production, you’re not just finishing a job; you’re creating an asset worthy of that stage.
Common Questions About Architectural Photography
Over the years, I’ve found that a few key questions always come up, whether I'm talking with an architect, a designer, or a fellow photographer. Getting these answers straight from the start is the best way to ensure a project runs smoothly and the final images do the design justice.
Here are a few of the most common things I'm asked, answered from my perspective behind the lens.
How Long Does an Architectural Photoshoot Take?
There's no single answer here, as the timeline is shaped entirely by the scope of the project. But I can give you a reliable sense of what to expect. A focused shoot on a residential space—say, a newly finished kitchen and great room—will likely take about half a day, or around 4-5 hours.
On the other hand, a large-scale commercial project with multiple hero shots, detailed vignettes, and both exterior and interior views can easily stretch across one to three full days on site. It all boils down to a few key variables:
- The Shot List: A tight list of 5-10 key compositions is a different beast than a comprehensive list of 20 or more. The more shots we need to perfect, the more time it will take.
- Lighting: Working with beautiful, existing natural light is almost always quicker than meticulously shaping the light with strobes. And if we’re chasing that perfect twilight shot, we’re adding time to the day to hit a very specific 20-30 minute window.
- Staging: The amount of on-site styling and furniture wrangling required can add significant time. The more prepared the space is, the more efficiently we can work.
This is exactly why my pre-production process is so thorough. We map all of this out beforehand to build a realistic schedule, so everyone is on the same page long before we step on set.
What Is the Difference Between Architectural and Real Estate Photography?
While they both point a camera at a building, their purpose and process are worlds apart. Real estate photography is a marketing tool, plain and simple. It’s about selling a property, fast. The goal is to make spaces look bright and large, often with ultra-wide lenses, and the entire process is built for speed and volume.
Architectural photography is a more deliberate, artistic practice.
The goal of architectural photography isn't just to sell a space, but to interpret and document the architect's or designer's specific vision. It’s about telling the story of the design through meticulous composition, controlled lighting, and a genuine appreciation for the craft itself.
These images are made for portfolios, design awards, and publications. The priority shifts from speed to absolute precision.
Why Is a Tilt-Shift Lens So Important?
For any serious architectural work, a tilt-shift lens is the most critical piece of equipment in my bag. It’s all about one thing: perspective control.
When you aim a normal camera lens up at a tall building, the vertical lines appear to fall backward and converge toward the top—an effect called keystoning. This distortion is the quickest way to make a professional shot look amateur.
A tilt-shift lens solves this entirely. It lets me physically shift the lens optics up or down while keeping the camera sensor perfectly parallel to the building. This simple mechanical adjustment keeps all the vertical lines in the frame perfectly straight and true. It creates the clean, powerful, and accurate images that are the hallmark of high-end architectural photography. It’s completely non-negotiable for anyone serious about photographing architecture and interiors.
How Should a Property Be Prepared for a Photoshoot?
Proper preparation is everything. The more time we spend cleaning or decluttering on shoot day, the less time we have for crafting beautiful light and composition. A well-prepared space allows me to focus on the art, not the housekeeping.
First, the property needs a deep, professional-level cleaning. I’m talking sparkling windows, spotless floors, and zero dust.
From there, the single most important step is to declutter. This means tucking away all personal items like family photos, mail, and souvenirs. On the design side, we want to remove anything that doesn't serve the architectural story—think excess decor or most countertop appliances. In a commercial space, all desks and surfaces should be clear. While I’ll always handle the final on-set styling, starting with a clean, minimalist canvas is the secret to creating truly powerful photographs.
At Jimmy Clemmons Photographer, we combine editorial discipline with a deep understanding of design to create images that feel as intentional as the spaces they represent. If you're ready to showcase your work with clarity and impact, visit us at jimmyclemmons.com to start the conversation.