
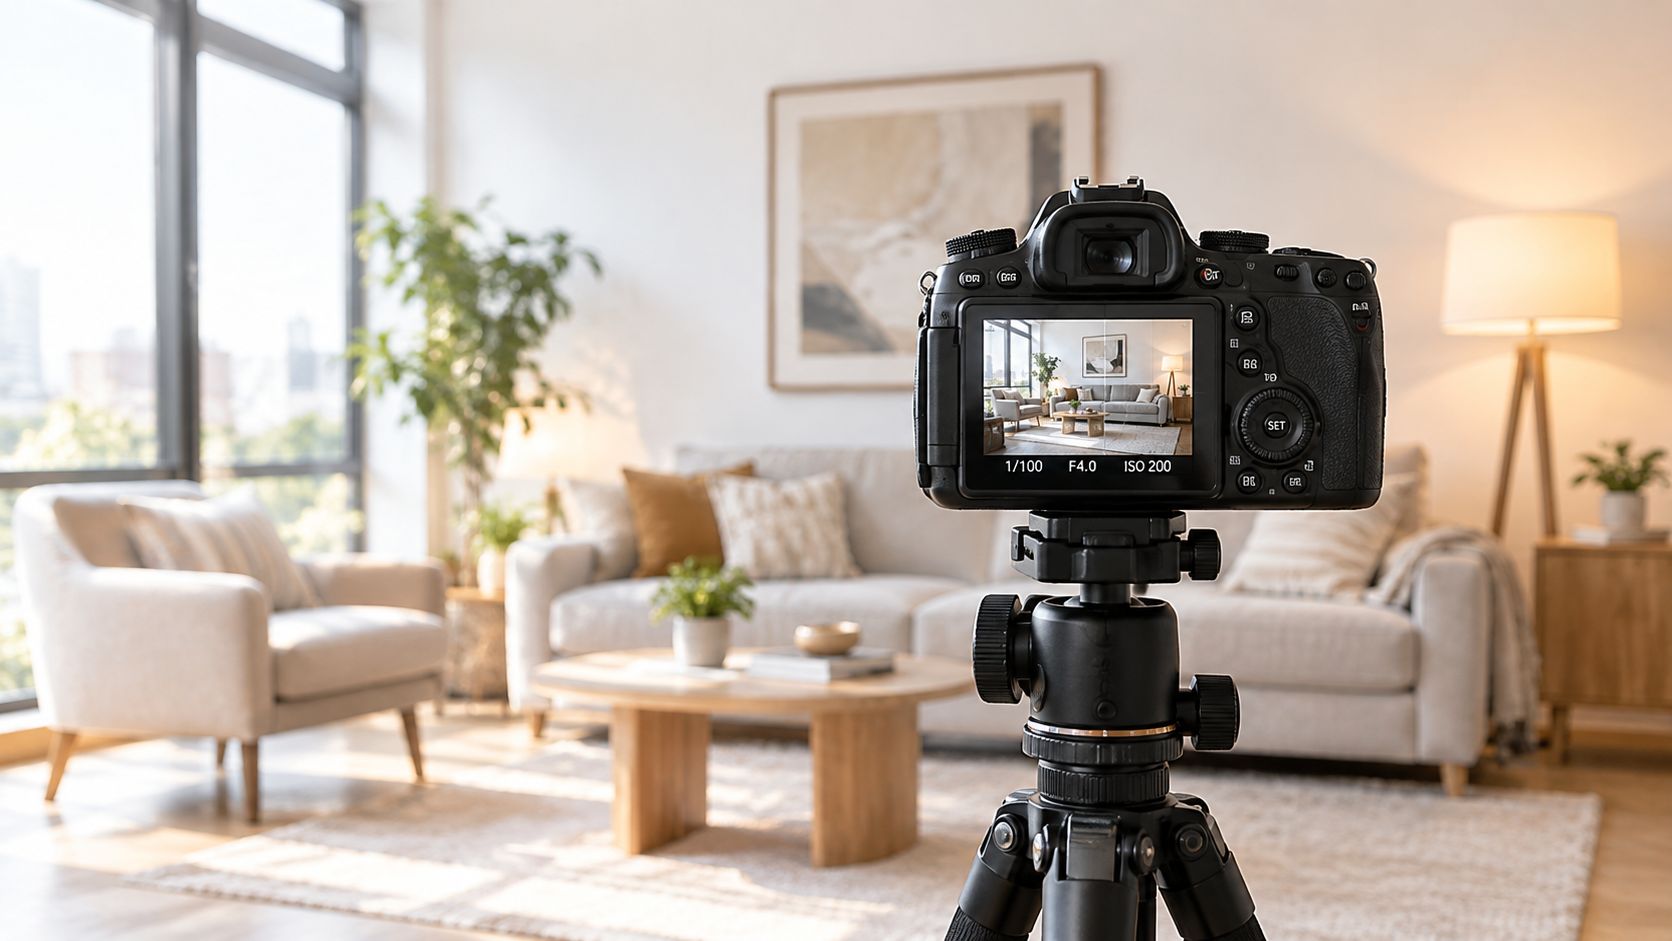
You're in a dim room with a bright window, a few warm lamps, and people who won't hold still while you chase the exposure. The camera's automatic setting may produce a technically bright frame, but the faces can blur, the window can lose its detail, and the walls may carry an unpleasant orange or blue cast.
That's why indoor photography settings aren't a universal recipe. You're choosing which quality matters most in each frame: motion control, depth across the room, clean files, or retained highlight detail. Once you identify that priority, aperture, shutter speed, ISO, white balance, and lighting become practical decisions rather than numbers copied from a cheat sheet.
What Indoor Photography Settings Actually Control
Indoor photography is governed by the exposure triangle, aperture, shutter speed, and ISO. Together they determine brightness, but each control also changes a different visual characteristic, as explained in this exposure triangle guide.
Aperture affects the amount of light entering the lens and the depth of field. Shutter speed determines whether movement looks frozen or blurred. ISO amplifies the sensor signal, which helps in a dim room but can make digital noise more visible.
Start with the subject
Ask whether the scene is static or occupied. An empty room gives you time to mount a tripod, focus carefully, and use a longer exposure. A portrait, meeting, or event requires a shutter speed that protects the subject from movement, even if that means accepting more ISO.
Then decide how much of the space needs to be sharp. A portrait beside a window may benefit from a shallow focus plane. A conference room, lobby, or architectural view usually needs enough depth to keep foreground furniture and distant walls credible.
Decide what you're willing to trade
Clean files matter, especially when clients need large architectural images or polished brand content. But a low ISO won't rescue a blurred person, and a narrow aperture won't help if the camera is moving during a long handheld exposure.
Before changing a setting, identify the problem you're solving:
- Motion: Keep the shutter fast enough for the subject.
- Depth: Choose an aperture that supports the required focus range.
- Cleanliness: Keep ISO as low as practical without underexposing.
For difficult files, reviewing metadata can also reveal which choice caused the failure. An online Exiftool for inspecting photo metadata can help you check shutter speed, aperture, ISO, and lens information after a shoot.
The correct setting is the one that serves the frame. It may be different from the setting used for the next frame in the same room.
The Exposure Triangle Applied to Interior Light
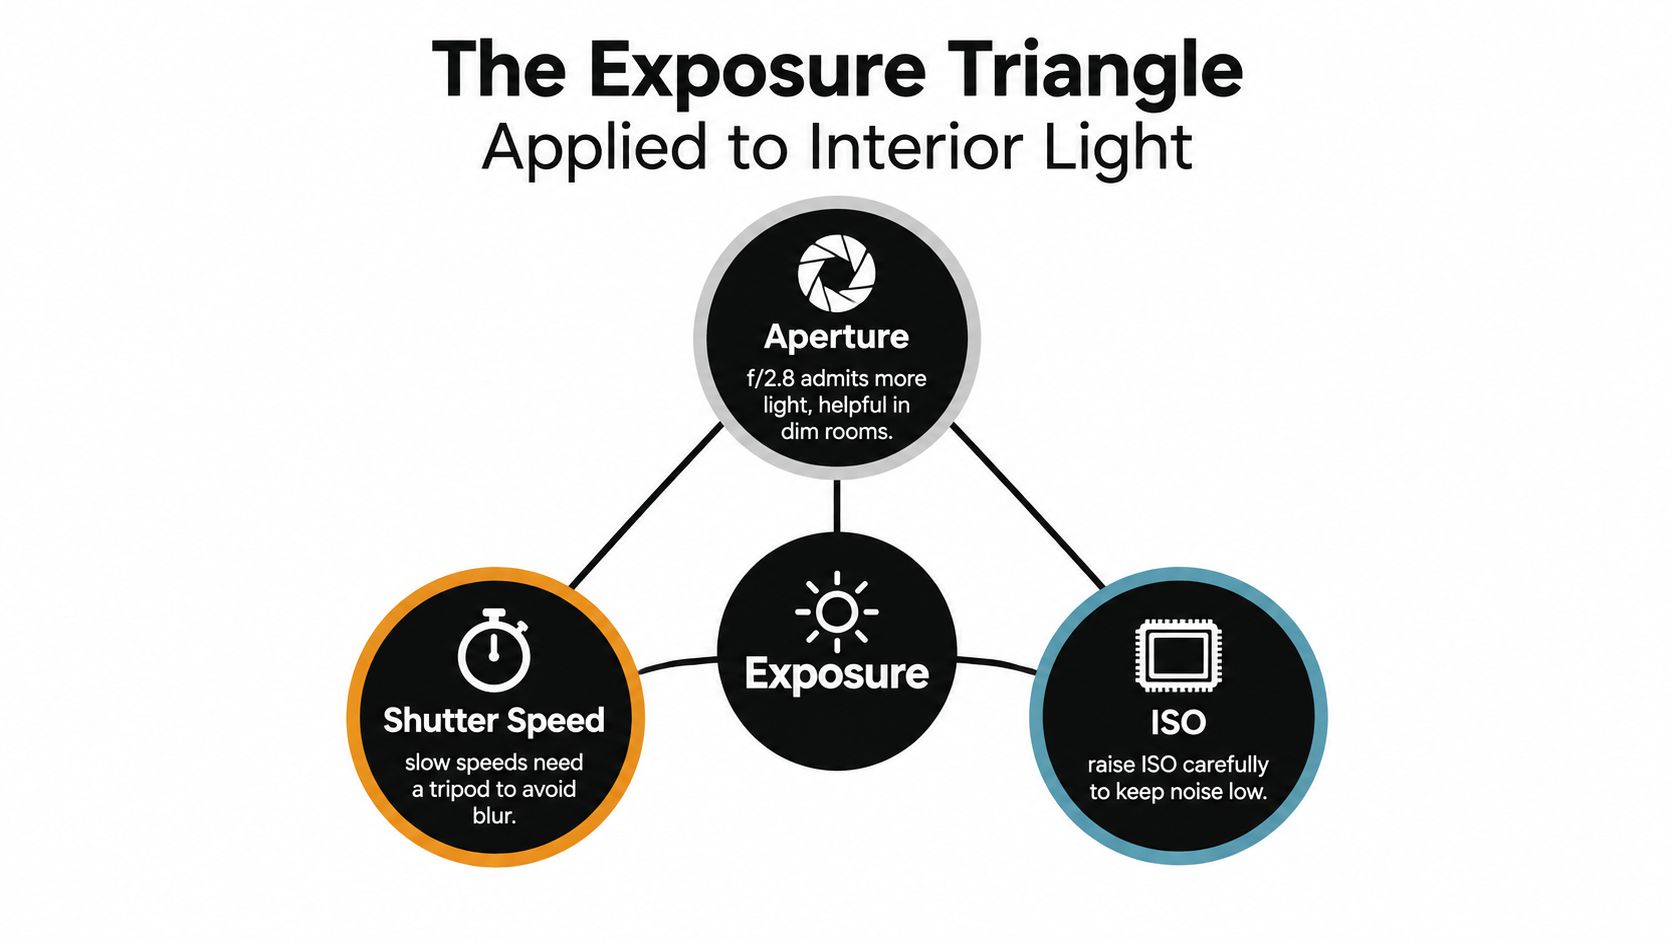
Aperture is usually the first creative decision. A wide aperture such as f/2.8 admits more light and can help you maintain a handheld shutter speed, but it narrows the zone of acceptable focus. A broader interior view made from a tripod may use an aperture around f/11 when near and distant elements need to read clearly. The trade-off is that stopping down reduces the light reaching the sensor.
Shutter speed controls how movement is rendered. For handheld indoor work, around 1/100 second or faster is a commonly cited starting point for reducing blur, although focal length, stabilization, technique, and subject movement can change the safe limit. A person turning toward a window needs more protection than an empty chair, even if the camera is held in exactly the same way.
ISO is the setting I raise after choosing the shutter and aperture that the image needs. Higher ISO amplifies the signal and can introduce visible noise, so it shouldn't be treated as free brightness.
Use stops to reason, not guess
One-stop changes make compensation predictable. Moving from f/4 to f/5.6 halves the light transmitted through the lens, while moving from ISO 400 to ISO 800 doubles sensitivity, as outlined in Canon's exposure triangle basics.
That means you can move from ISO 400 to ISO 800 to support a faster shutter, or open the aperture to preserve shutter speed. Each choice changes the image in a different way. Aperture changes depth of field, shutter speed changes motion rendering, and ISO changes noise.
If you're unsure how much of the room should remain sharp, review understanding depth of field before choosing the aperture. Set the shutter and aperture for the subject and spatial detail first, then raise ISO only as much as the scene demands.
Tripod Versus Handheld Workflows for Static Spaces
An empty architectural space and an occupied office may share the same lighting, but they need different exposure strategies.
For an empty room, a tripod changes the problem completely. You can use ISO 100 with a longer exposure when neither the camera nor the subject moves, keeping the file clean while selecting an aperture that gives the room enough depth. The camera stays fixed, so the shutter no longer has to protect against hand movement.
A handheld assignment has a different priority. If you're moving between rooms or photographing people who won't pause, a shutter speed around 1/100 second or faster is a practical starting point for reducing blur, as described in this handheld indoor photography reference. If the room remains dark, open the aperture where the required depth allows, then increase ISO rather than letting the shutter become too slow.
| Scene | Camera support | Primary concern | Exposure direction |
|---|---|---|---|
| Empty architectural room | Tripod | Depth and file cleanliness | Lower ISO, longer shutter |
| Occupied workplace | Handheld or supported | Subject movement | Faster shutter, compensating ISO |
| Static room with bright windows | Tripod | Highlight and shadow range | Bracketed exposures |
| Portrait in context | Handheld or tripod | Face sharpness and natural gesture | Subject-safe shutter |
A tripod also makes high-contrast bracketing practical. The camera can hold the same composition while the shutter changes across exposures, preserving the chosen aperture and depth of field. That's a completely different workflow from trying to brighten every dark room by raising ISO.
Practical rule: Choose the support method before choosing the final ISO. The tripod or handheld decision often determines the entire exposure strategy.
If you're sorting a large batch afterward, a tool designed to remove blurry iPhone photos can help separate obvious misses from usable frames. For architectural work, the more important decision happens before capture. This guide to a tripod for architectural photography explains why stability supports consistency, not just sharpness.
White Balance Workflow for Mixed Indoor Light
Color problems often appear after the shoot, when the rear screen's small display no longer hides them. A room may contain warm lamps, cool daylight, fluorescent fixtures, screens, and LEDs, each affecting a different surface.
Typical interior light can be near 3000 K, while daylight entering windows is much cooler, so one global Kelvin value can't fully correct both sources in a mixed-light color temperature tutorial. Tungsten light is centered around approximately 3200 K, common fluorescent lamps generally fall between 4000 K and 5000 K, and daylight or electronic flash is commonly referenced at about 5500 K, according to this color temperature reference.
Capture a useful reference
Start by identifying the dominant sources. Note whether the subject is mainly lit by a window, a warm practical lamp, overhead fluorescent fixtures, or LED panels.
Then place a neutral gray card where the subject stands and photograph it under the actual lighting. Set a custom white balance, or record RAW so you can use the reference during processing.
Lock the white balance across a bracketed sequence. If the camera changes its interpretation from frame to frame, the composite can develop unwanted color drift even when the composition remains aligned.
Preserve the lighting hierarchy
A gray card establishes a reference, but it can't make physically different light sources identical. If daylight falls across a wall while a warm lamp creates a pool of color on a table, neutralizing both areas independently may make the room look flat and false.
Correct the surfaces that matter commercially first. Skin, white walls, wood finishes, brand colors, and key materials need credible rendering. Warm decorative light can remain warm if it communicates the atmosphere of the space.
LED fixtures may carry green or magenta deviations that a Kelvin slider can't remove. Use tint adjustments or localized, channel-specific corrections rather than forcing one temperature across the frame. This mixed lighting photography guide is useful when several sources occupy separate zones.
A technically neutral room isn't always a truthful room. Preserve intentional warmth where it belongs, then correct the surfaces the client needs to trust.
Sample Setup for Rooms That Mix People and Architecture
Consider a conference room with large windows, a leadership team seated around a table, and wood and fabric finishes that need to look believable. A fast shutter alone seems tempting, but it can push ISO upward while a wide aperture leaves the nearest and farthest people on different focus planes.
I'd begin by placing the camera on a tripod, composing the room, and choosing an aperture that gives the space useful depth. I'd use manual focus, lock the aperture, and set automatic exposure bracketing so the camera changes shutter speed rather than aperture. That keeps depth of field and perspective consistent across the sequence, following the University of Brighton HDR guidance.
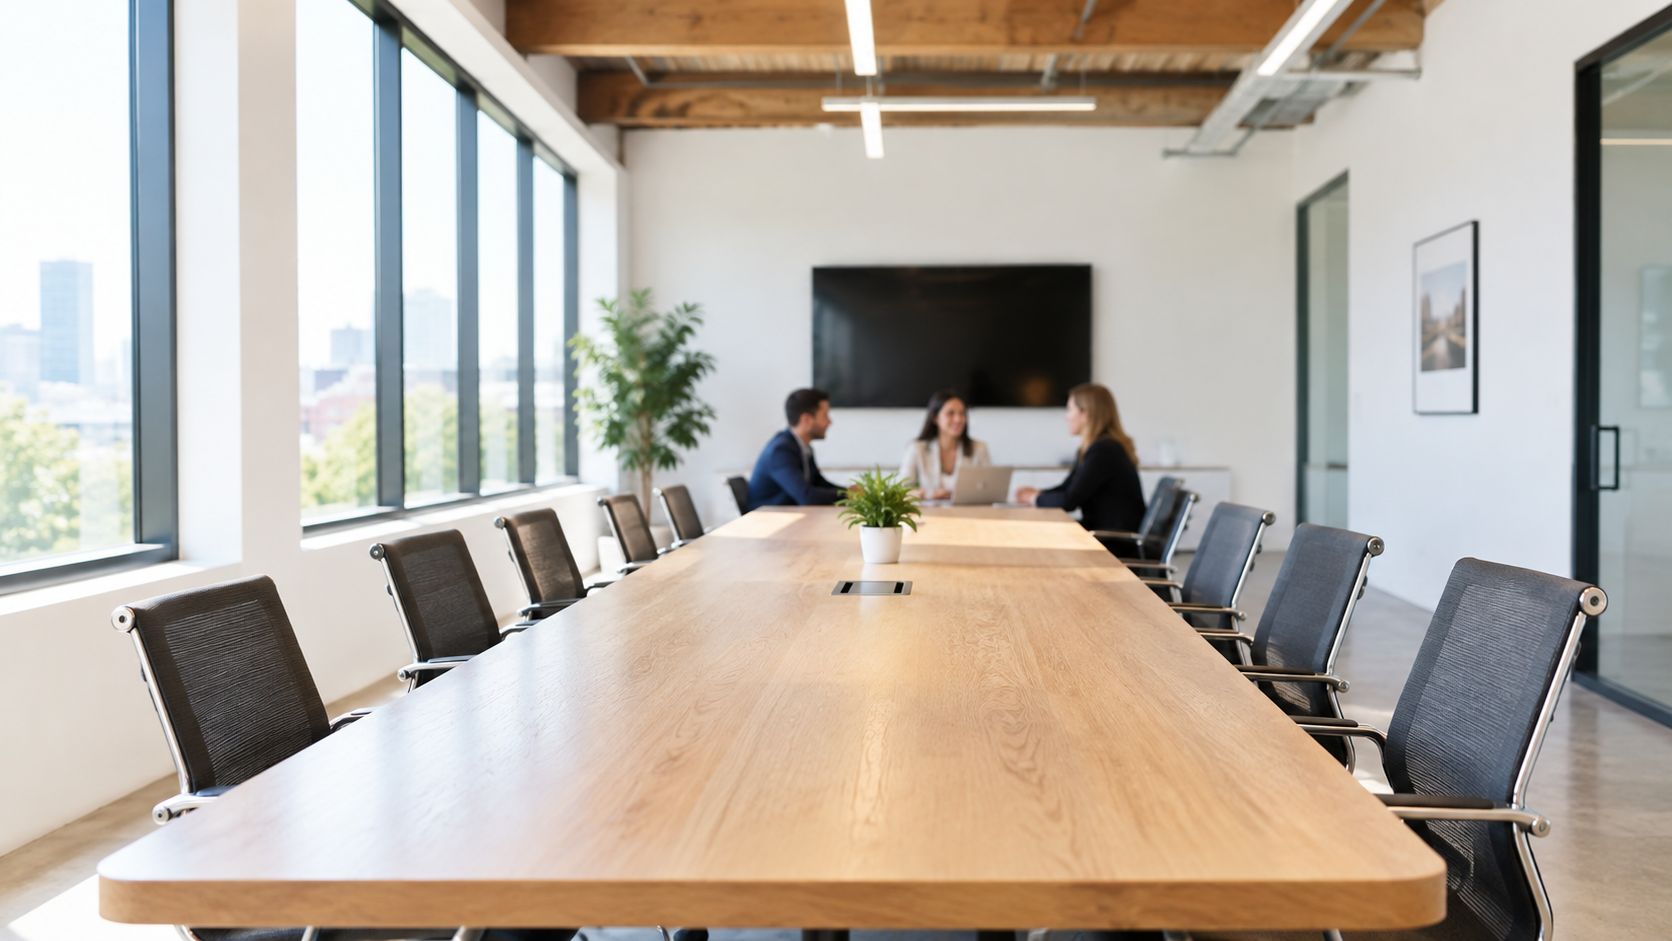
The base exposure would protect the bright window detail. Longer bracketed exposures would recover shadow information in the table, chairs, and room edges. I'd use a delayed or electronic shutter release, check the histogram and highlight warning, and ask the team to remain naturally still for the architectural sequence.
Then I'd make a separate people-focused exposure. That frame gets a faster shutter, with aperture and ISO adjusted to protect faces and gestures. If the people move between bracketed frames, HDR software can create ghosting or merging artifacts, so I wouldn't force one composite to solve both the static room and moving subjects.
| Priority | Aperture | Shutter | ISO | Workflow |
|---|---|---|---|---|
| Room detail | Fixed, depth-oriented | Bracketed | Kept moderate or low | Tripod and HDR sequence |
| Window retention | Fixed | Base exposure plus longer frames | Kept controlled | Protect highlights first |
| Natural people | Depth suited to group | Fast enough for movement | Raised only as needed | Separate people exposure |
| Material color | Fixed | Consistent across sequence | Controlled | Gray card and locked white balance |
The finished deliverable may combine the architectural exposure with the people exposure, but only after checking alignment, gestures, and color. This is why a dark room doesn't automatically call for more ISO. Static elements can often benefit more from stability and controlled bracketing.
Lenses, Lighting Modifiers, and Flash Indoors
A wide-angle zoom covering roughly 16 to 35 millimeters is a practical workhorse for rooms and architectural views. It lets you adjust the composition when walls, furniture, and circulation space limit your position. Use it carefully, though. Standing too close to people with a very wide focal length can exaggerate faces and make furniture feel distorted.
For portraits in context, a fast prime around 35 millimeters or 50 millimeters often gives a more natural relationship between the person and the room. The right lens doesn't replace careful positioning. It changes how much space you can include and how strongly perspective affects the frame.
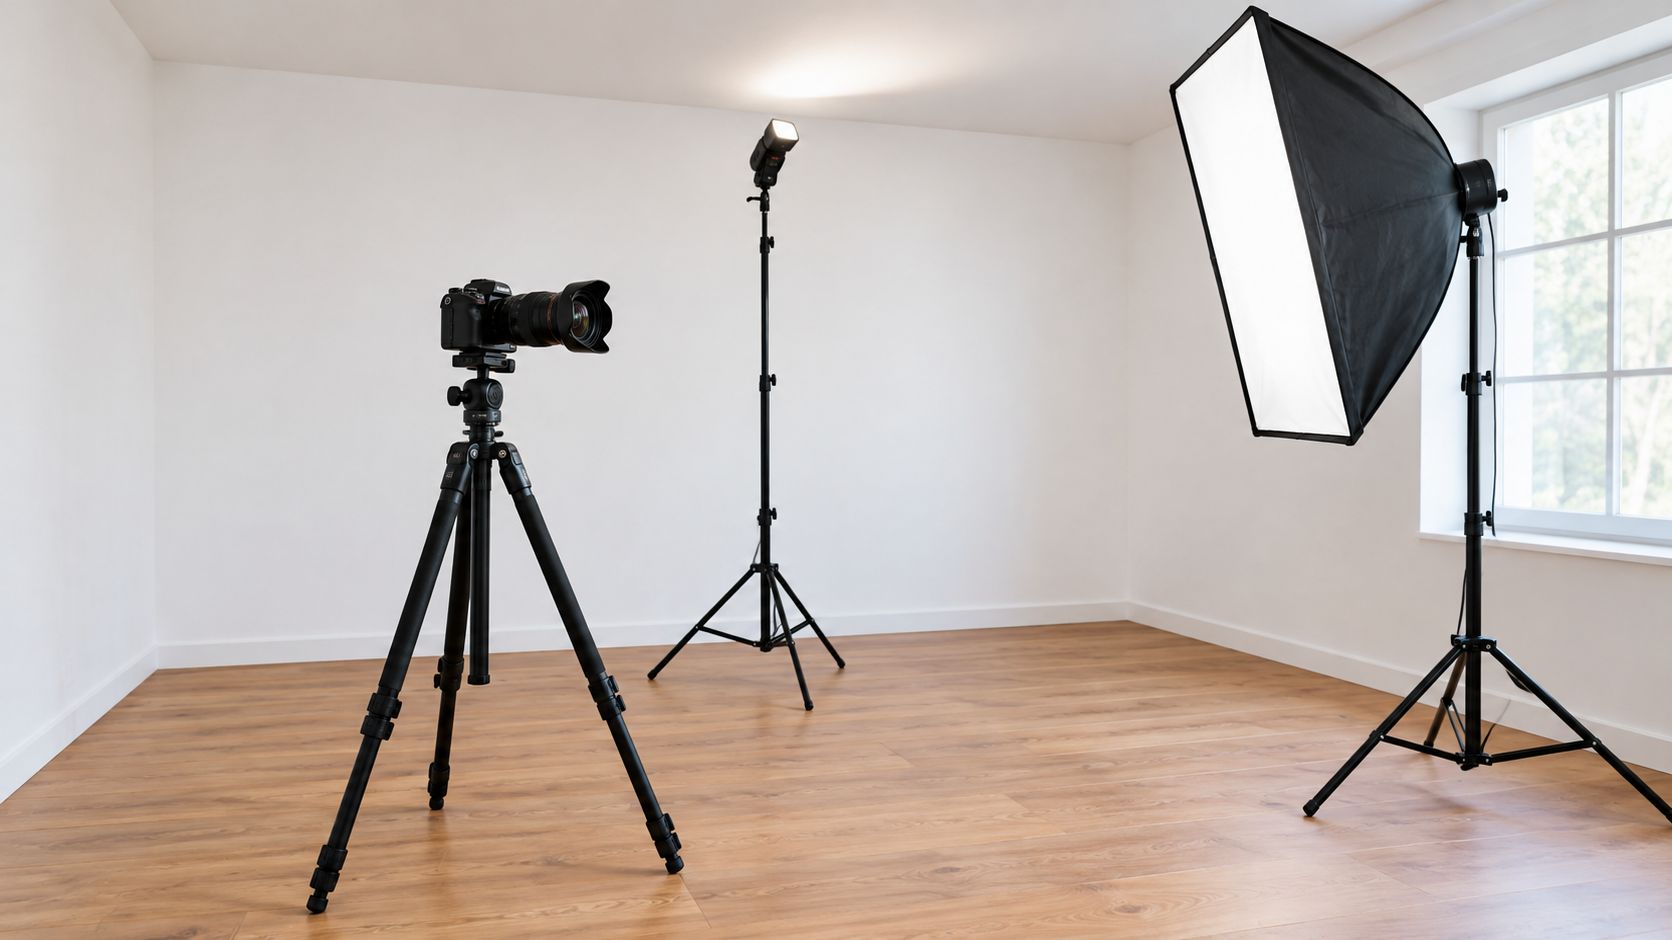
Lighting modifiers change the exposure equation by adding or redirecting light. A continuous LED panel can lift a face while you monitor the result. A bounced speedlight can soften a direct source by using a ceiling or wall. A small softbox can shape a portrait without flooding the entire room.
A tripod is often more useful than a brighter setting when the subject is static. Extra light becomes more valuable when people must remain sharp, when the room's existing color is distracting, or when the subject needs separation from the background.
Four field problems and direct fixes
Noisy files. The symptom is a grainy, thin-looking shadow area in an empty room. The cause is raising ISO to compensate for a scene that could have remained still. Fix it with a tripod, longer exposure, and a lower ISO when the camera and subject can remain stationary.
HDR edge halos. The symptom is a bright outline around window frames, furniture, or architectural edges. The cause is handheld bracketing or movement between frames. Fix it with a locked tripod, stable release method, and shutter-only bracketing.
Ghosted people or displays. The symptom is a person, plant, or screen appearing twice or partially transparent in a composite. The cause is movement during the bracketed sequence. Fix it by making a separate fast exposure for moving subjects or controlling movement before capture.
Color casts that survive a gray card. The symptom is a neutral wall that looks acceptable beside a greenish LED zone but wrong elsewhere. The cause is treating separate light sources as though they share one color temperature. Fix it with localized RAW adjustments, tint correction, or controlled fixture changes.
Motion blur. The symptom is a soft face or hand despite accurate focus. The cause is a shutter speed that protects camera movement but not subject movement. Fix it with a faster shutter, wider aperture, or supplemental light.
Flash sync problems. The symptom is a black band or partially blocked frame. The cause is using a shutter speed above the camera's sync limit without high-speed sync. Speeds above roughly 1/200 second may produce this defect, while a typical synchronization point is around 1/125 second, as explained in this flash exposure and sync guide.
A flash can freeze or illuminate the subject while shutter speed controls how much ambient room light enters. Lowering the shutter can preserve more of the room, but the camera must remain within its synchronization behavior unless specialized high-speed sync is enabled.
For crews that need both controlled lighting and on-set direction, a photographer such as Jimmy Clemmons Photographer can combine location planning, lighting design, and professional editing for built-environment and brand imagery.
Here's a practical visual reference for balancing ambient light, support, and controlled sources:
A Portable Indoor Settings Checklist
Run this sequence before pressing the shutter:
- Choose the scene type. Decide whether the room is static architecture, an occupied space, a portrait, or a mixture. This determines whether stability or motion control comes first.
- Choose the focal length. Use the lens that fits the room without forcing people or furniture into distorted edges.
- Set the aperture. Open it when light and subject separation matter. Stop down when near and distant architectural elements need to remain sharp.
- Confirm the shutter. For handheld work, check whether the speed protects against camera and subject movement. For static work, use support rather than accepting unnecessary ISO.
- Set ISO deliberately. Keep sensitivity as low as practical, but don't underexpose a moving subject merely to preserve a lower number.
- Lock color and inspect the frame. Photograph a gray card, lock white balance across sequences, then check the histogram and highlight warning.
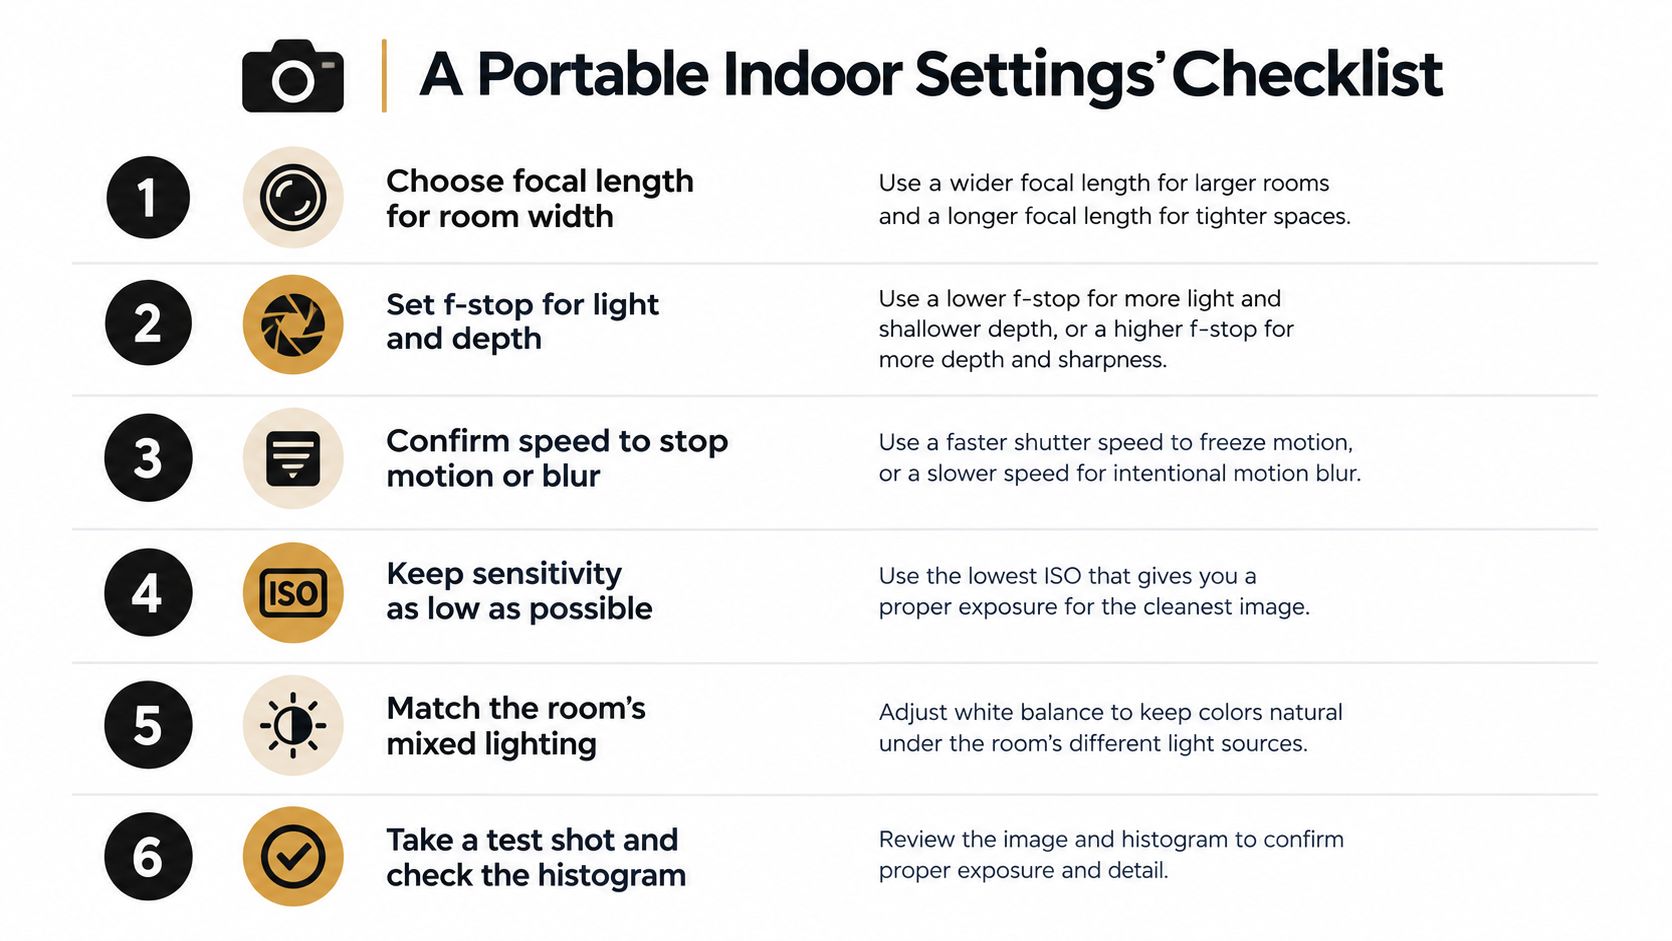
For a room with bright windows, add a bracketed sequence with a fixed aperture and shutter changes. For people, make a separate exposure if movement would compromise alignment. For mixed light, decide which surfaces must be neutral and which warm accents should remain part of the scene.
Indoor settings are not a preset. They're a deliberate choice about what the frame can afford to sacrifice.
Jimmy Clemmons Photographer creates architectural imagery, commercial brand content, and professional portraits with location scouting, lighting design, on-set direction, and polished editing. If your next interior assignment includes difficult windows, mixed light, or people who need to look natural in the space, visit Jimmy Clemmons Photographer to discuss the shoot.