
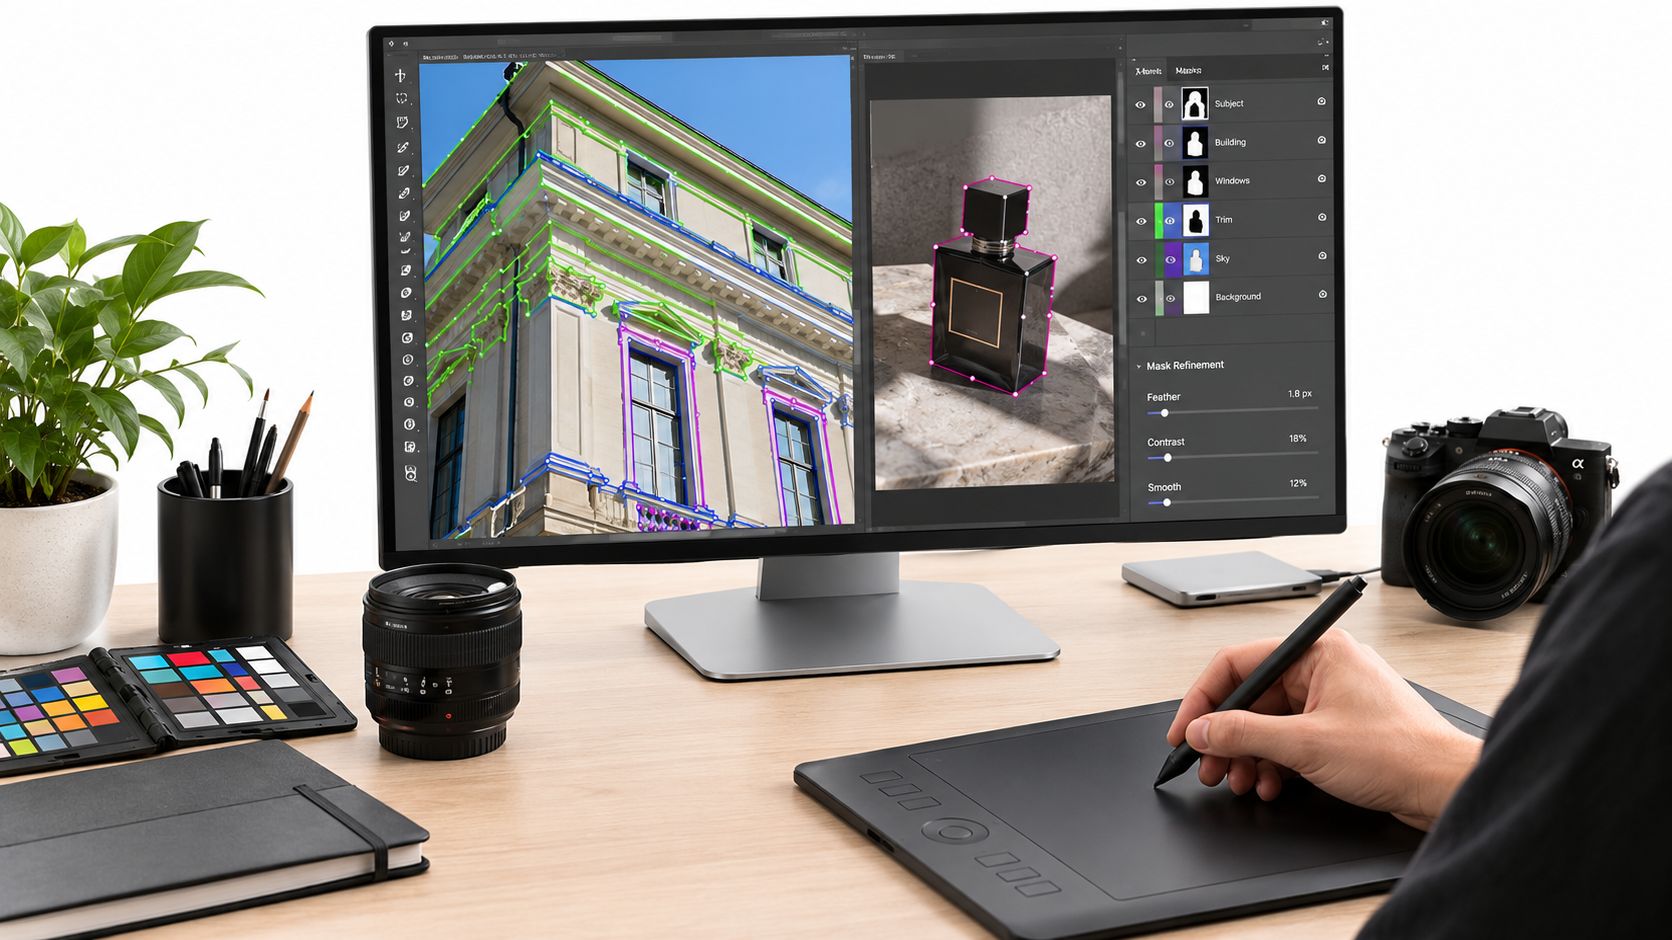
Most advice about photo editing masking is too optimistic. One-click subject isolation gets presented as if the hard part is over the moment the software draws a marching outline. In commercial work, that's usually the moment the judgment starts.
A mask can look fine at thumbnail size and still fail a client review the second someone zooms into a window mullion, a reflective tabletop, or a loose strand of hair against a bright background. High-stakes imagery doesn't reward speed alone. It rewards edges that hold up under scrutiny, tonal transitions that stay believable, and revisions that don't force you to rebuild the file from scratch.
The Limits of Automated Masking in Commercial Photography
Fast masks are overrated in commercial work. The job is deciding when the one-click result is good enough to keep, and when it will cost more time in revisions than it saves up front.
Automatic masking is useful for rough isolation, quick alternates, and images with a clear subject against a cooperative background. Adobe's Select Subject tools are built for that kind of scene, as shown in its overview of selection-based layer masks for compositing. The problem is that many paid assignments are not built around a single obvious edge. They contain competing edges, reflections, transparency, and small structural details that need interpretation, not just detection.
Architectural, editorial, and product files expose that difference fast. A hotel lobby frame might include window reflections, polished stone, brushed metal, pendant lights, and street detail outside the glass. A product shot can add clear packaging, perforated surfaces, chrome trim, and soft shadow transitions. AI can identify the subject. It still struggles to decide what the client expects to remain visible at the edge.
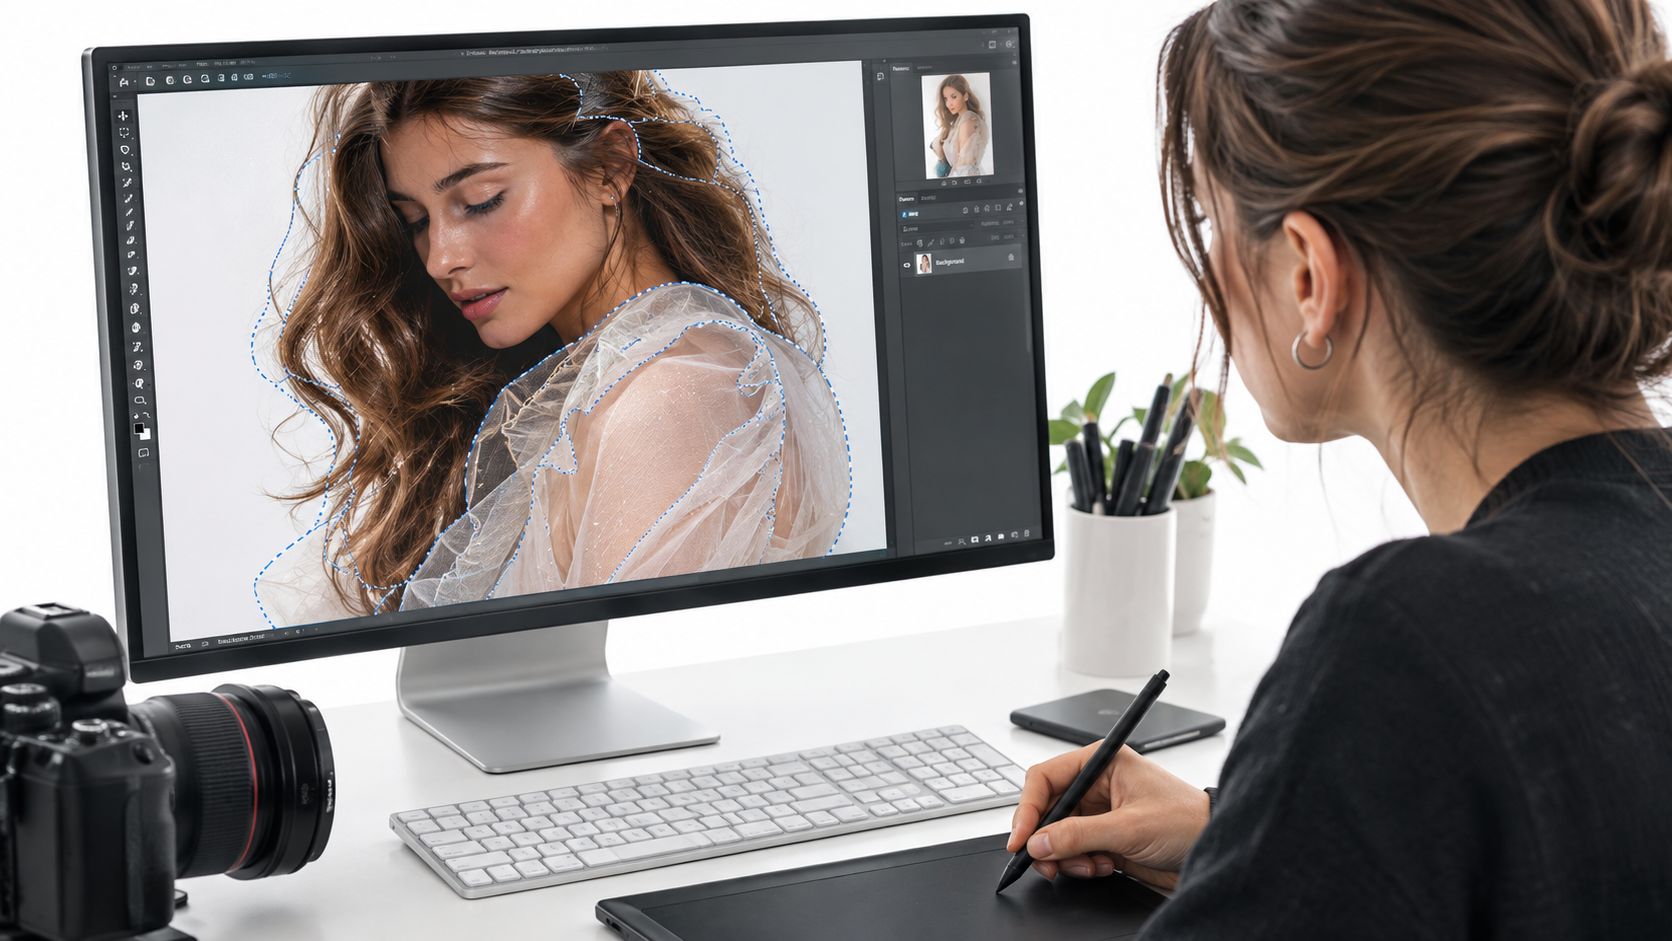
Where one-click masks usually break
The failures that matter are rarely dramatic. They are the small errors that survive a casual review and fall apart at 100 percent.
- Reflective boundaries: Glass, chrome, and glossy tabletops often pull reflected shapes into the mask or clip the edge.
- Fine linear detail: Railings, cables, mesh, tree branches, and narrow trim tend to come back with broken segments or stair-stepped edges.
- Semi-transparent materials: Sheers, bottles, and translucent packaging need controlled partial opacity. A hard cutout looks fake immediately.
- Layered depth: Foliage, scrims, and foreground elements crossing in front of architecture often get merged into the wrong plane.
This is why I treat every automatic mask as a starting pass on high-stakes files. If the image includes glass, foliage, fabric, specular highlights, or repeating geometry, I assume I will refine it manually. That is not old-school stubbornness. It is file triage.
Experienced retouchers check the mask where it is most likely to fail, not where it looks clean. I preview against light and dark fills, inspect straight edges at higher magnification, and watch for halos around contrasty transitions. I also check whether the mask holds once color and tonal changes are applied, because a soft error that looks harmless before grading can turn obvious after the composite is balanced.
Tool choice affects that workflow. Some apps are faster at generating a decent base mask, while others give better edge controls, channel access, and refinement options once the easy part is over. If you're comparing platforms, this breakdown of professional photographer photo editing software is a practical place to start.
Speed matters on estimates. Reliability matters on delivery. If a mask cannot survive close review on the surfaces clients care about most, it was never finished.
Building Non-Destructive Masking Foundations
Masking only becomes efficient once you stop thinking of it as deleting and start thinking of it as controlling visibility. That distinction is the foundation of durable retouching.
Before digital layers, photographers and technicians already worked this way. In darkroom printing, they used hand-cut cardboard or paper masks to block light selectively. Later, before personal computers became common in the 1980s, production masking also used orange Ruby Lith film with carefully cut openings to reveal only specific image areas. The mechanics changed, but the logic didn't. Digital masks inherited that selective, reversible workflow from physical masking methods, as outlined in this history of masking techniques in photo editing.
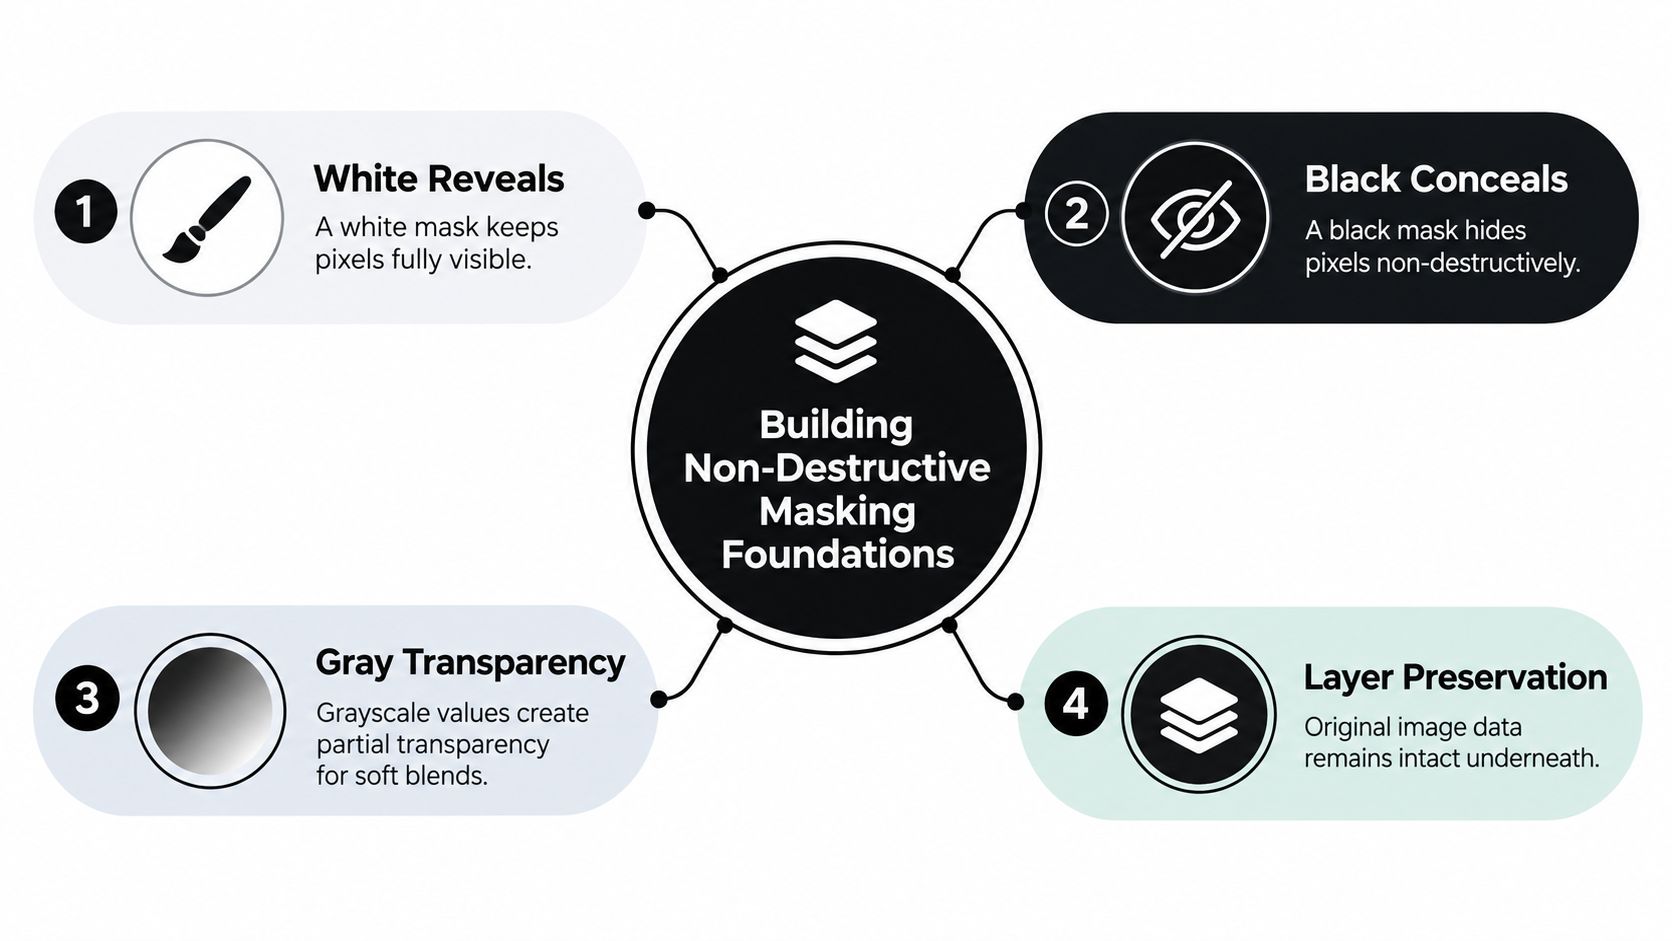
What the mask is actually doing
In a layer mask, white reveals, black hides, and gray creates partial transparency. You're not removing pixels from the image layer. You're deciding how much of that layer remains visible.
Adobe states that when you create a layer mask from a selection, the selected area stays white and the unselected area becomes black, which means the mask controls visibility rather than erasing the image data underneath. That's why composites, targeted corrections, and background swaps stay editable later in the file, as shown in Adobe's guide to making a selection into a layer mask.
That single principle changes how you retouch:
- Need a cleaner product edge? Paint into the mask, not the pixels.
- Need to soften a window pull? Lower the transition with gray values.
- Need client revisions later? Re-edit the mask instead of rebuilding the layer.
Why thresholding still matters
Not every masking decision is soft and painterly. Some systems use a threshold as a hard cutoff, which becomes important when you're trying to standardize behavior across repeated edits.
In mtPaint's handbook, mask pixels are normally 255 or 0, though intermediate values are allowed. The same documentation notes that a threshold of 128 makes "more-than-half transparent" pixels become transparent. Corel PHOTO-PAINT's documentation adds another useful idea: mask threshold can function as a persistent setting until changed, not just a one-time visual tweak. That makes thresholding a repeatable control, not a vague judgment call, as described in this mask threshold handbook reference.
A surprising amount of sloppy masking comes from editors who understand brushes but don't understand cutoffs.
A basic non-destructive discipline
The fastest editors I know aren't reckless. They're systematic. Their files stay flexible because they build with reversibility in mind.
- Start with a mask, not an eraser. If the edge is wrong, you can repaint it.
- Name layers by function. "Window recovery," "fixture cleanup," and "foreground density" are easier to revise than "Layer 27."
- Use grayscale intentionally. Soft transitions usually look more believable than binary cuts.
- Keep threshold behavior consistent. If you're moving between tools, know when a mask is being interpreted as a hard selection.
If you want a simpler walkthrough on practical cutouts and transparent backgrounds, Photo Speak background removal tips are a useful companion resource, especially for editors tightening up foundational selection habits.
A disciplined photo editing workflow matters here more than any single feature. Good masking isn't just about making a selection. It's about protecting optionality all the way through delivery.
Refining Edges for Architectural and Product Imagery
A mask that looks fine at fit-to-screen often fails the moment a client zooms to 200%.
Architectural and product files are unforgiving that way. Parallel lines expose stair-stepping, polished surfaces catch halos, and tight crops leave no room for a soft, careless transition. Fast AI masking can get you close, but close is not the standard on a hero product, a facade with repeating mullions, or an editorial still life headed for print.
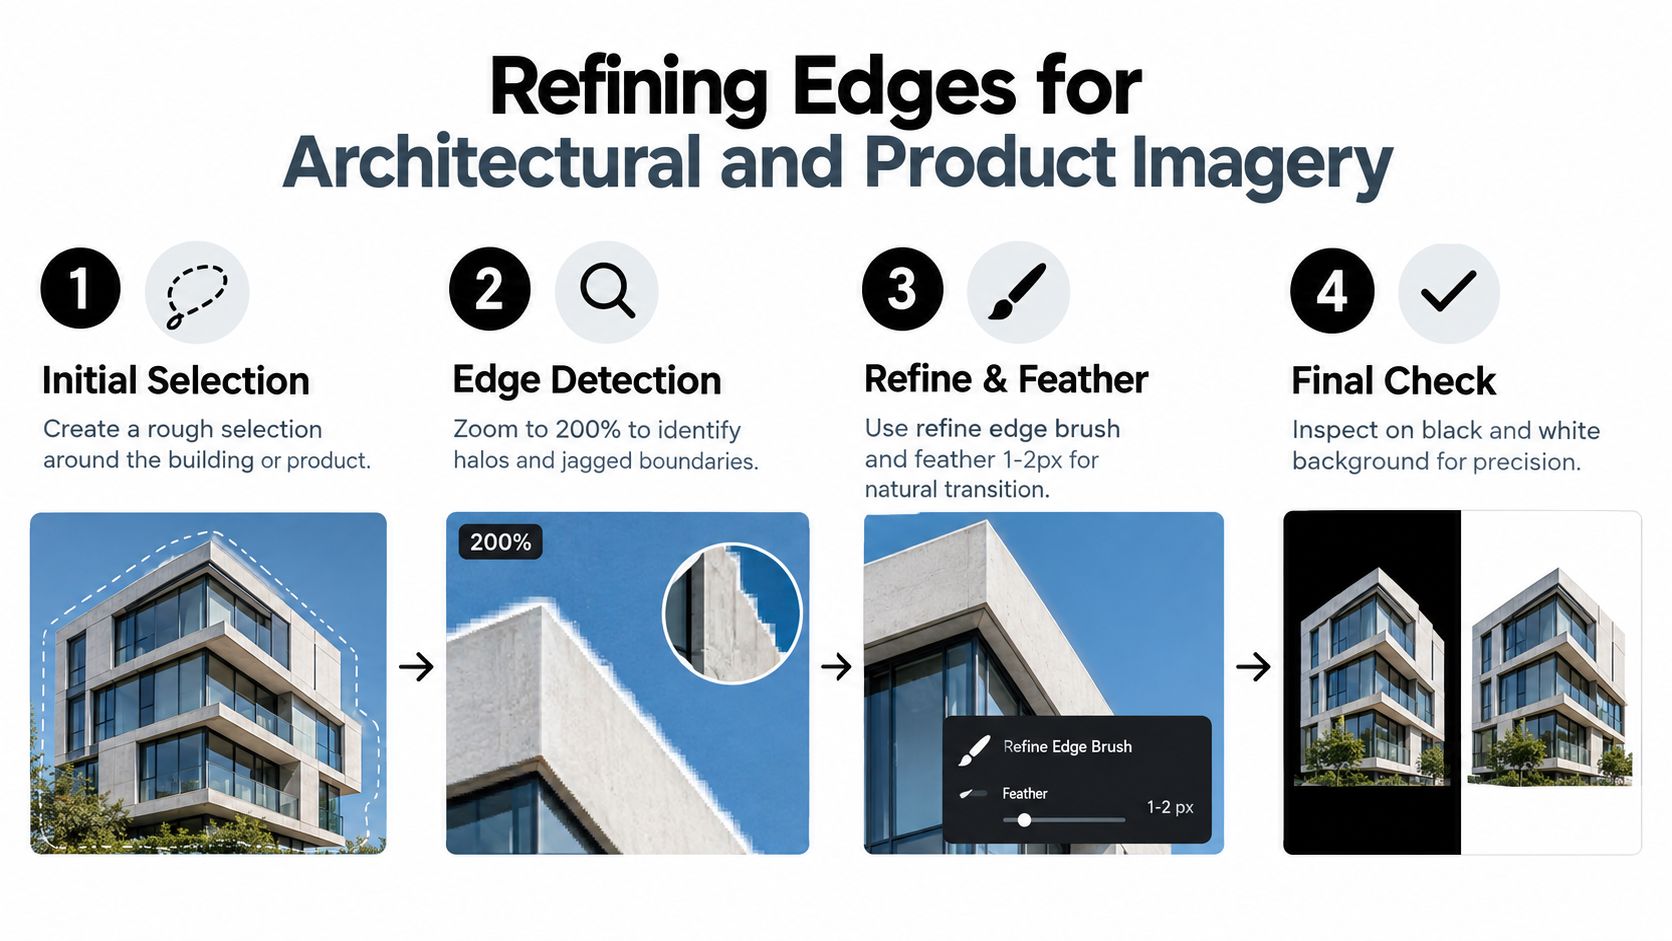
A practical edge-refinement sequence
Adobe's Select and Mask workspace is useful because it gives you multiple ways to inspect the same boundary, not because the software somehow finishes the job for you. Adobe's guide to precise selections in Select and Mask covers the core controls well, especially Edge Detection Radius, Smart Radius, and the preview modes that reveal contamination and broken contours.
My usual sequence is simple:
- Start with a rough selection. Speed matters at this stage more than perfection.
- Refine only where the edge type changes. Textured trim, molded plastic, brushed metal, and glass do not respond the same way.
- Check the mask on black, white, and the actual composite background. A clean edge on transparency can still bloom or choke once it sits in the final layout.
- Paint the failures by hand. Long straight runs, reflective seams, and interior cutouts usually need manual work.
That last step is the one many editors skip.
Where one-click masking holds up, and where it does not
Automated masking is strongest when the subject has a clean silhouette, clear contrast, and no internal complexity. It gets risky when the file includes transparency, repeating geometry, specular edges, or narrow negative spaces. That is why a decent AI cutout on a product bottle can still fall apart around the cap threads, the label edge, and the glass shoulder.
I use a simple decision table before investing more retouching time:
| Subject edge type | One-click mask as start point | Manual refinement needed |
|---|---|---|
| Clean product silhouette | Usually usable | Often minor |
| Hair, fur, foliage | Helpful | Usually significant |
| Window frames and mullions | Inconsistent | High |
| Glassware and transparent objects | Weak on its own | High |
| Metal mesh or lattice | Misses interior voids | High |
The trade-off is straightforward. Automation saves time on broad coverage. Manual refinement protects the image where the client will notice errors.
Check every mask against the background it will actually live on. White packaging, dark glazing, and replaced skies expose different problems.
What commercial-grade edge cleanup actually means
For architecture, line discipline matters as much as coverage. A slightly chewed corner on a window frame reads as sloppy faster than a small tonal mismatch elsewhere in the frame. For products, edge softness has to match the material. Rubber can tolerate a gentler falloff. Chrome, acrylic, and hard packaging usually cannot.
My inspection pass is blunt:
- Look for halos: Bright fringing shows up fast around dark objects pulled from pale backgrounds.
- Check interior openings: Handles, rails, mesh, and negative spaces often keep leftover fill.
- Watch vertical and horizontal runs: Wobble on straight architectural edges is easy to spot.
- Match softness to material: Too much feathering makes products look pasted in. Too little makes curved surfaces look clipped.
Large, sloppy masks also create downstream problems in retouching and compositing, as noted earlier. The practical point is simple. The more area you hand over to a weak mask, the more likely later edits are to break texture, edge realism, or object shape.
For architectural and product imagery, the job is not done when the subject is selected. It is done when the edge survives scrutiny in the final use, whether that means a print ad, a brochure cover, a catalog page, or a full-screen web banner.
Controlling Light with Luminosity Masks
When an interior includes bright windows, dark furnishings, and reflective surfaces, standard spatial selections become clumsy fast. You don't always need to isolate an object. You need to isolate a range of light.
That's where luminosity masks earn their place in serious photo editing masking.

A good luminosity mask doesn't care whether the highlight belongs to a wall, a window frame, a countertop edge, or a polished floor. It selects by tonal value. That makes it far more natural for balancing built environments where the problem isn't shape alone, but uneven brightness spread across many materials.
Why tonal targeting beats rough selections
A lasso or quick subject selection draws geography. A luminosity mask follows exposure structure.
That difference matters in at least three common situations:
- Window recovery in interiors: You can target the brightest values without crushing the rest of the room.
- Twilight exteriors: Deepening specific shadow bands preserves mood better than globally lowering exposure.
- Mixed reflective surfaces: Tonal targeting can reduce specular hotspots without flattening everything around them.
The result usually looks less forced because the transition follows the image's own light pattern.
A better fit for exposure blending
One of the reasons luminosity masks work so well in architecture is that they blend corrections along natural tonal boundaries. If a bright exterior view spills through several window panes, a hand-drawn shape often leaves obvious seams. A tonal selection tends to produce a more believable merge because it respects brightness gradation across the frame.
That doesn't make luminosity masks automatic or magical. They still require restraint. Push the mask too hard and the image loses atmosphere. Pull too much detail from every bright area and the room starts to look flat.
A useful working method is:
- Target highlights first. Recover only what's distracting.
- Address shadows separately. Don't let highlight control dictate the whole image.
- Leave some contrast intact. Real spaces need depth.
- Review material realism. Wood, stone, fabric, and metal should keep their own character.
For a visual walkthrough of tonal masking concepts in practice, this embedded demonstration is worth reviewing after you've built the basic selection logic into your workflow.
What not to do with luminosity masks
Editors often make the same mistakes here:
- Using them as a substitute for composition problems. They can shape light, not fix bad framing.
- Over-equalizing the scene. If every shadow opens and every highlight gets tamed, the image loses hierarchy.
- Ignoring local contamination. Reflections, color casts, and mixed lighting still need separate corrections.
Field note: The best luminosity-mask edit usually doesn't announce itself. It just makes the room feel closer to how it looked when you stood there.
For interior and architectural work, that's the standard. Controlled windows, readable shadows, and materials that still feel dimensional.
Executing Complex Composites and Retouching
Complex composites expose the trade-off between speed and control more clearly than almost any other masking task. Automatic subject detection is excellent at getting you to a first pass. It isn't enough to finish a demanding product scene, portrait composite, or layered editorial setup on its own.
The useful question isn't whether automation works. It's where it stops paying for itself.
What automation gives you
A strong automatic selection can save time when the frame has a dominant subject and decent separation. That first isolation is often enough to start a background replacement, local color treatment, or exposure-specific retouching pass.
There is also a broader sign that high-throughput masking can be reliable under controlled conditions. The SA-1B benchmark includes 11 million images and 1.1 billion masks, and a human audit of 500 images representing about 50,000 masks reported corrected-mask IoU above 0.90 for 94% of masks and above 0.75 for 97%. That's a meaningful signal that promptable segmentation can scale well when correction and validation are built into the loop, as summarized in this overview of the SA-1B dataset and mask-quality audit.
That last clause matters. When correction and validation are built into the loop. Commercial compositing still needs both.
Where manual masking still wins
Manual work takes over when the image contains overlapping transparency, subtle shadow contact, or edge ambiguity that affects realism. Product composites often fail at the base of the object, where the shadow transition has to feel anchored. Portrait composites often fail around hair, eyeglass rims, and clothing texture. Editorial scene builds fail when local retouching spills onto adjacent surfaces.
Here's how the two approaches compare in practice:
| Task | Automatic selection | Manual mask painting |
|---|---|---|
| Fast initial isolation | Strong | Slow |
| Transparent or reflective details | Weak | Strong |
| Revision flexibility | Moderate | High |
| Shadow and contact realism | Limited | Strong |
| Precision around mixed materials | Inconsistent | Reliable |
Building composites that survive revisions
Good composite files are built for change. Clients ask for background shifts, softer transitions, cleaner reflections, and alternate crops. If you've erased pixels or committed to brittle selections, every revision becomes expensive.
Mask-based retouching keeps that under control:
- Use automatic selection as a draft. Convert it into an editable mask and refine from there.
- Retouch on separate masked layers. Cloning, healing, and color work should stay isolated by purpose.
- Paint with grayscale where needed. Partial opacity is often what makes a correction believable.
- Protect source pixels. If the brief changes, you can adapt instead of rebuilding.
For editors who want a plain-language reference on how this broader discipline fits into finishing work, what is image retouching is a useful companion read. In a production environment, a studio like Jimmy Clemmons Photographer may apply this same layer-and-mask logic when blending exposures and refining architectural or portrait deliverables, but the principle is universal across serious retouching workflows.
The strongest composite artists aren't the ones who avoid automation. They're the ones who know exactly where to stop trusting it.
Protecting Image Integrity and Client Trust
Masking isn't only a craft decision anymore. It's also a risk decision.
Cloud-based AI editing makes fast selections and automated local adjustments easy to access, but that convenience introduces a problem many photographers still underestimate. If client images include identifiable people, private interiors, sensitive documents, artwork, signage, or unreleased products, sending the full frame into a cloud workflow may expose more than the creative brief requires.
Recent discussion around privacy-safe AI editing highlights that gap directly. A Purdue-linked privacy-by-design approach has been described as automatically masking facial regions before upload to reduce identity leakage while preserving edit quality elsewhere. The larger point is simple: faster AI masking can increase compliance and reputation risk if photographers ignore the privacy layer in commercial workflows, as discussed in this summary on privacy-safe AI masking and editing risk.
A more disciplined masking standard
The old question was "Can I isolate this subject faster?"
The better question now is "What needs to be isolated before this file leaves my machine?"
That shift changes how professionals should think about masking:
- As quality control: Clean edges prevent visual artifacts and weak composites.
- As revision insurance: Non-destructive masks preserve flexibility.
- As governance: Sensitive regions can be concealed before outside processing.
- As trust protection: Clients care about how their images are handled, not just how they look.
The reputation side of overediting
There's another layer to this. Aggressive masking and retouching can produce files that look polished at first glance but fragile under closer review. Marketing teams, editors, and clients are paying more attention to signs of synthetic or excessive manipulation. Tools for exposing edited images with AI tools are part of that broader scrutiny, and they reinforce a useful professional habit: edit with intention, not with the assumption that nobody will look closely.
The cleanest masking work protects two things at once. The pixels and the relationship.
That is the standard for photo editing masking in commercial work. Use automation where it gives you a credible head start. Slow down where edges, tone, privacy, or trust can break.
Jimmy Clemmons Photographer creates architectural imagery, commercial brand photography, and polished portrait work with the kind of disciplined post-production that complex masking demands. If you need images that hold up in print, marketing, and editorial use, visit Jimmy Clemmons Photographer to see how that workflow translates into finished client deliverables.