
A location can look perfect on a screen and still fail the shoot. The loading route may end at a locked gate, afternoon sun may flatten the façade, a contractor may restrict access to the best room, or the available power may not support the lighting plan. By the time those problems appear, the crew, client, and schedule are already committed.
A disciplined location scouting template prevents that uncertainty from reaching shoot day. For architectural and commercial photographers, it turns a promising address into a documented production decision, one that accounts for design intent, light, equipment, access, permissions, and the people responsible for the site. The result isn't bureaucracy for its own sake. It's the preparation that gives you room to make better creative choices.
Why Every Great Shot Starts Before the Camera
An unstructured scout usually produces attractive snapshots and incomplete information. You may photograph the main elevation, note that the interior feels bright, and leave with a general impression that the site will work. Later, the client asks for a dusk exterior, the team discovers that the tripod position blocks a delivery route, and the room that looked generous online proves too narrow for the camera, lighting, and crew.
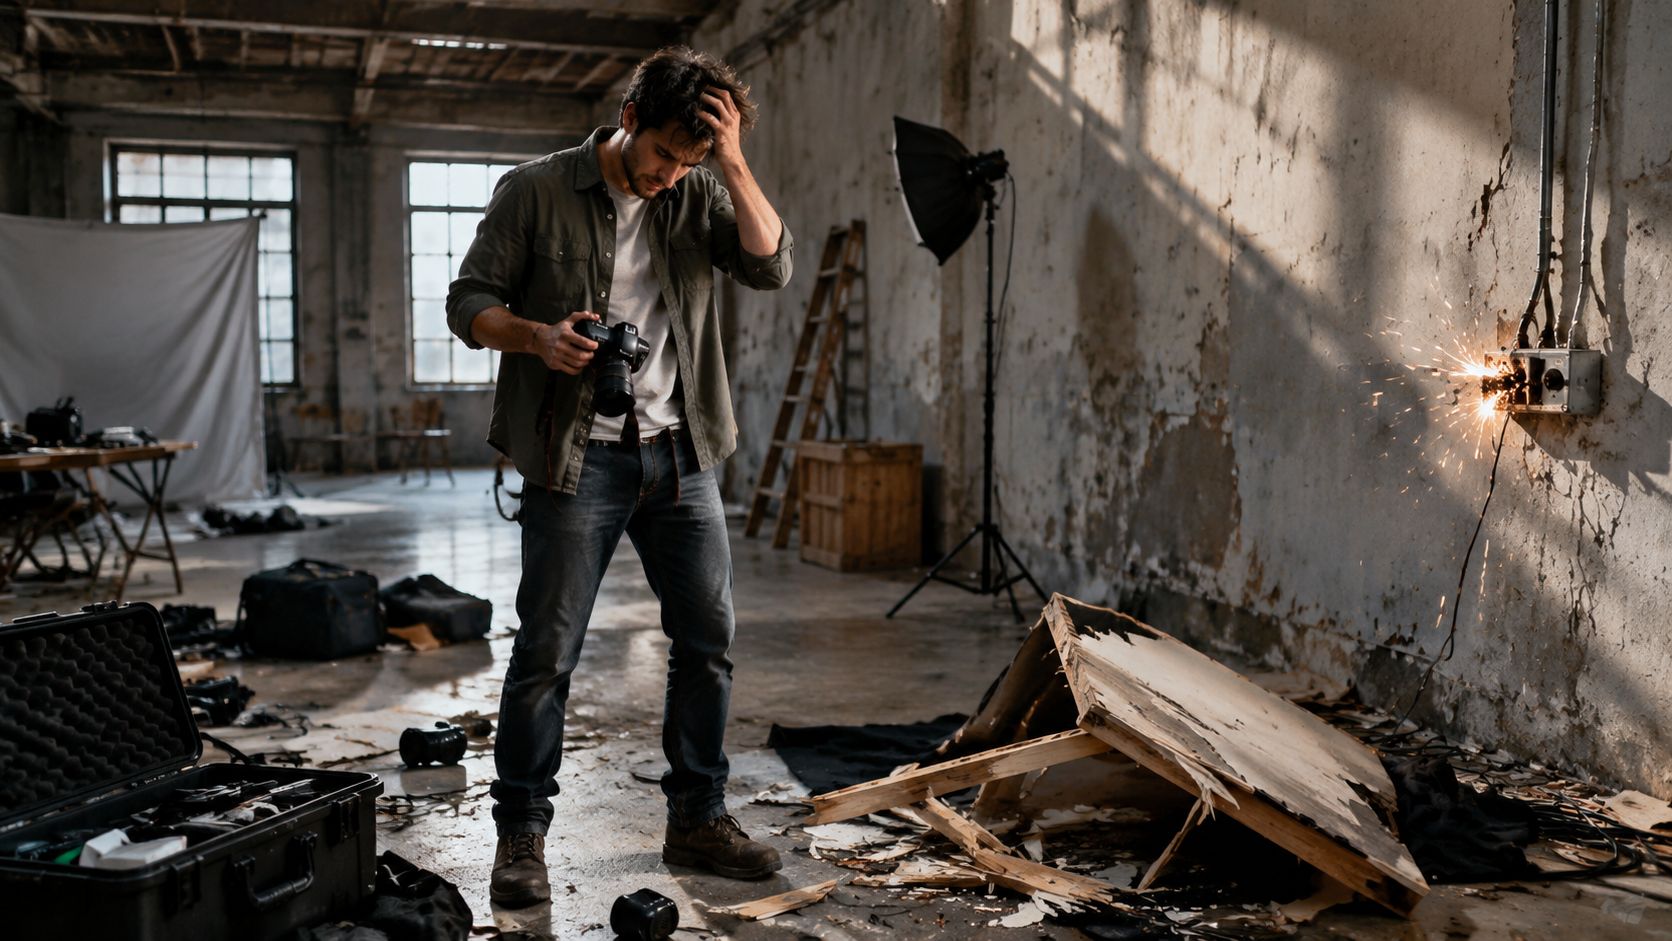
A professional scout starts by separating creative suitability from production suitability. The building may have the right geometry but poor access. A beautifully lit room may lack usable power. An impressive exterior may require permissions that haven't been secured. Record each issue while the information is fresh, then assign an owner and a next action.
The document that keeps decisions aligned
A location scouting template has become a standard pre-production control document in film and commercial production. Neutral industry templates repeatedly include script or scene location, actual address, contacts, availability, parking, power, sound, bathrooms, access, permits, insurance, and room measurements, as shown in this industry location checklist.
Those fields matter on an architectural assignment because every department reads the site differently. The photographer needs camera positions and light direction. A producer needs access windows and permits. A lighting assistant needs circuits and load-in paths. The client needs confidence that the finished images will show the building as intended.
Practical rule: If a detail could change the shot, the schedule, the equipment list, or the permission requirements, it belongs in the template.
Use the document before the visit, during the visit, and immediately afterward. A good record lets you compare locations without relying on memory, communicate clearly with contractors and property managers, and preserve useful site knowledge for later assignments.
Anatomy of the Ultimate Scouting Template
The strongest template doesn't read like a random checklist. It groups information by the decisions it supports, so a creative team can move from visual potential to practical approval without losing context.
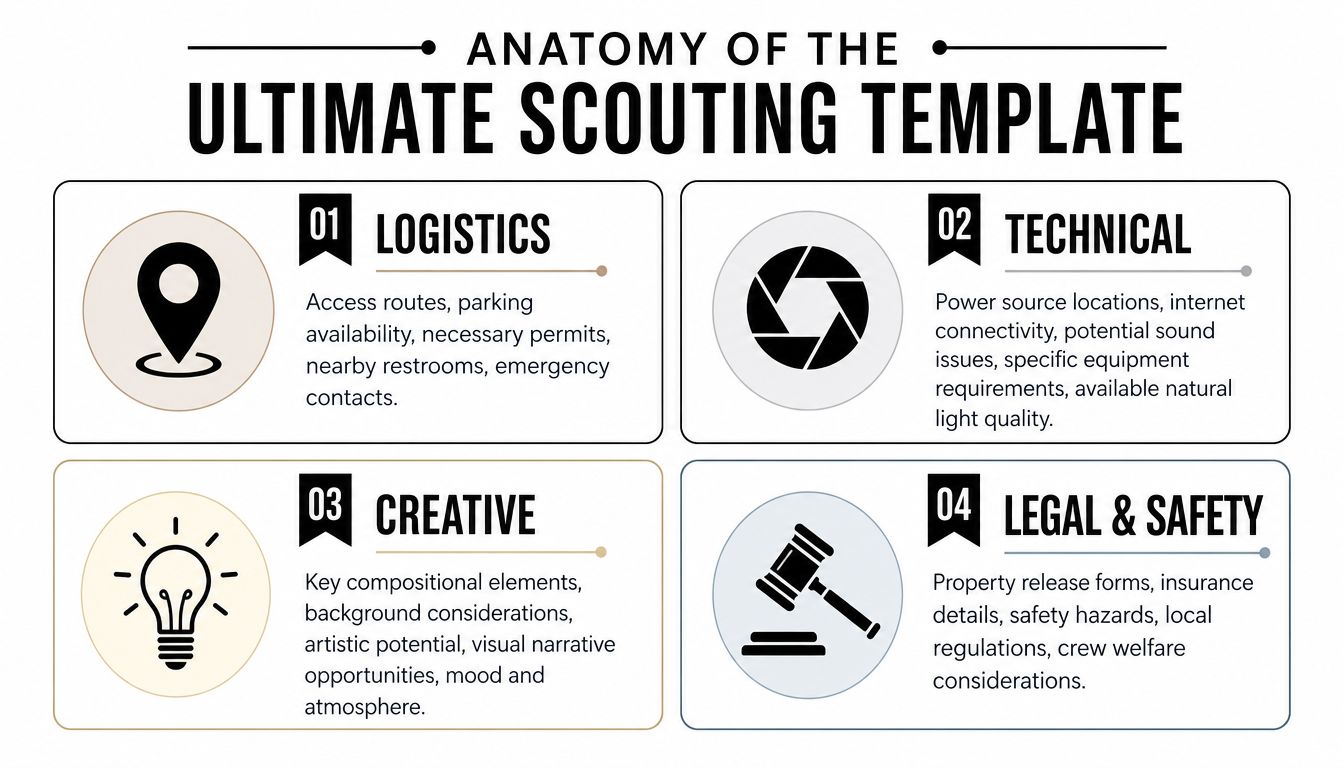
Logistics
Start with the facts that determine whether people and equipment can reach the site.
- Location identity: Record the project name, scene or shot reference, actual address, building entrance, and any separate service access.
- Contacts: List the owner or property manager, on-site representative, security contact, contractor, and emergency contact. A name without a reachable phone number isn't a working contact record.
- Availability: Note approved access times, setup restrictions, quiet periods, tenant schedules, delivery windows, and any areas that must remain open.
- Parking and load-in: Describe vehicle access, unloading distance, elevators, stairs, door widths, and the path from the vehicle to the shooting position.
- Crew facilities: Identify bathrooms, holding areas, catering space, changing space, and places where cases can remain without interfering with the site.
These details often decide whether a location is practical. An interior may photograph beautifully but become a poor choice if the crew must carry cases through occupied offices or if the building manager allows access only during a narrow window.
Technical
Technical notes should translate the site into an equipment and risk plan. Mark outlets, isolated circuits, breaker locations, extension routes, ceiling height, rigging points, internet availability, and areas where equipment cannot be placed. For video or interview work, record ambient sound, HVAC noise, traffic, construction activity, and reflective surfaces that may complicate recording.
Measure rooms rather than estimating them. Include ceiling height, wall-to-wall dimensions, window sizes, stair widths, door clearances, and the distance from likely camera positions to the subject. Photograph every outlet and access constraint with enough surrounding context that another crew member can understand it later.
The recurring presence of power, sound, bathrooms, access, permits, insurance, and room measurements in established templates reflects the move from informal paper notes toward reusable production systems. Cloud-based scouting workflows treat site information as a record that teams can share, update, and preserve for future work.
Creative
Creative fields keep the scout from becoming purely operational. For each important view, record the intended story, likely camera height, lens position, foreground relationships, background distractions, and architectural feature that carries the frame.
Document how daylight moves across the building, not just whether the site feels bright at the moment of the visit. Note reflective materials, strong color casts, window glare, vegetation movement, temporary construction elements, and details that can support tighter compositions. Wide reference images establish context, while detail images preserve material, joinery, texture, and transitions that may become editorial vignettes.
A practical shot list photography framework can sit beside the scouting record, linking each proposed image to a location, viewpoint, subject, and production note.
Legal and safety
Record the permission holder, permitted areas, dates, restrictions on moving furniture or equipment, insurance requirements, release status, permit needs, and any local rules that affect photography. Add hazards such as wet floors, exposed wiring, fragile finishes, active construction, restricted roofs, vehicle movement, and unsecured edges.
A location isn't approved because it looks right. It's approved when the responsible person has confirmed access, the production team understands the conditions, and the photographer can work without putting people or property at unnecessary risk.
The Professional Three-Pass Scouting Workflow
Treat scouting as a sequence of decisions rather than a single appointment. The desk scout, field scout, and tech scout each answer different questions, and skipping a pass usually leaves one category of uncertainty unresolved.
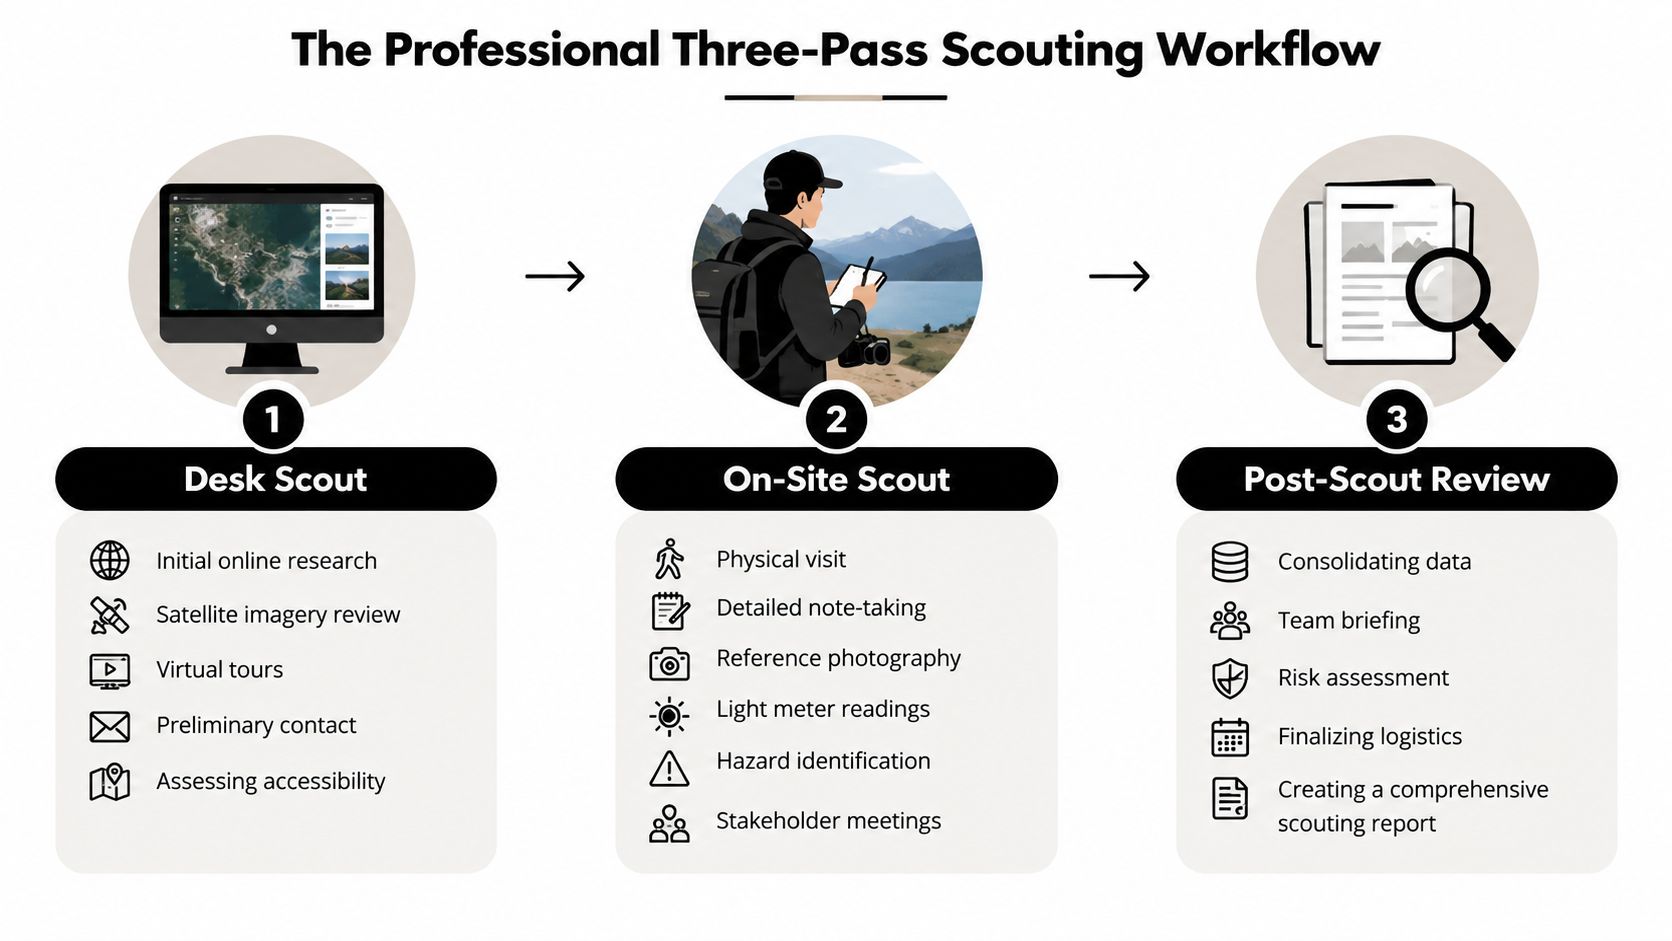
Pass one, the desk scout
Begin with the client brief, architectural drawings, elevations, floorplans, and intended image list. Review satellite imagery, street-level photography, virtual tours, and available site information to identify candidate locations and likely viewpoints. At this stage, fill only what you can verify remotely, and label assumptions clearly.
Look for orientation, neighboring buildings, street width, service access, rooftop equipment, trees, overhead wires, and likely obstructions. Check whether the proposed camera position appears possible, then contact the responsible person before treating online imagery as reliable. Add a backup candidate, because a location that works visually may fail on access or permissions.
Pass two, the field scout
The field visit is where the template earns its value. Walk the entire access route before framing a shot. Measure the rooms, photograph wide views and details, identify hazards, listen for ambient sound, and record the quality and direction of light at the planned shooting time.
Use reference photographs that show scale and relationships, not just attractive compositions. Photograph the camera position looking toward the subject, then turn around and record what will sit behind the camera. That reverse view often reveals windows, reflective surfaces, temporary signage, or crew congestion that will affect the final image.
Pass three, the tech scout
The tech scout converts observations into an executable plan. Bring the people whose decisions affect the setup, such as the producer, lighting lead, client representative, contractor, or location manager. Walk through the intended shot list and mark camera placement, lighting positions, cable paths, staging areas, parking, and equipment movement.
The three-pass location scouting guidance emphasizes wide and detail photographs, sun direction, power, ambient sound, hazards, permits, and a backup option. Keep those records together in the final report, then flag unresolved items rather than allowing optimistic assumptions to disappear into the schedule.
A finished scout report should let someone who wasn't present understand the site, the plan, and the remaining risks.
After the tech scout, consolidate the template, reference photographs, measurements, contact notes, and shot list into one shareable package. The report becomes the basis for crew briefing and client approval, not a forgotten folder of phone images.
Scouting Specifically for Light and Composition
On an architectural assignment, the scout should answer a visual question: What will the building say in the finished frame? A façade may need directional sunlight to reveal relief, while an interior may require soft, controlled brightness so the materials retain their character. The best viewpoint depends on the design story, not merely on the most dramatic angle.
On one interior scout, a room initially seemed to offer a straightforward wide composition from the entrance. The reference frame looked balanced, but the view compressed the relationship between the circulation path and the central stair. Walking farther into the space revealed a stronger position. From there, the stair became the visual hinge, the ceiling lines led toward the window, and a tighter secondary frame showed the material transition at the handrail.
Record light as evidence
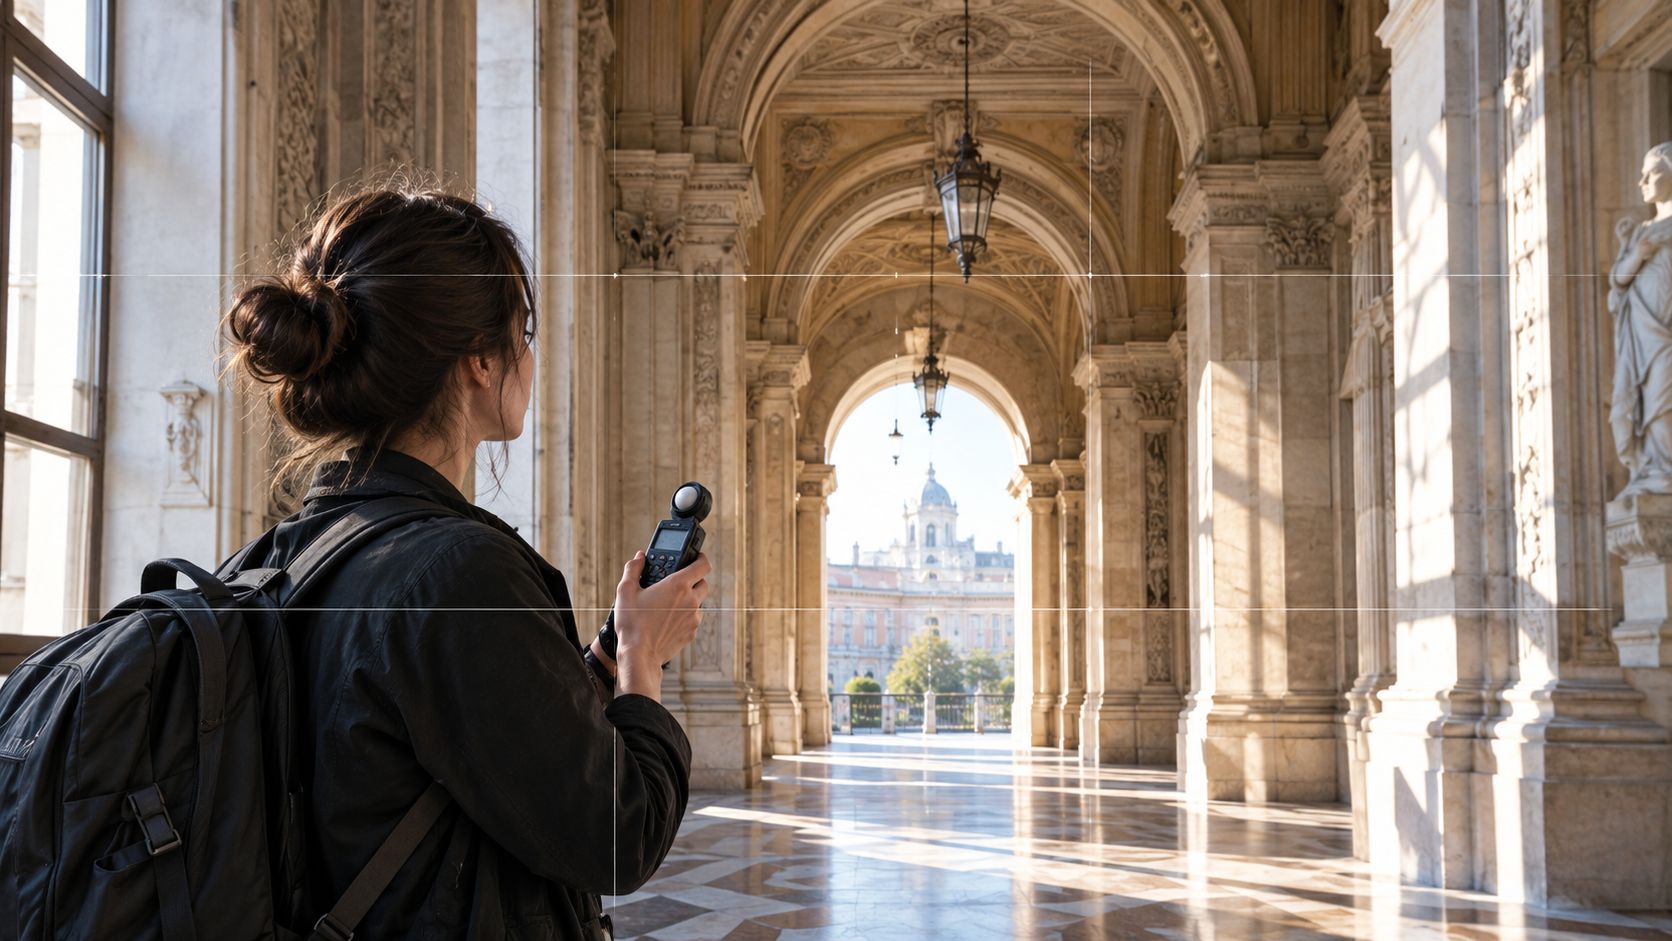
Use a light meter when the exposure relationship matters, and write down the conditions beside the reference images. Record the direction of the sun, the areas that fall into shadow, reflections from glazing, and how the light changes across the intended shooting window. A daylight note such as “bright” isn't enough. Describe what the light does to the architecture.
Sun-tracking tools can help you anticipate façade illumination and window light, but treat them as planning aids rather than substitutes for observation. Trees, adjacent buildings, weather, interior finishes, and seasonal changes can alter the result. Compare the predicted direction with what you see on site, then build a practical alternative if the light misses the design feature you need.
Build a composition family
Don't leave with one wide frame per room. Create a small set of related possibilities:
- Establishing view: Show the building's relationship to its site, approach, or surrounding context.
- Primary architectural frame: Make the strongest statement about structure, volume, proportion, and circulation.
- Material vignette: Isolate a junction, texture, fixture, or crafted detail that communicates design quality.
- Operational frame: Show how the space functions, especially for workplaces, hospitality environments, schools, and commercial interiors.
This approach protects the assignment from a single visual interpretation. If a neighboring building enters the wide frame, a detail view may still preserve the design narrative. If direct sun becomes harsh, a reflected-light composition may better describe the material palette.
For a deeper treatment of timing and direction, use this guide to choosing the best light for a site shoot. The template should hold both the creative intention and the fallback, so a changing sky changes the plan rather than dismantling it.
Navigating On-Site Permissions and Logistics
Access should be confirmed by the person who controls the property, not by someone who happens to answer the phone. On a completed building, that may be a property manager or facilities lead. On an active project, it may be the general contractor or site superintendent. For a corporate interior, the marketing lead may coordinate the request while facilities or security controls the practical conditions.
Send a concise production brief before the visit. Include the address, proposed date and access window, crew description, equipment needs, areas required, whether lighting or stands will be used, whether furniture may move, and whether the work includes video, talent, or interviews. Ask for restrictions in writing and place the response in the template.
Confirm the details people overlook
Record who grants access, which doors or lifts can be used, where vehicles may stop, whether security needs a crew list, and who must be present to grant access to restricted areas. Clarify rules for walls, floors, furniture, artwork, roof access, electrical panels, and active construction zones.
A permission conversation should also establish what happens if the site changes before the shoot. Renovation work, tenant activity, deliveries, weather exposure, and safety closures can all affect the plan. Keep a named contact responsible for notifying the production team.
Verbal permission may get you through the door. Written conditions keep everyone aligned once the equipment arrives.
When releases, insurance certificates, or property documentation are involved, maintain them with the location record rather than in a separate personal inbox. This guide to location release forms can help organize the paperwork needed to document permission clearly.
Turning Preparation into Polished Imagery
A strong location scouting template gives every decision a place to live. The desk scout tests feasibility, the field visit tests reality, and the tech scout turns the chosen approach into a workable setup. Light notes protect the visual intention, measurements protect the equipment plan, and permission records protect the relationship with the client and site team.
That preparation doesn't make the work mechanical. It removes avoidable uncertainty, so attention can move toward proportion, atmosphere, material, and the quiet details that make an architectural photograph feel editorial rather than merely descriptive. The finished image becomes a deliberate interpretation of the building, supported by a process the client can trust.
If your next project needs architectural or commercial imagery built around careful scouting, lighting design, and precise on-set direction, connect with Jimmy Clemmons Photographer. Visit the studio to discuss the site, the visual brief, and a production plan that will carry the assignment from first scout to polished final images.